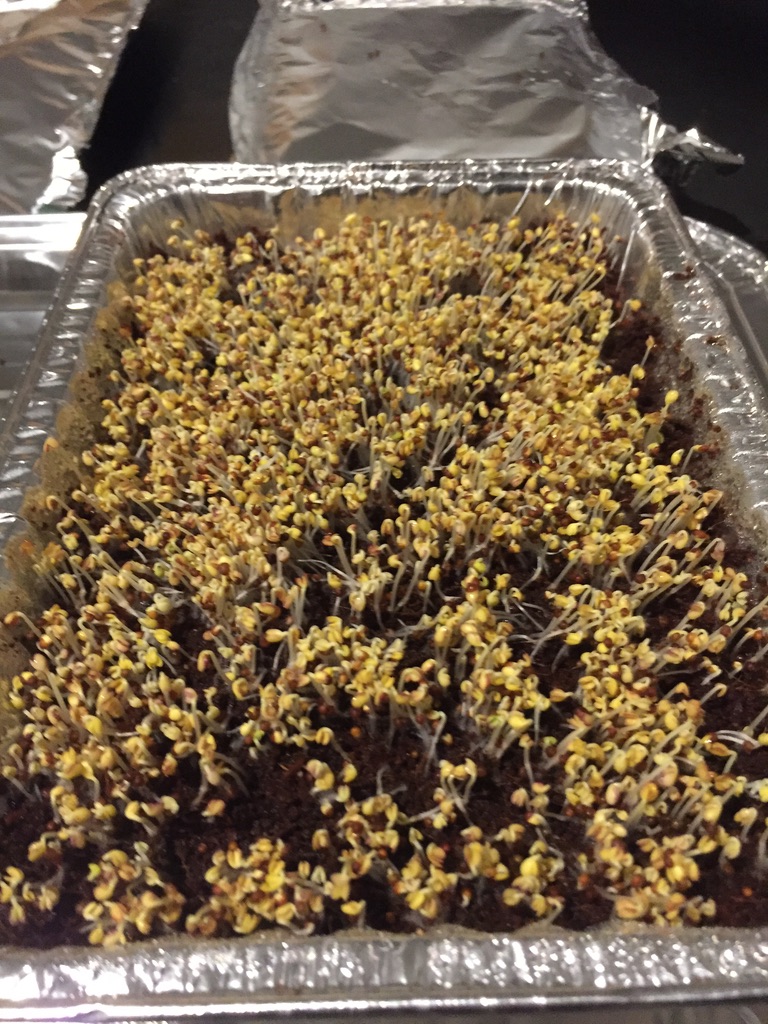
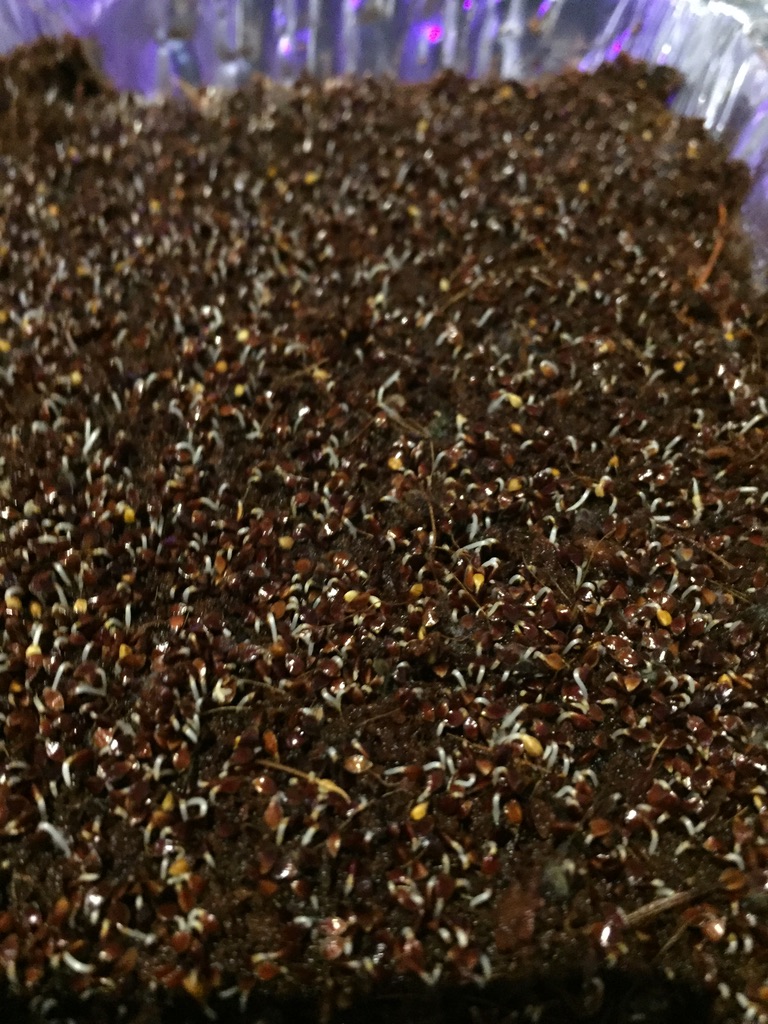
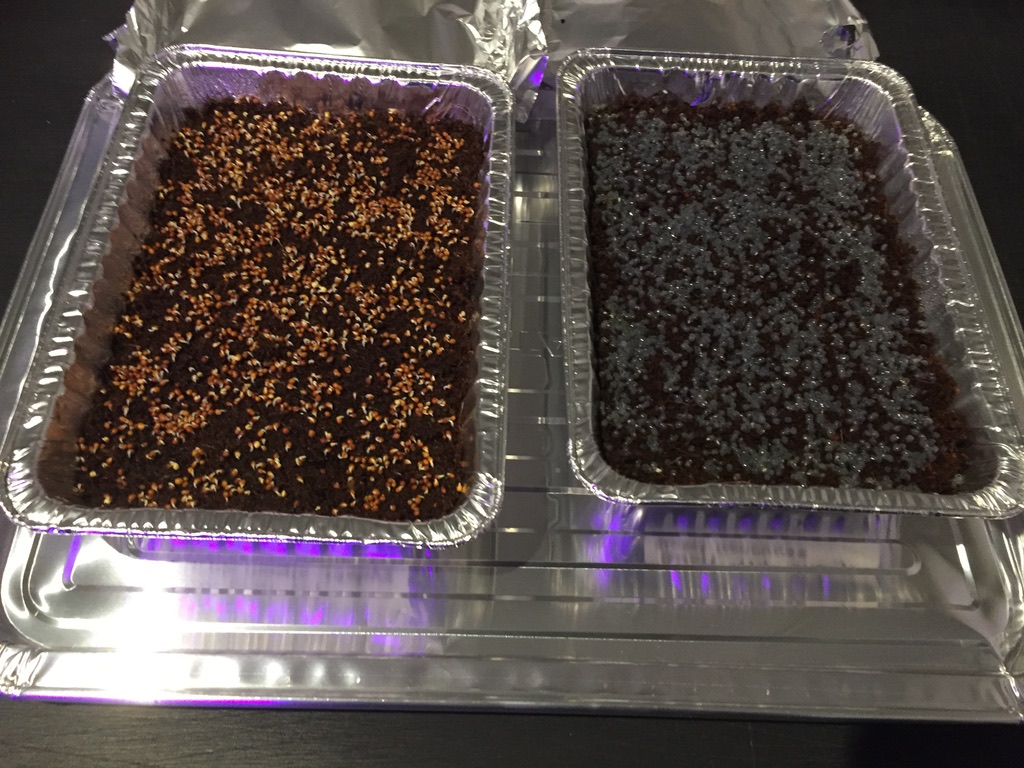
Day 5: Microgreens trial – 4th morning
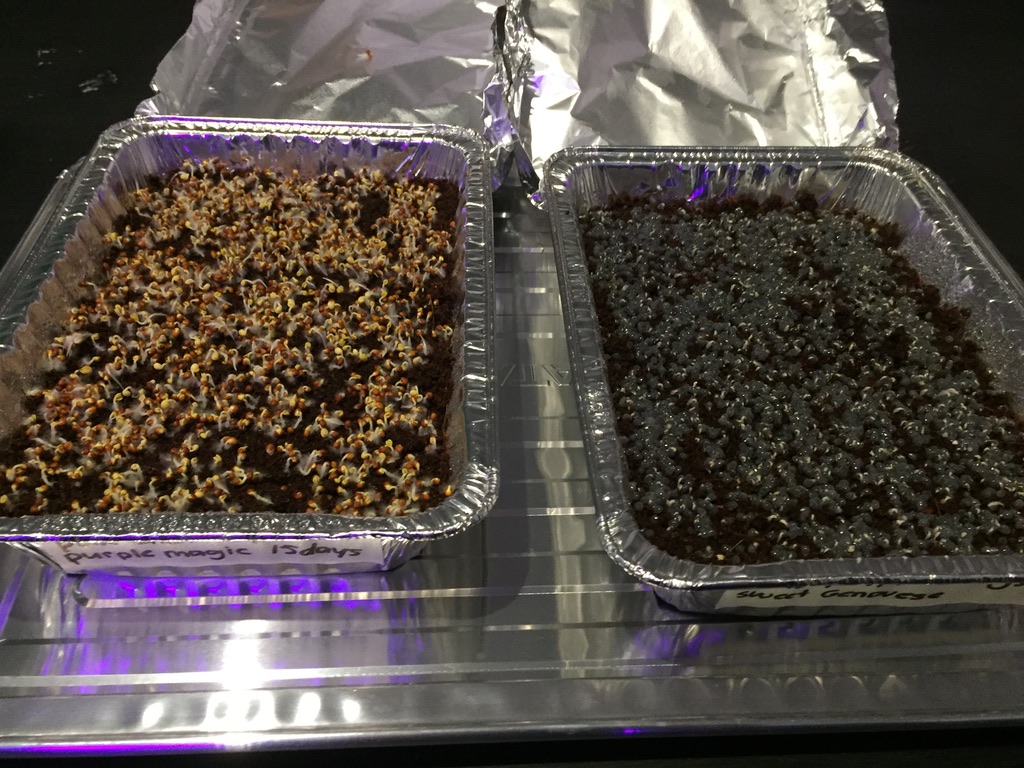
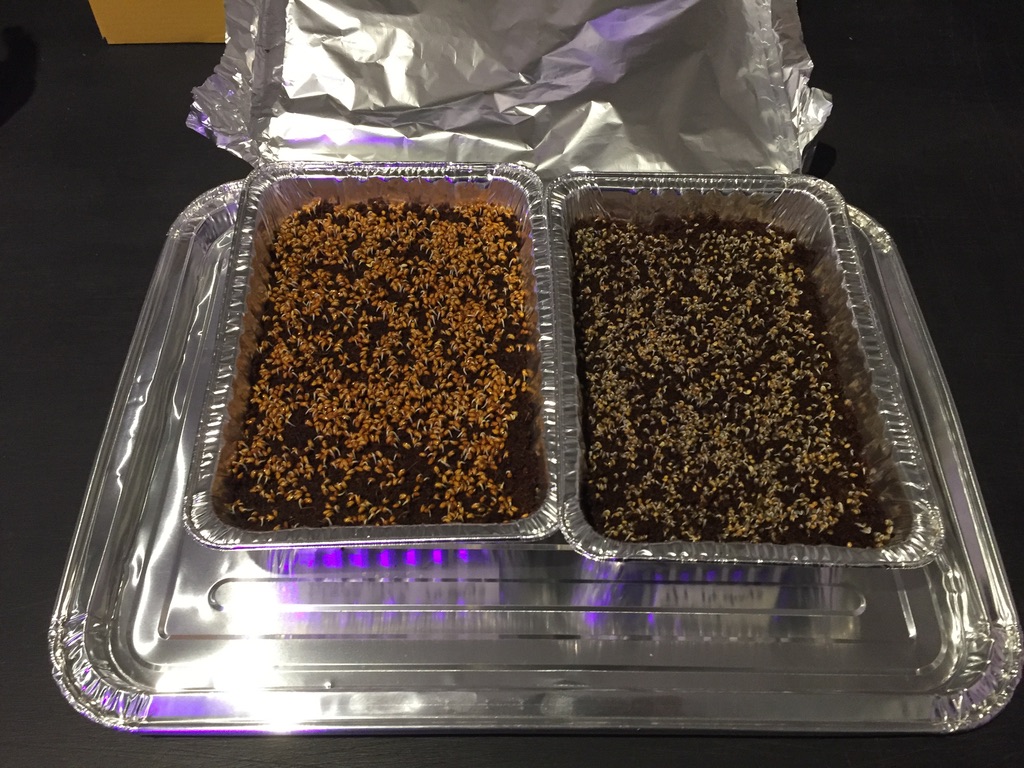
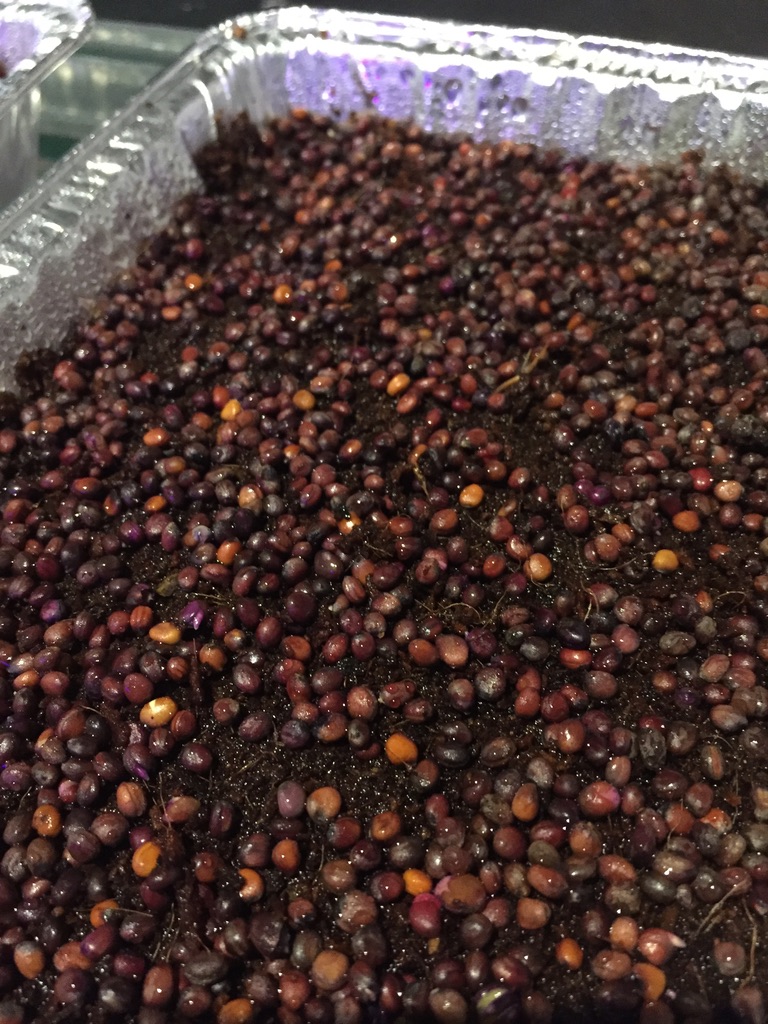
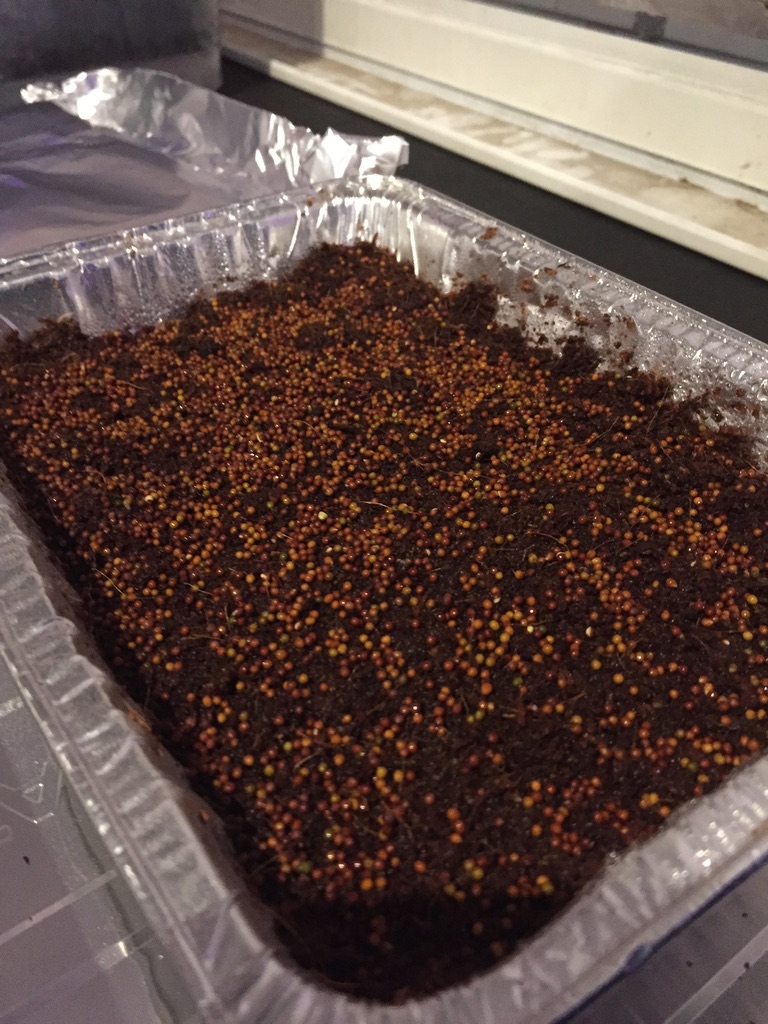
We planted a variety of seeds and the germination rates are now starting to show the speed of the varieties.
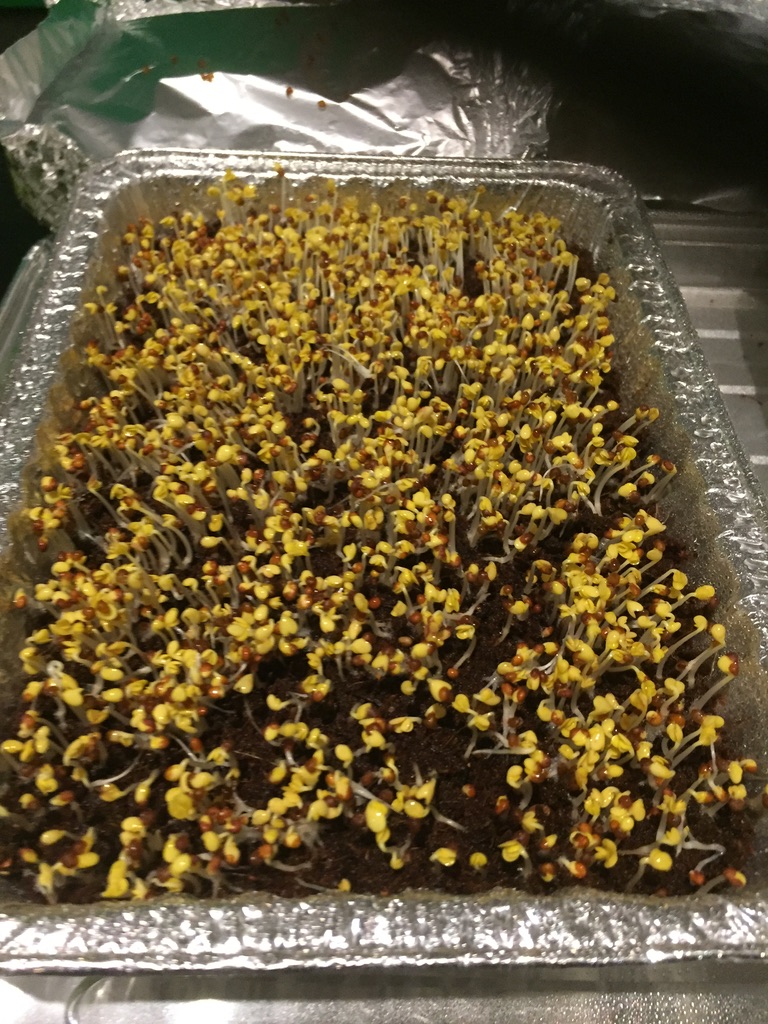
We planted a variety of seeds and the germination rates are now starting to show the speed of the varieties.

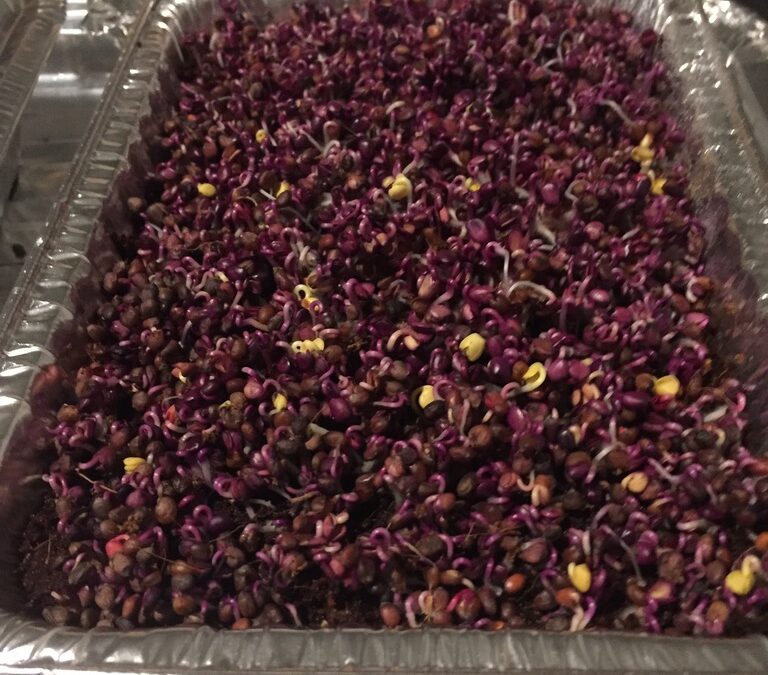
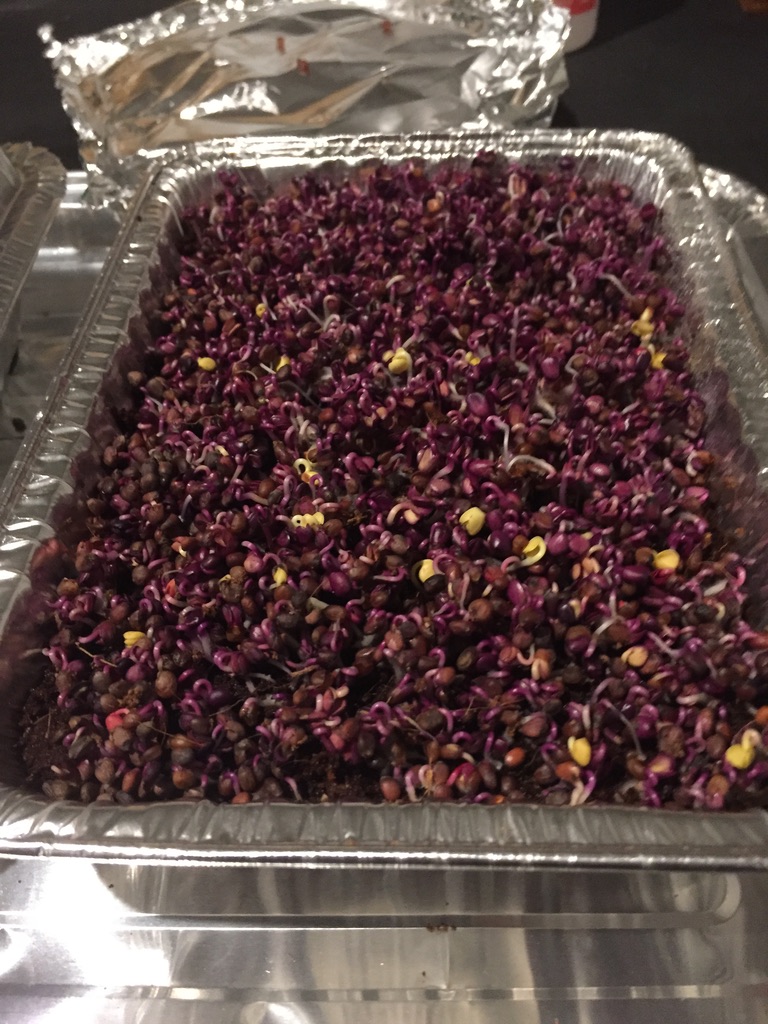
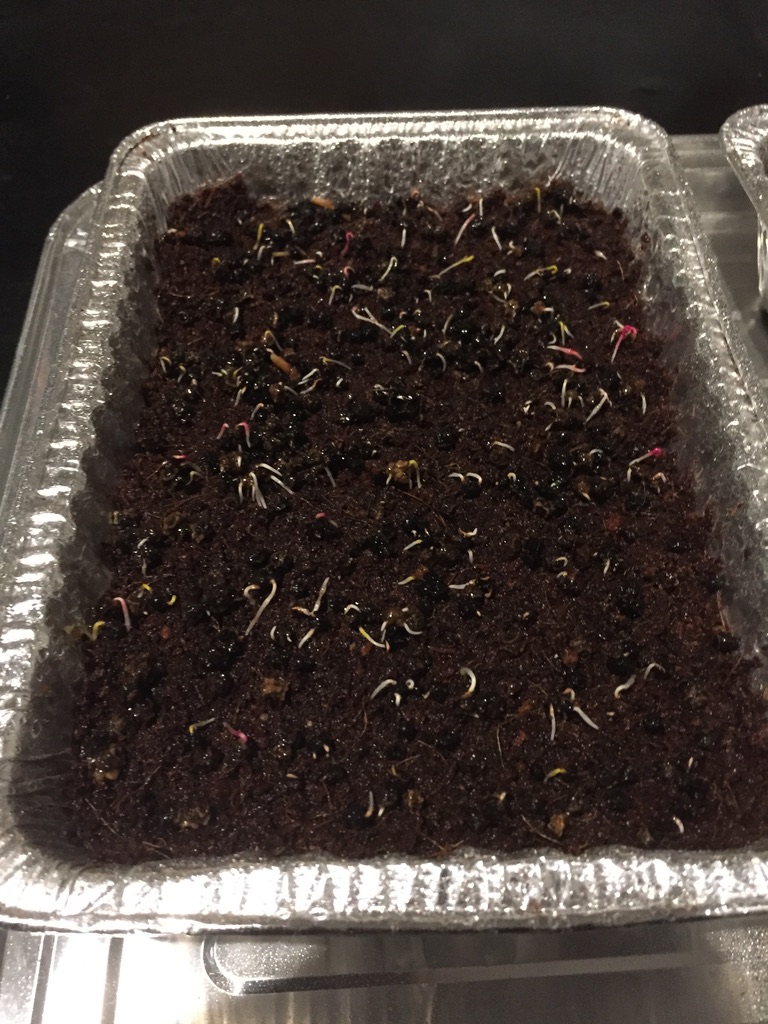
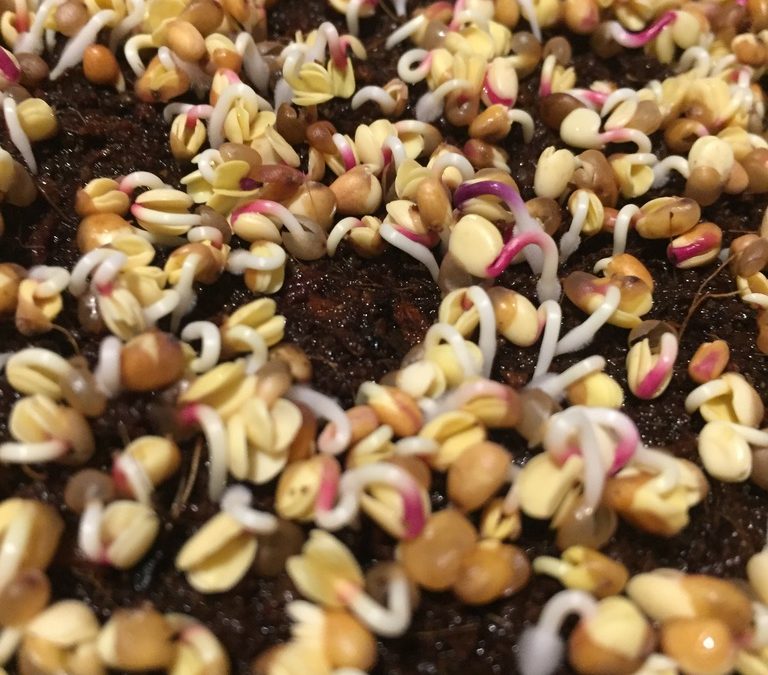
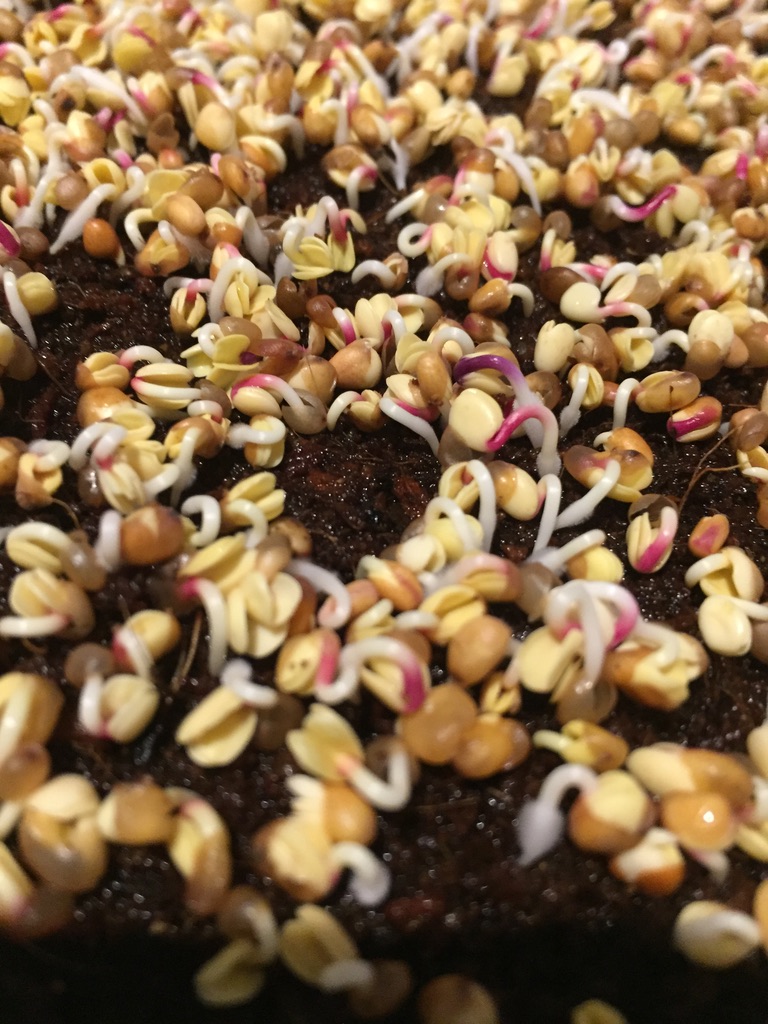
On the 3rd morning (we counted the 1st day as the evening of planting) the growth is obvious – now we’re getting somewhere, wow, these are very interesting.
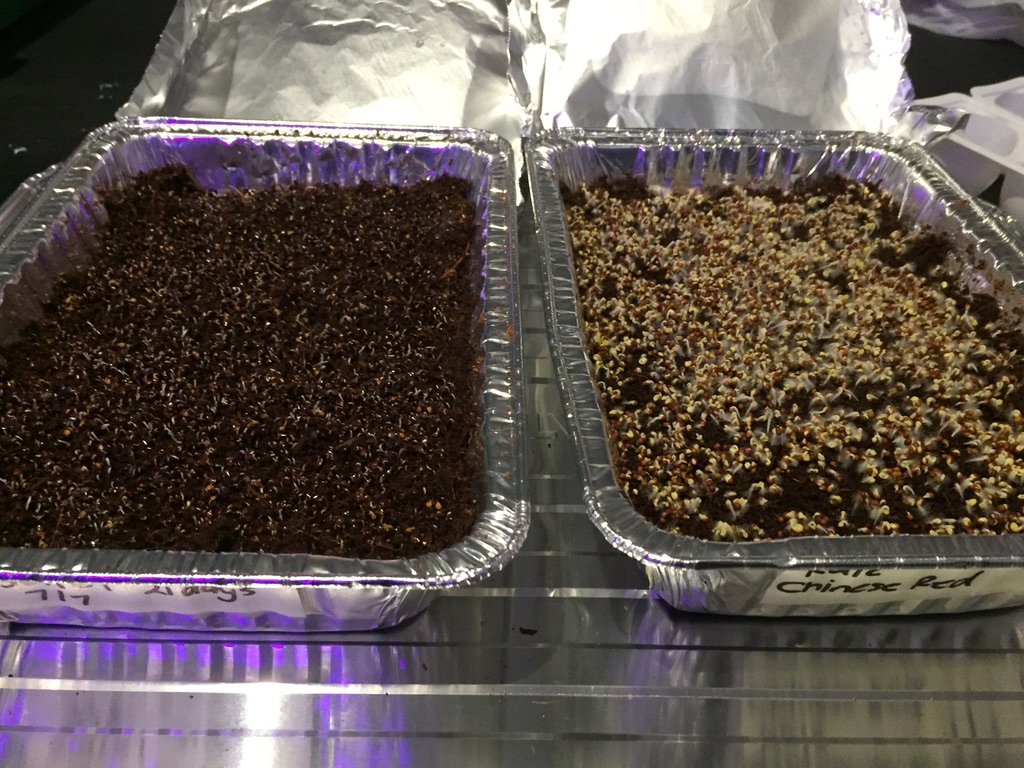
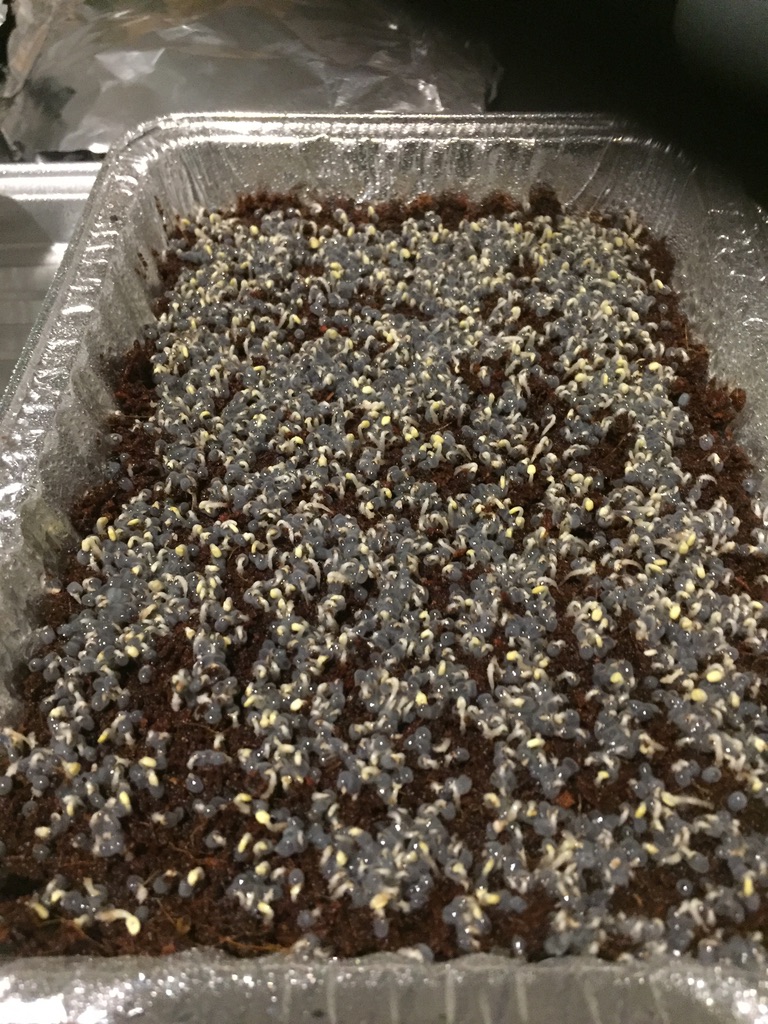
Remember at this early stage don’t stress about what looks like mould – below you can clearly see the root hairs disappear when you add water.

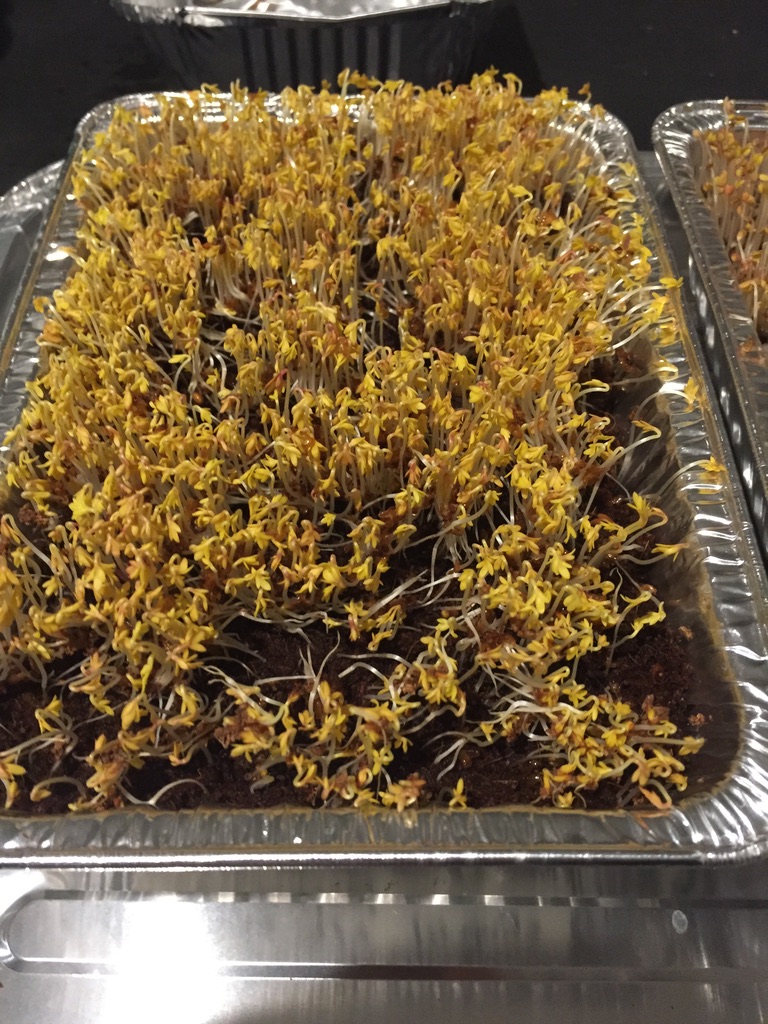
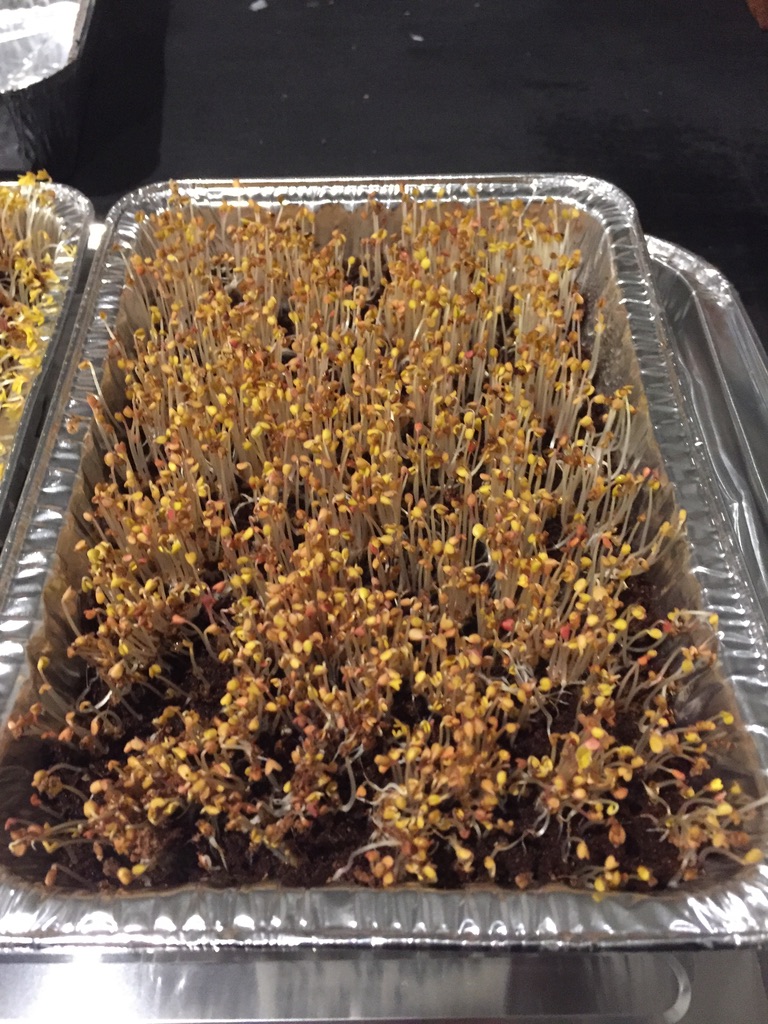
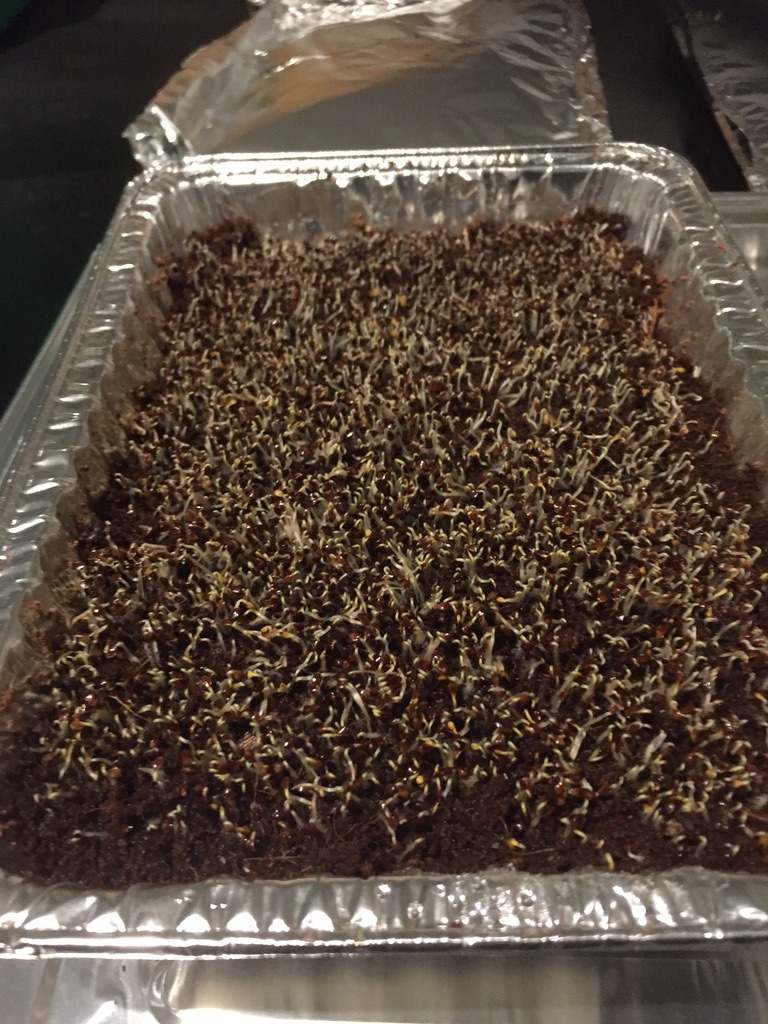
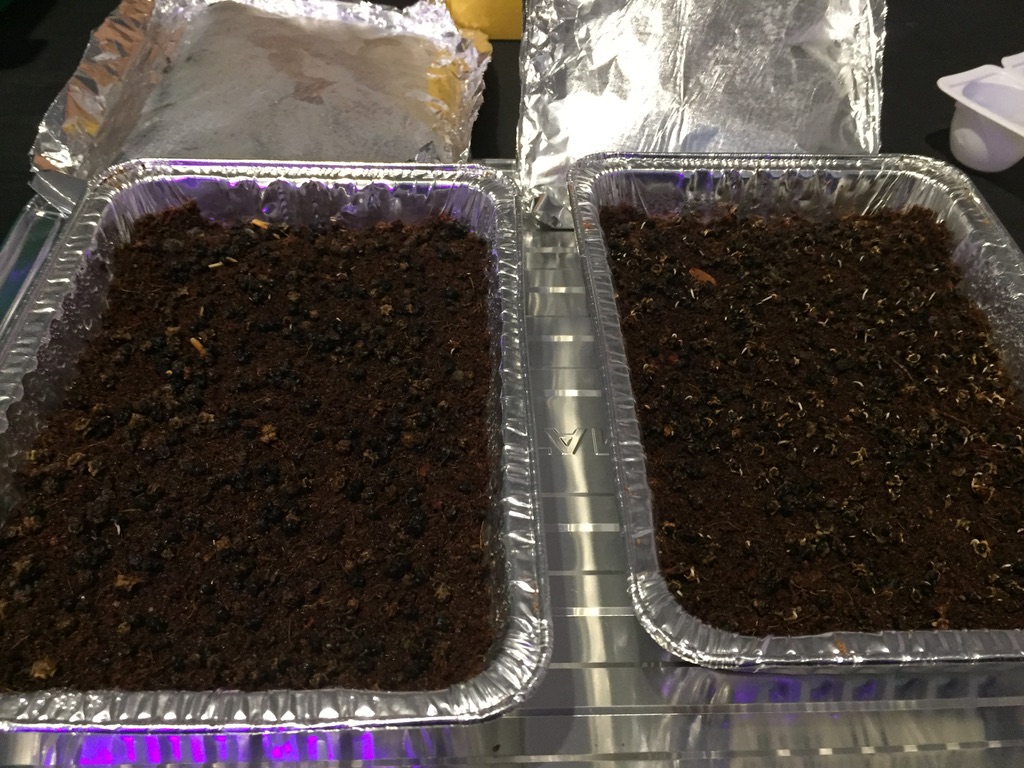
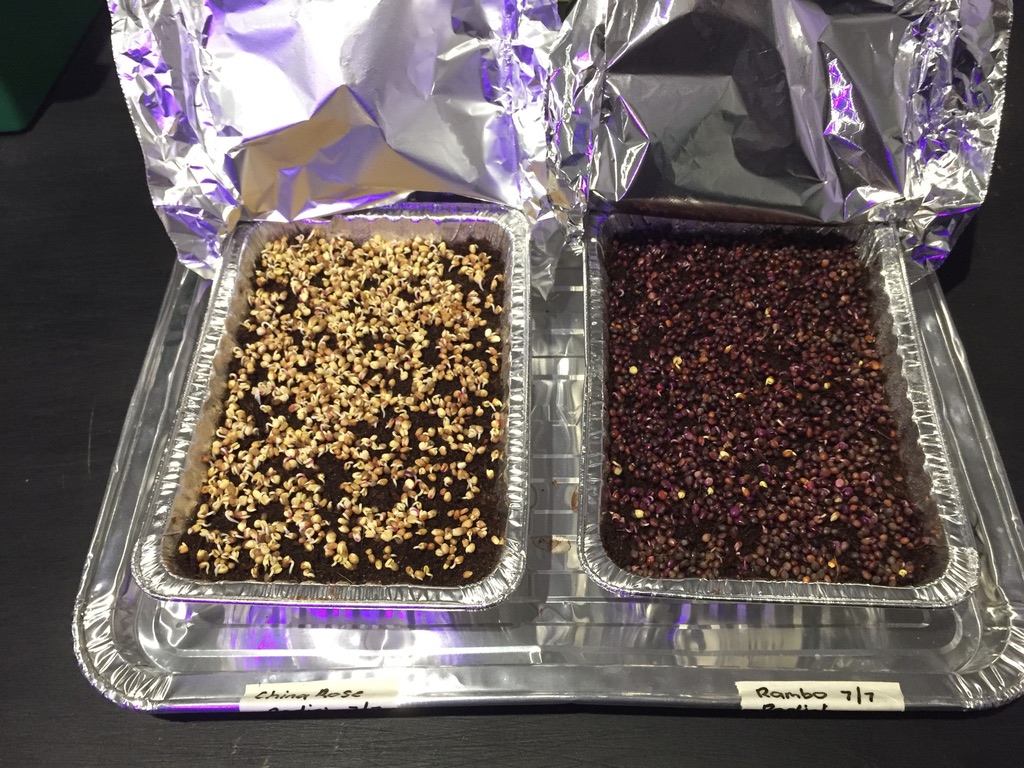
By the 2nd morning there was more progress and it is very impressive to see nature at work.
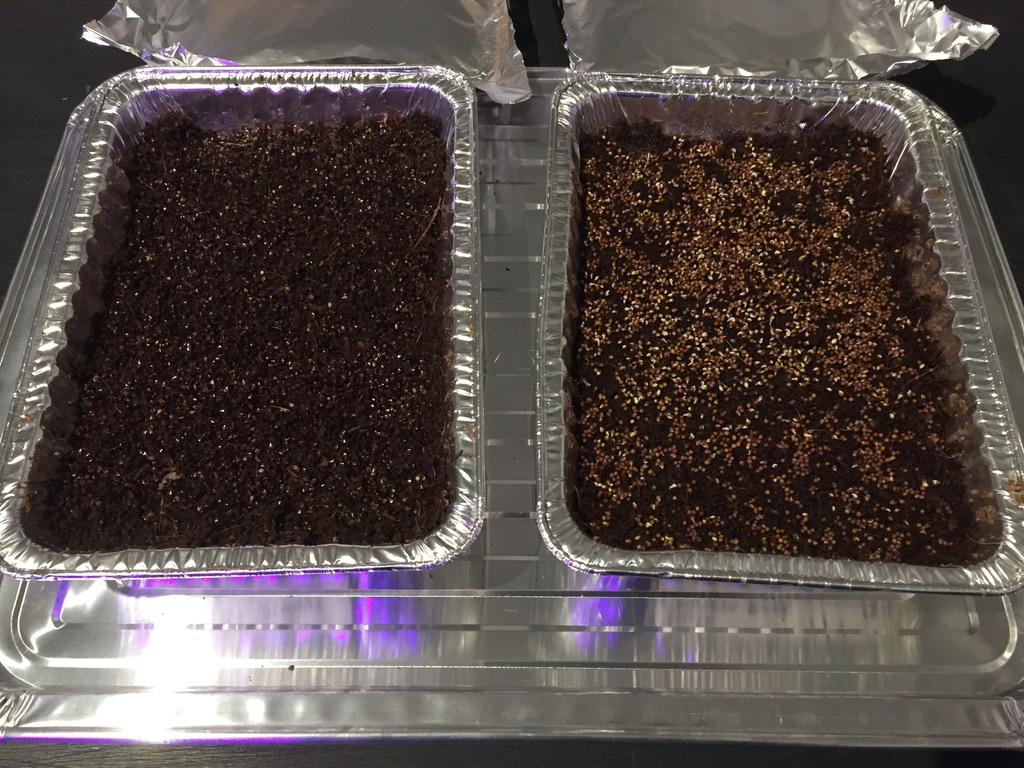
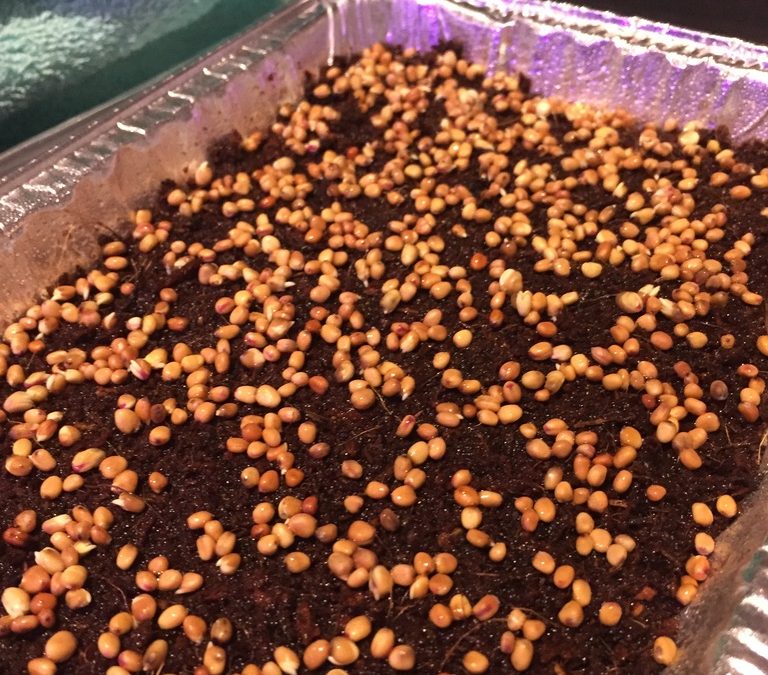
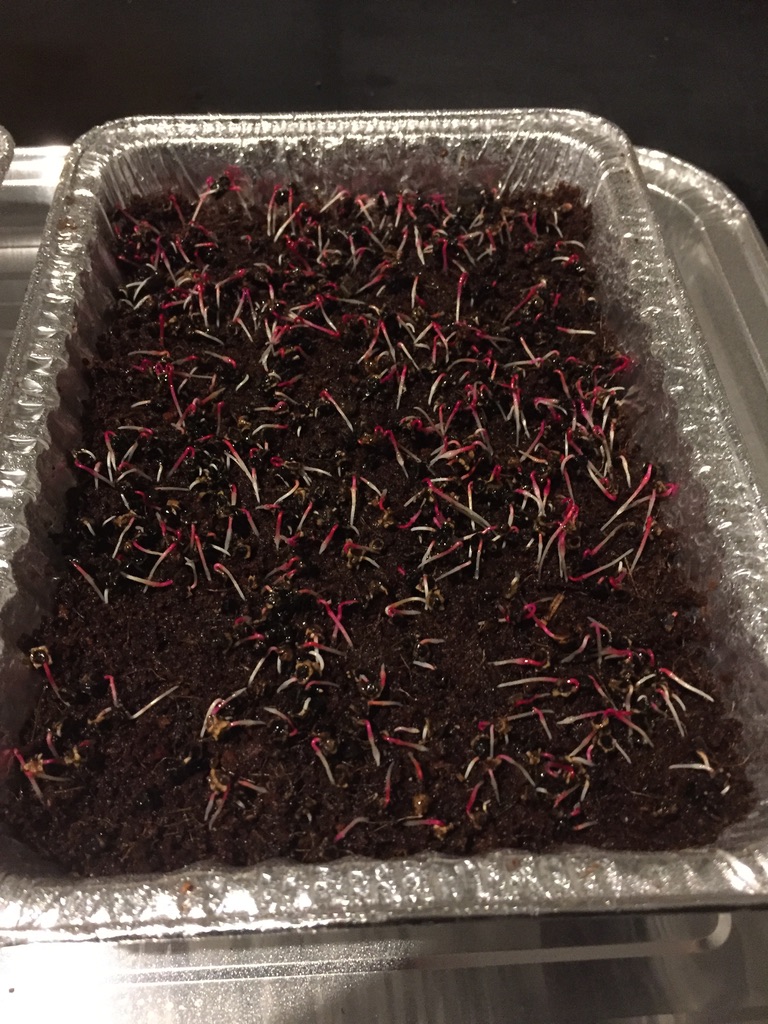
As expected for the most part not much happened overnight. There is definitely some growth appearing which is great for the seeds that are quick to germinate.
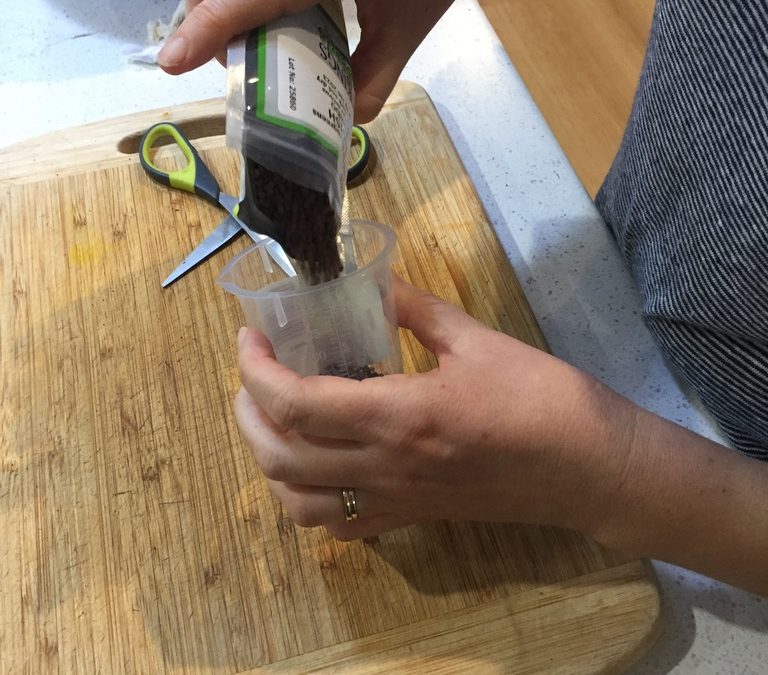
The process each morning and evening is to:

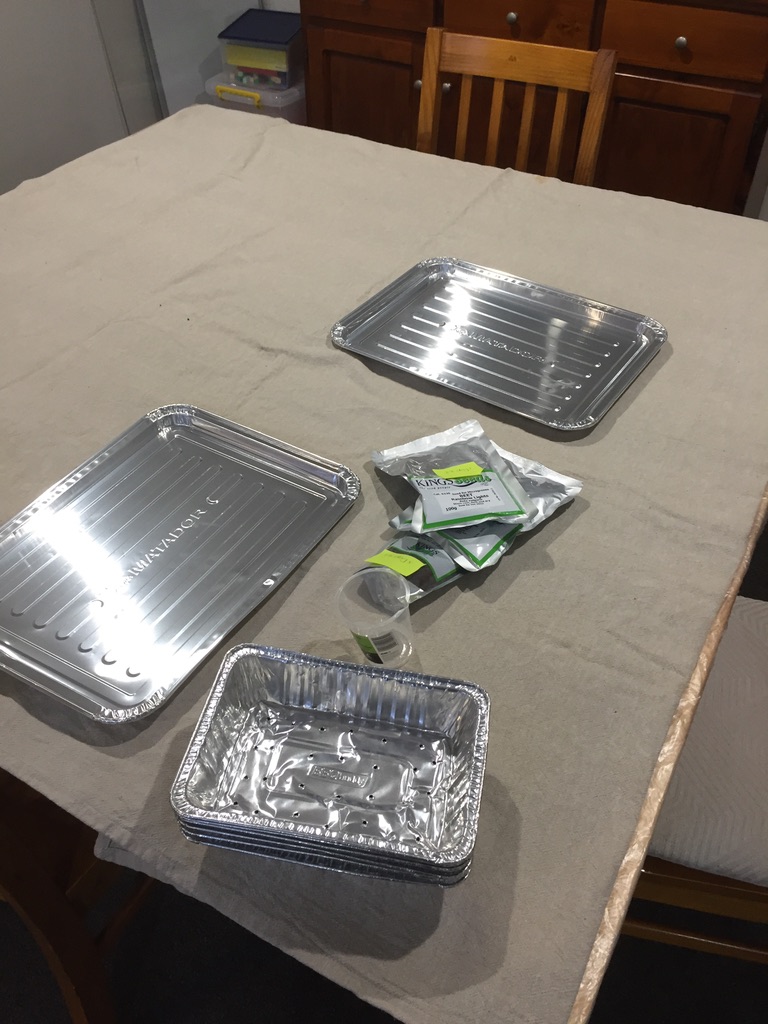
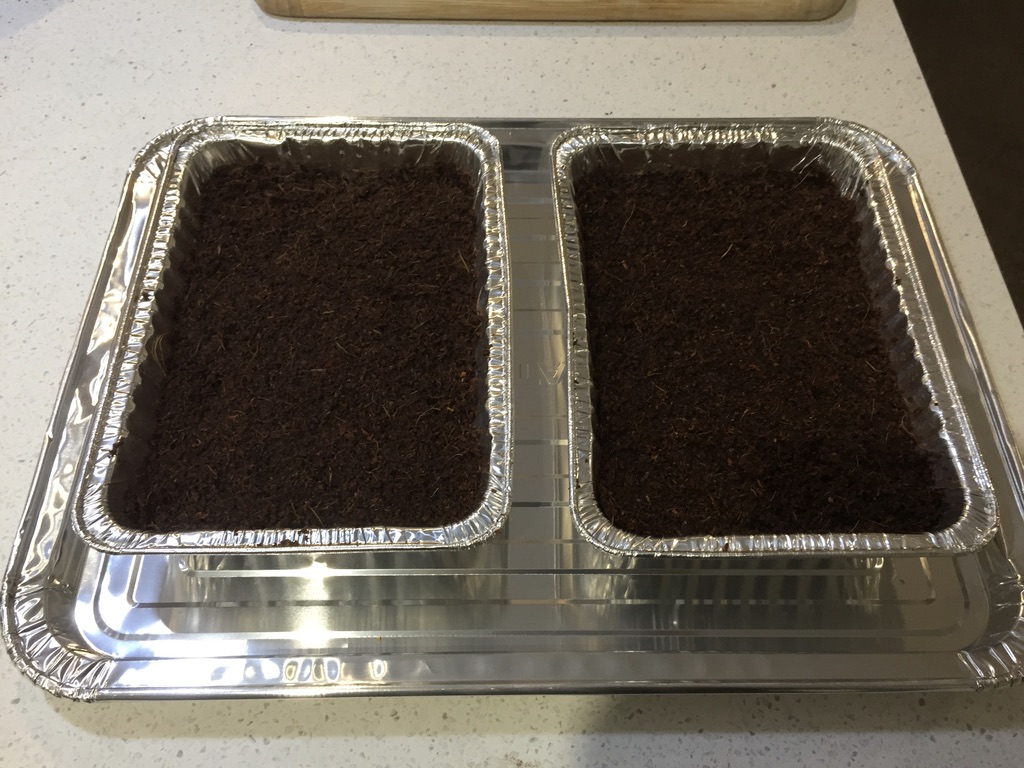
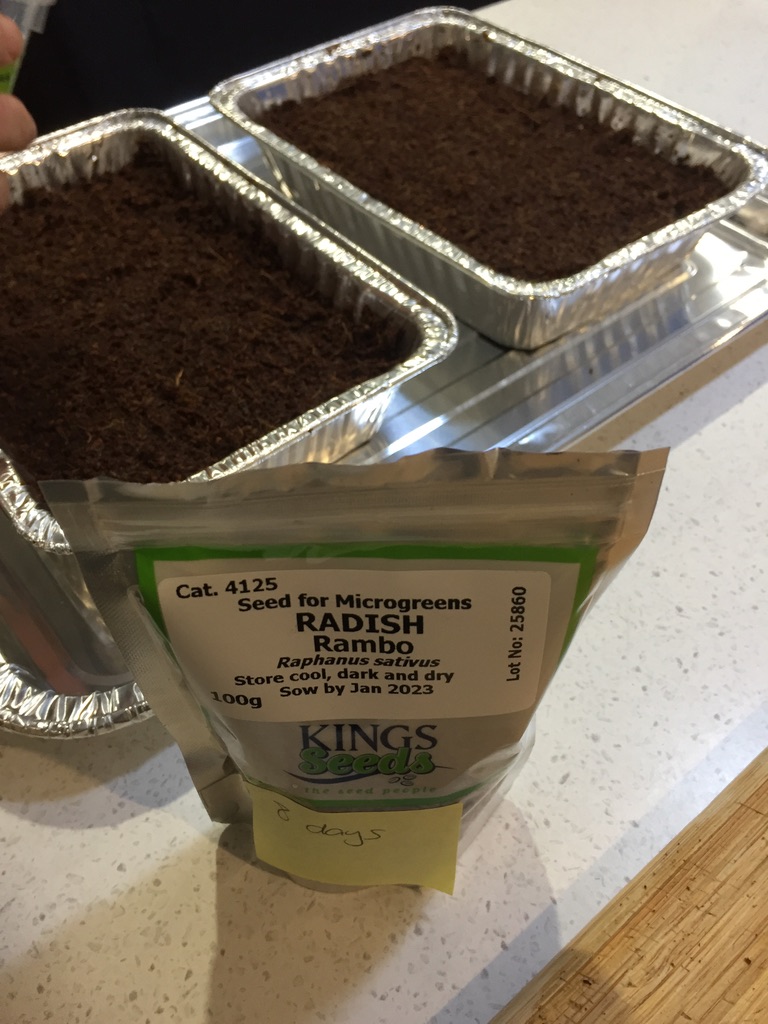
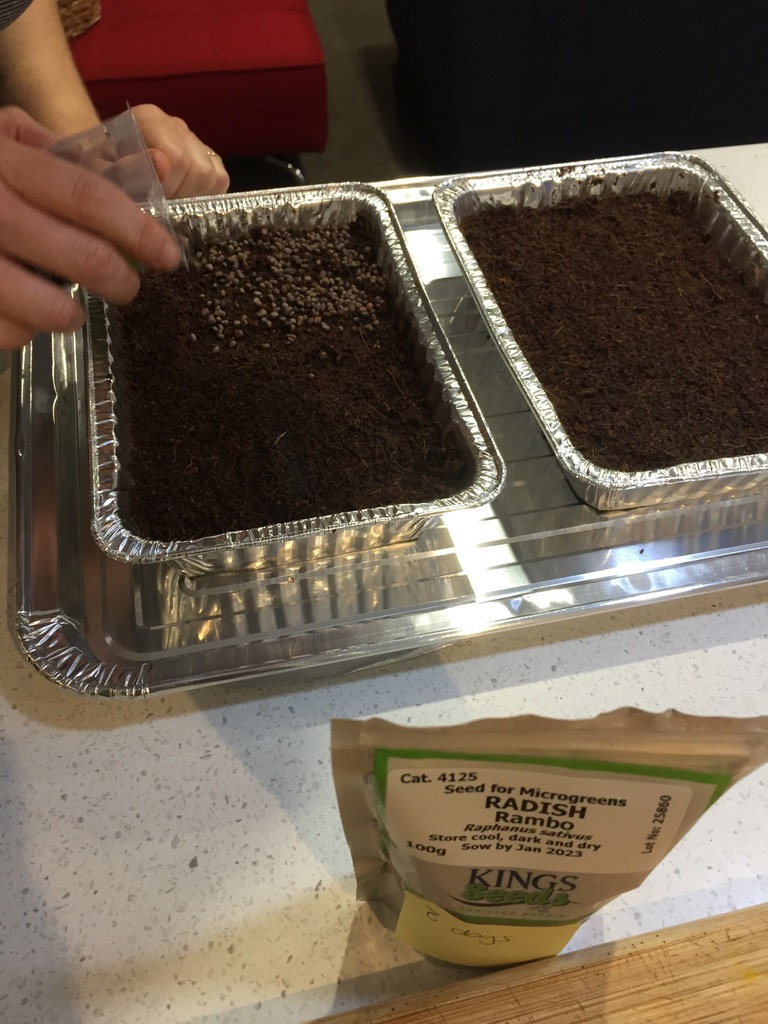
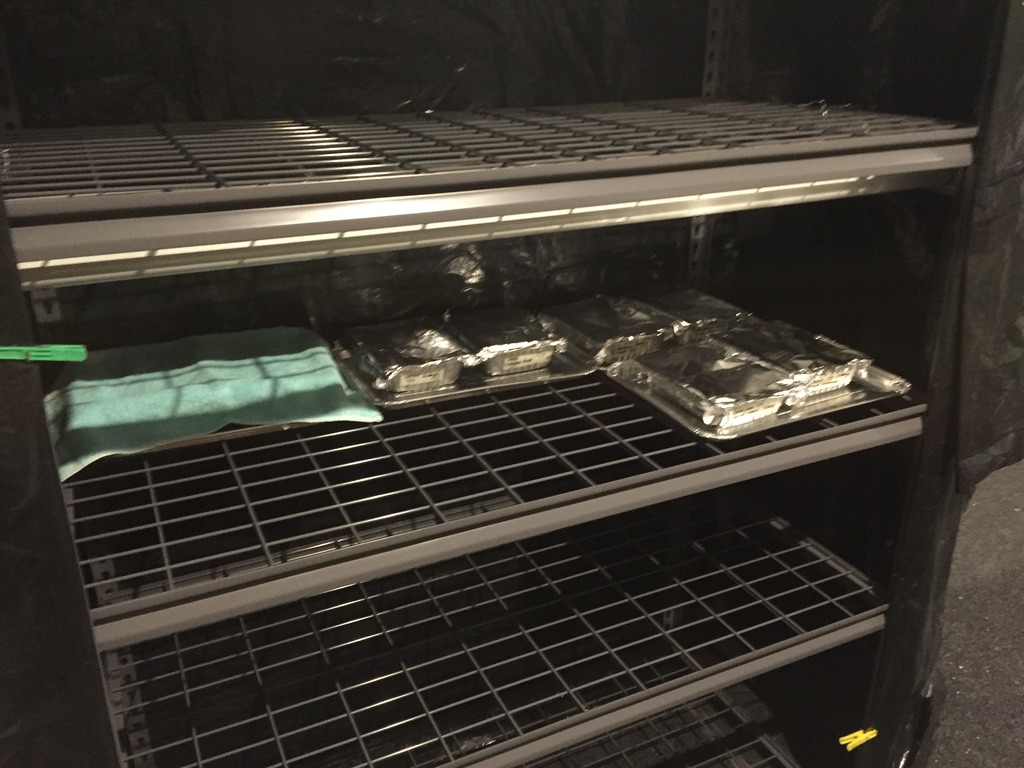
After constructing the environment that we feel is going to be suitable for growing food indoors, and our seeds arrived from KingSeeds, we have started our MicroGreens trial. It was a bit of a messy start, we didn’t have the garage table sorted out with suitable lighting areas so we moved into the kitchen, and we know that our aluminium food /baking trays are a bit flimsy however we haven’t yet discovered the perfect food grade plastic trays for growing in. These will do for starters!
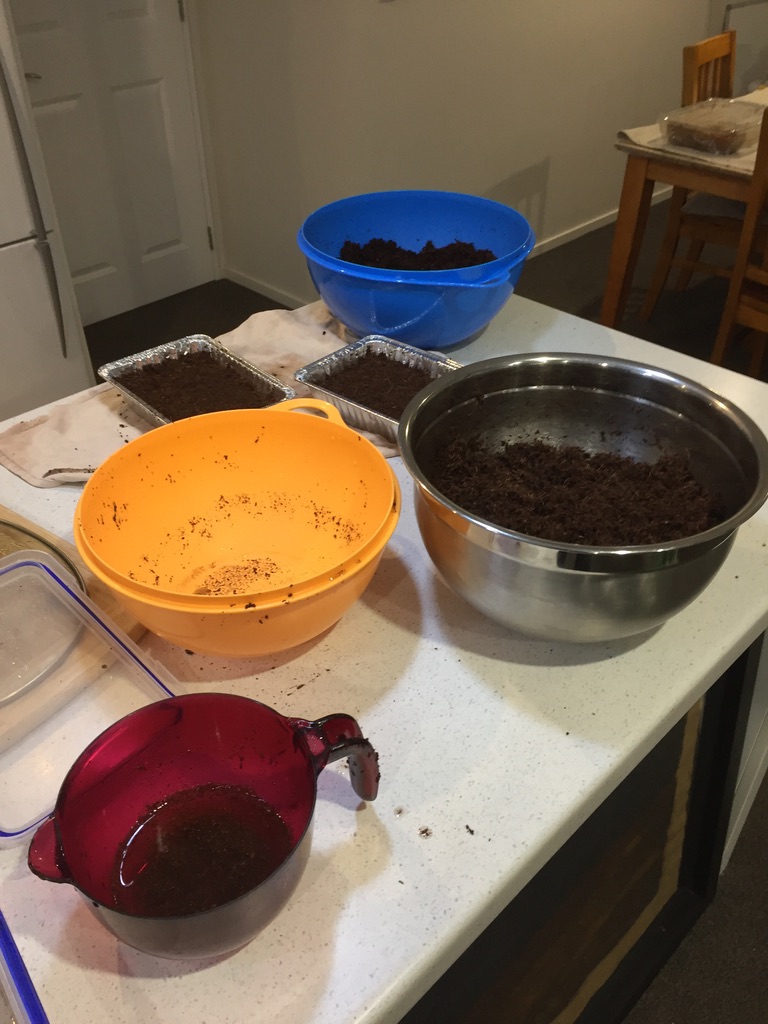
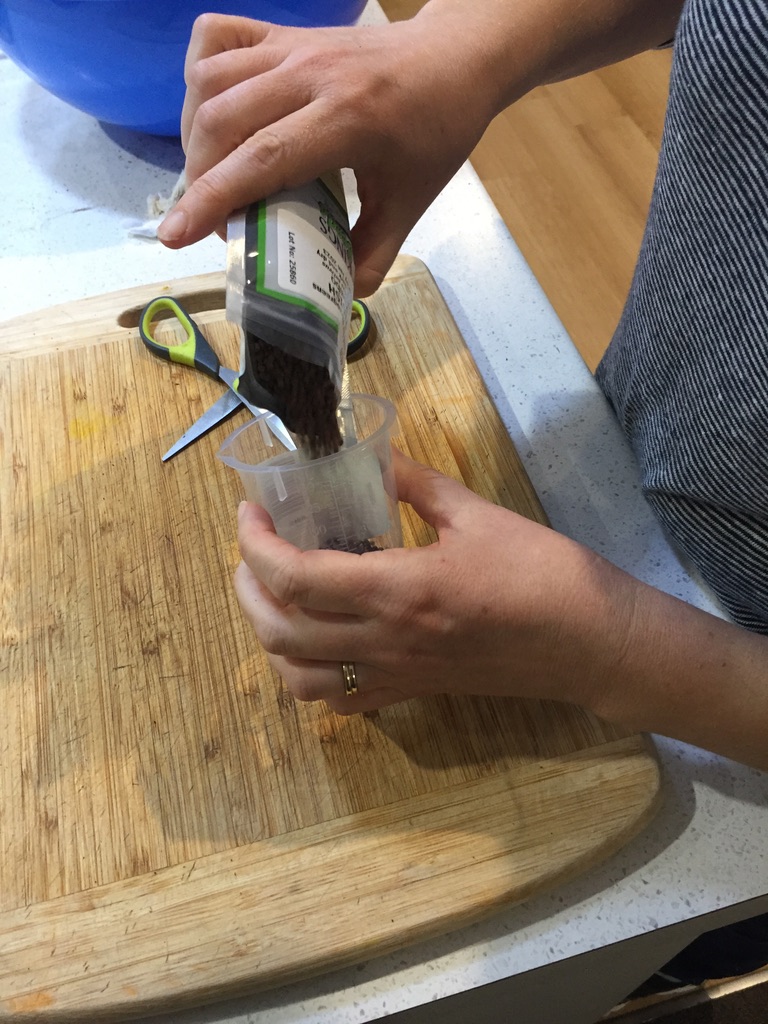
The process was to:
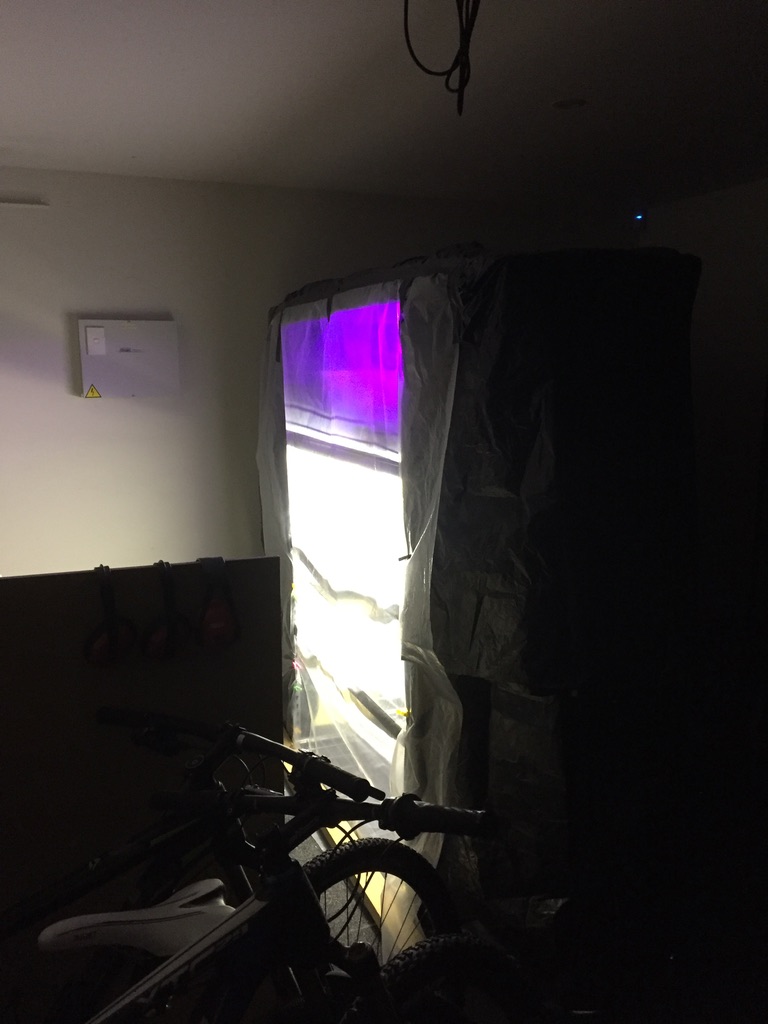
As it is winter in New Zealand, and we’re still having the occasional frost, growing outdoors has come to a bit of a standstill, in our yard at least – there are still things to be done outside but the temperature certainly isn’t inviting. We have therefore moved our interests indoors.
At the weekend we visited Bunnings, Mitre10, plus our local Hammer Hardware and BuildLink and gathered all the things required to get an at-home micro-greens environment set up. The trays were the hardest to find and we need a better solution to these. The shelves were very loud to put up, the metal all sang out and we ended up each donning ear muffs.
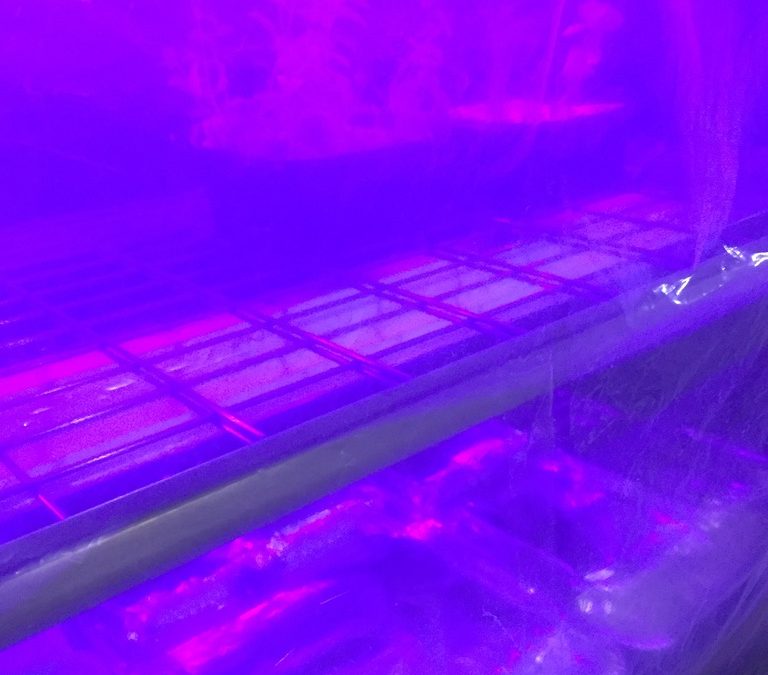
We covered the shelves with black plastic polythene which we had left over from a summer waterslide, and as you can see a clear polythene front space, which is useful for peering in without opening. Yes, the space isn’t air locked which means that the dehumidifier does dry more than the growing booth, but at this trial stage we’re OK with that.
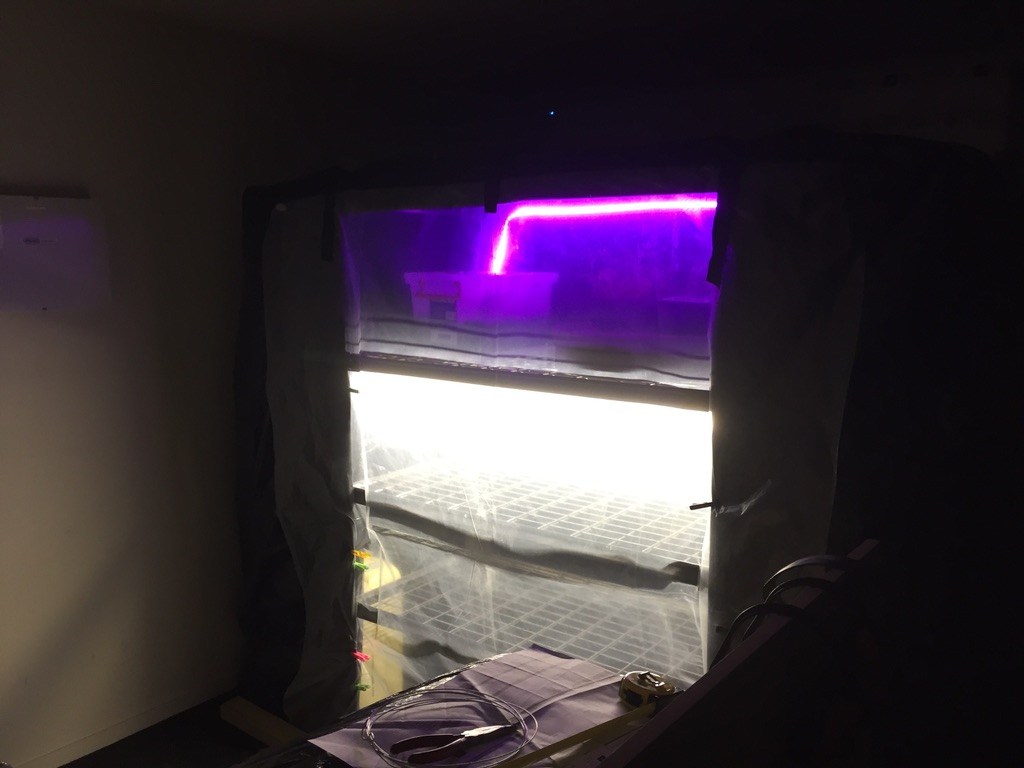
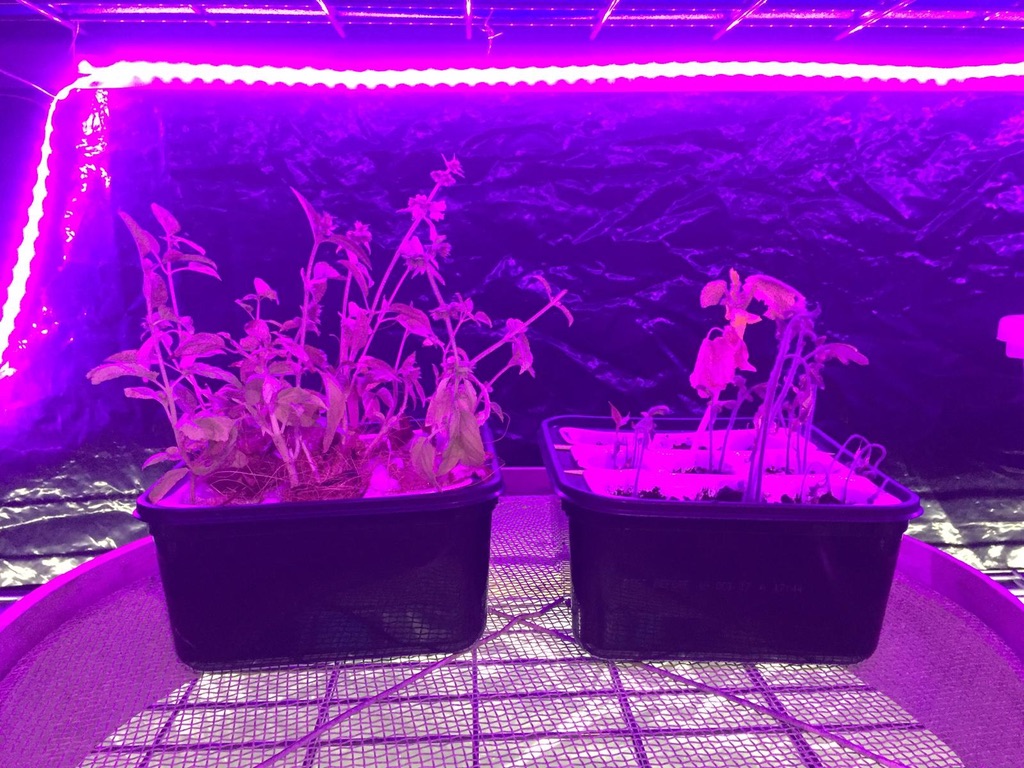
We had some deep bath hydroponic trials going already but the lower daylight levels had brought the basil leaf growth to a near standstill. As an experiment, we placed the yellowing plants into the booth for a 14 hours of full spectrum LED light to see if it made any difference. And after 3 days the colour in the leaves is certainly far greener and healthier it its appearance.