This simple recipe is a great addition to any lunchtime meals. Uses our standard 111 emergency recipe. That is 1 egg, 1 cup of liquid, 1 cup of flour, adapted for corn fritters.
2 x cans of corn kernels
2 x cups of self-raising flour
2 x fresh eggs
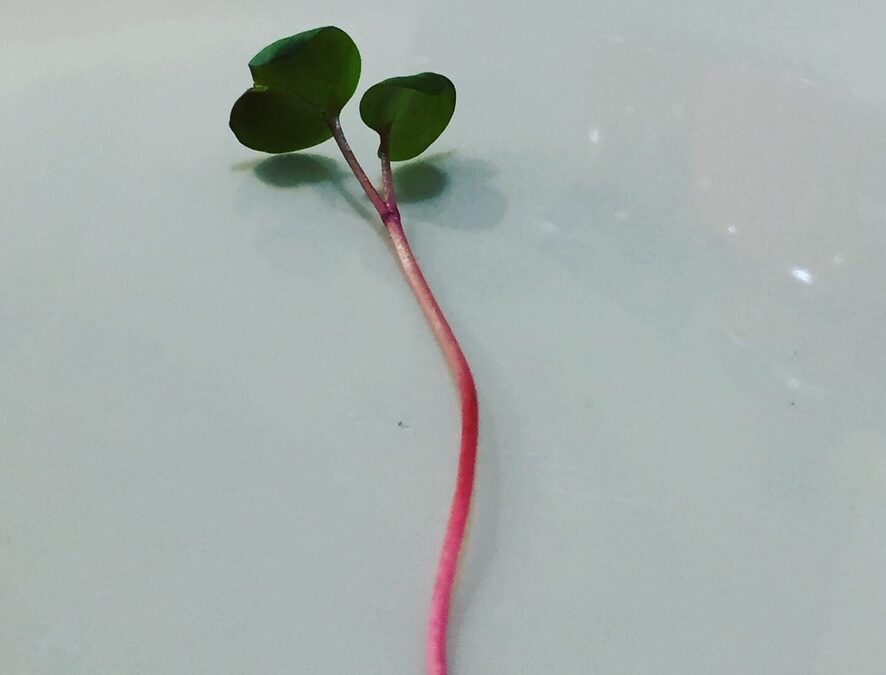
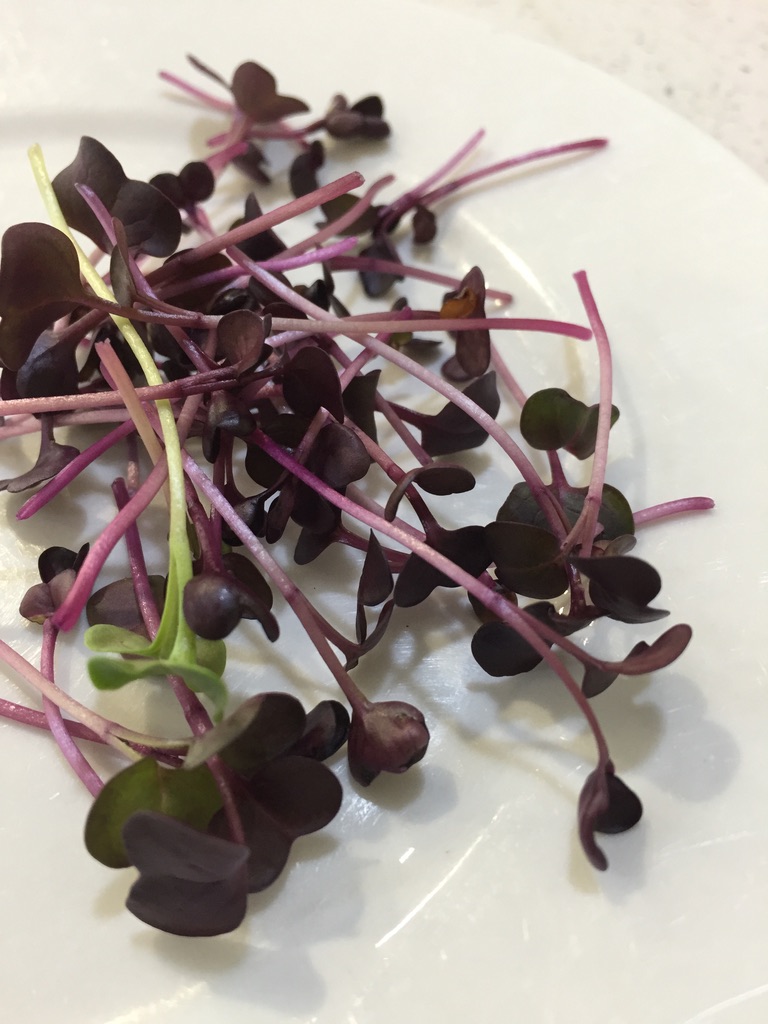
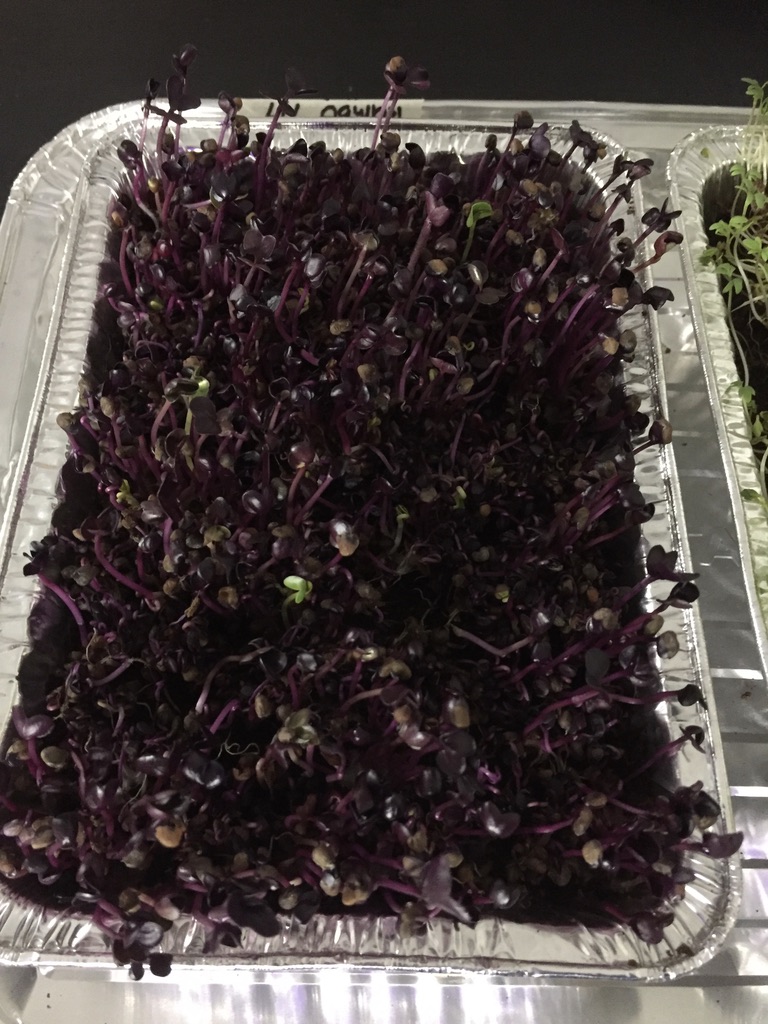
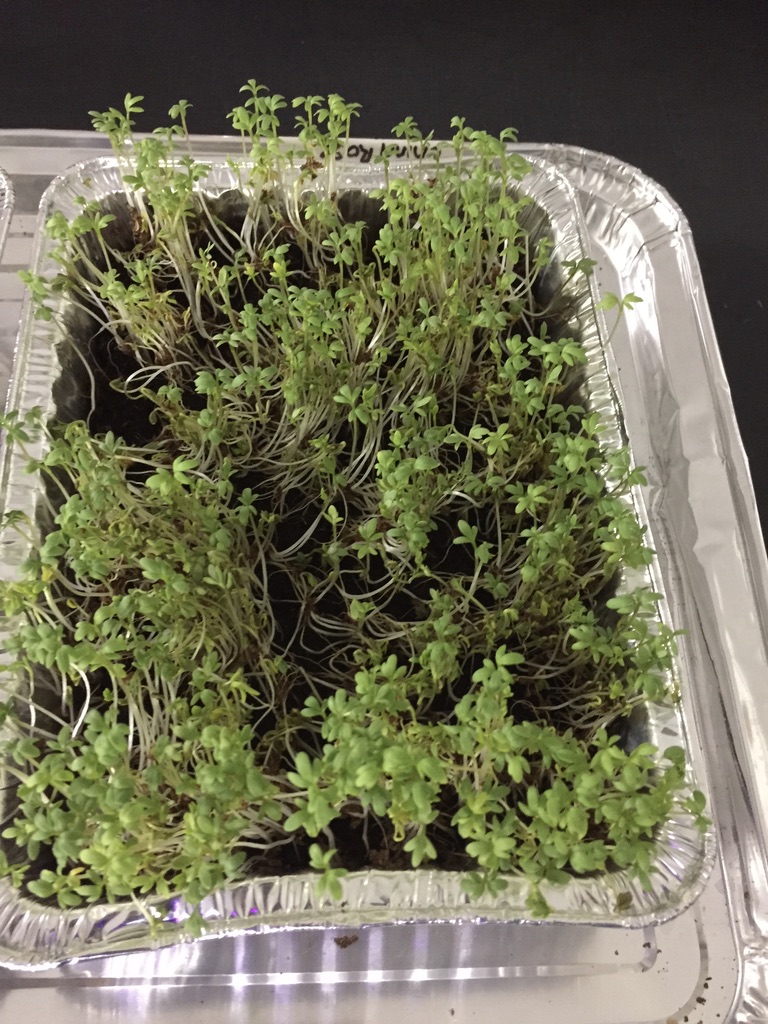
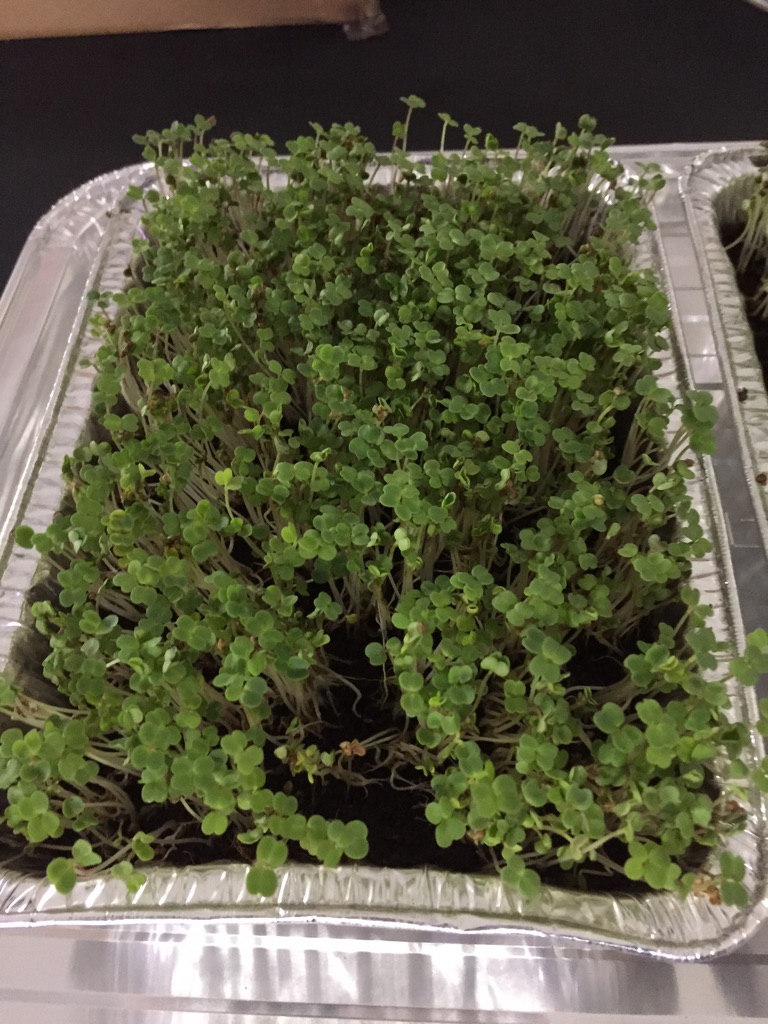
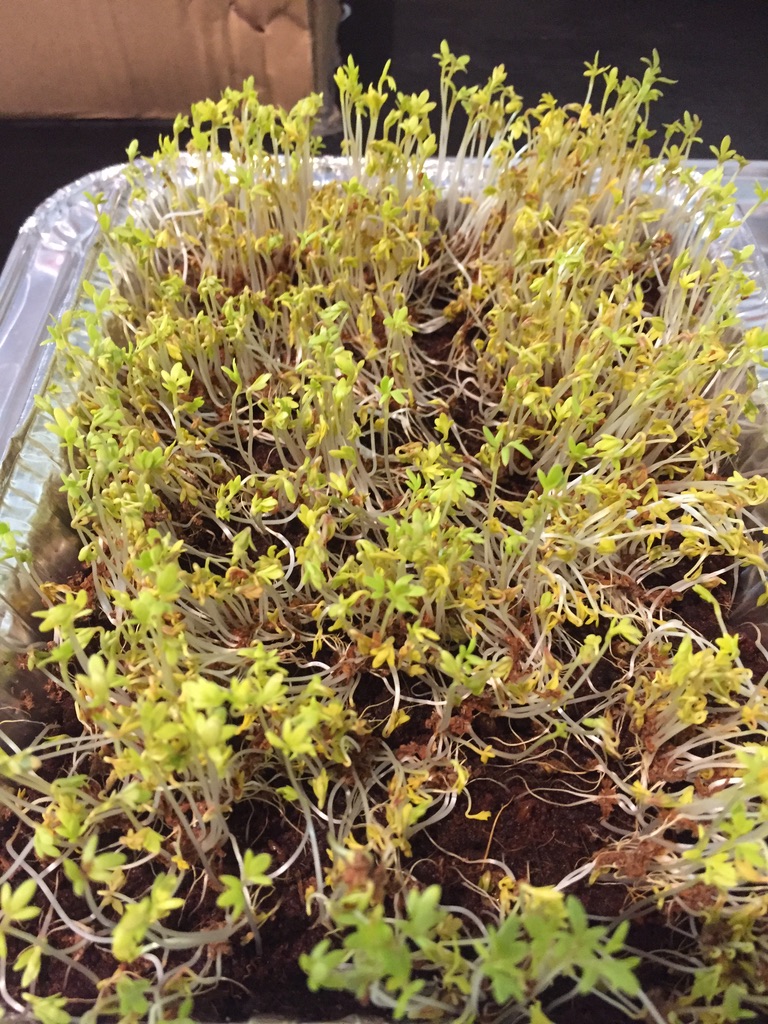
40 grams of fresh microgreens (in this case a mixture of kale, cress and Rambo radish)
Feeds family of 4 with some left overs for afternoon snacks.
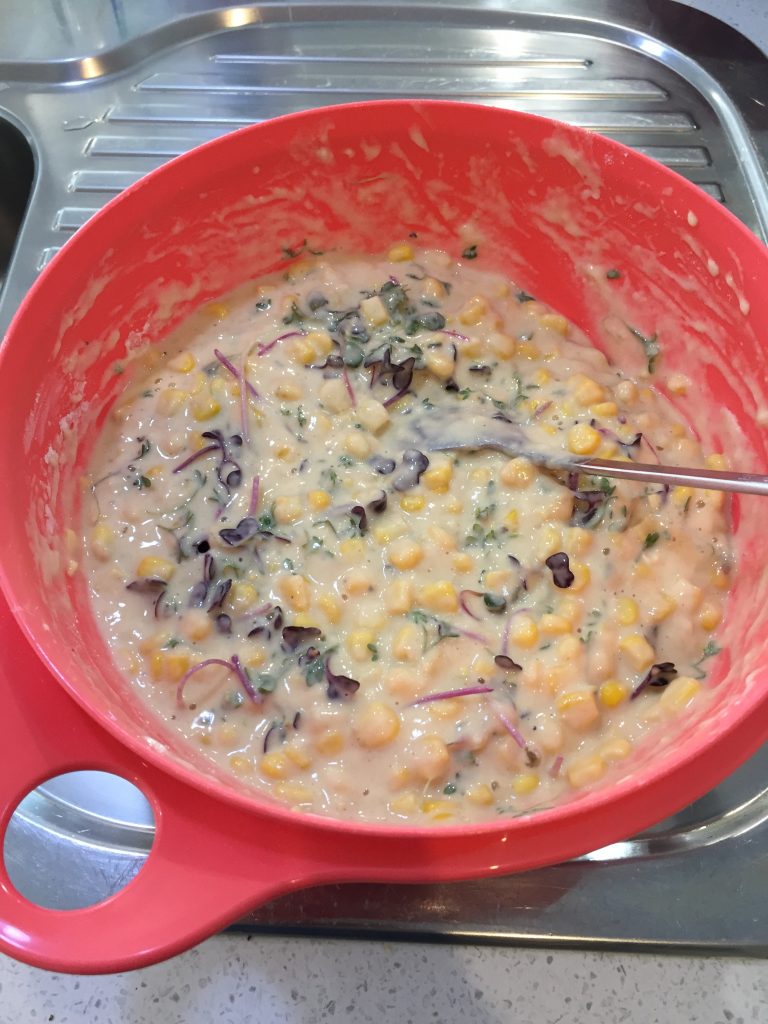
Stir together the flour, corn and eggs (add in a little milk or water to thin if needed) and fold in microgreens.
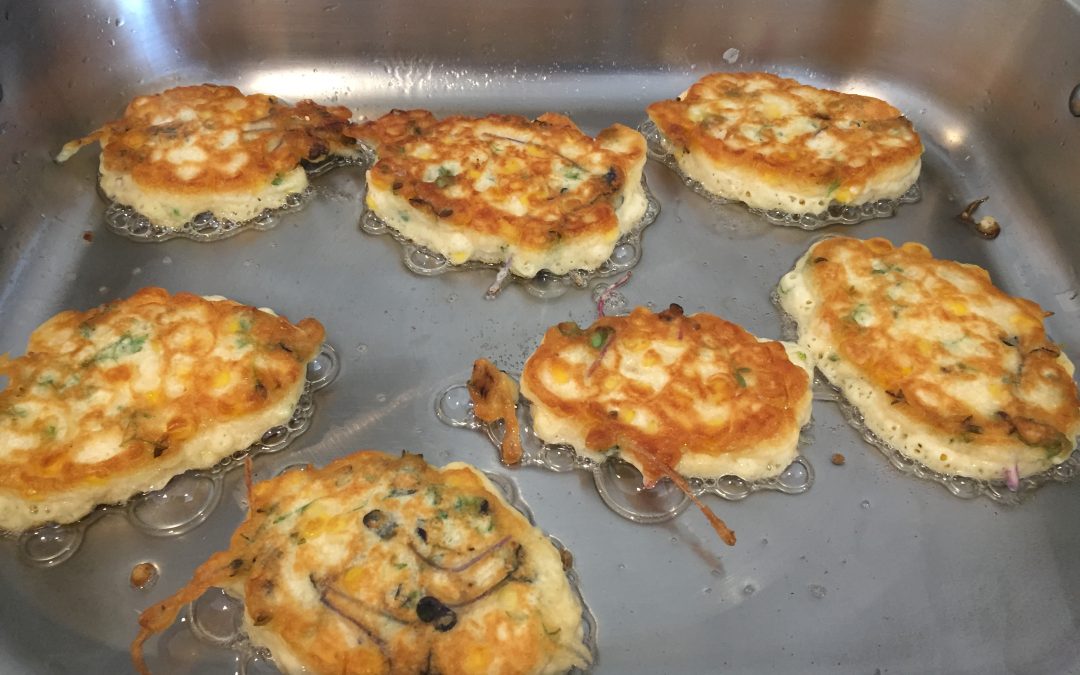
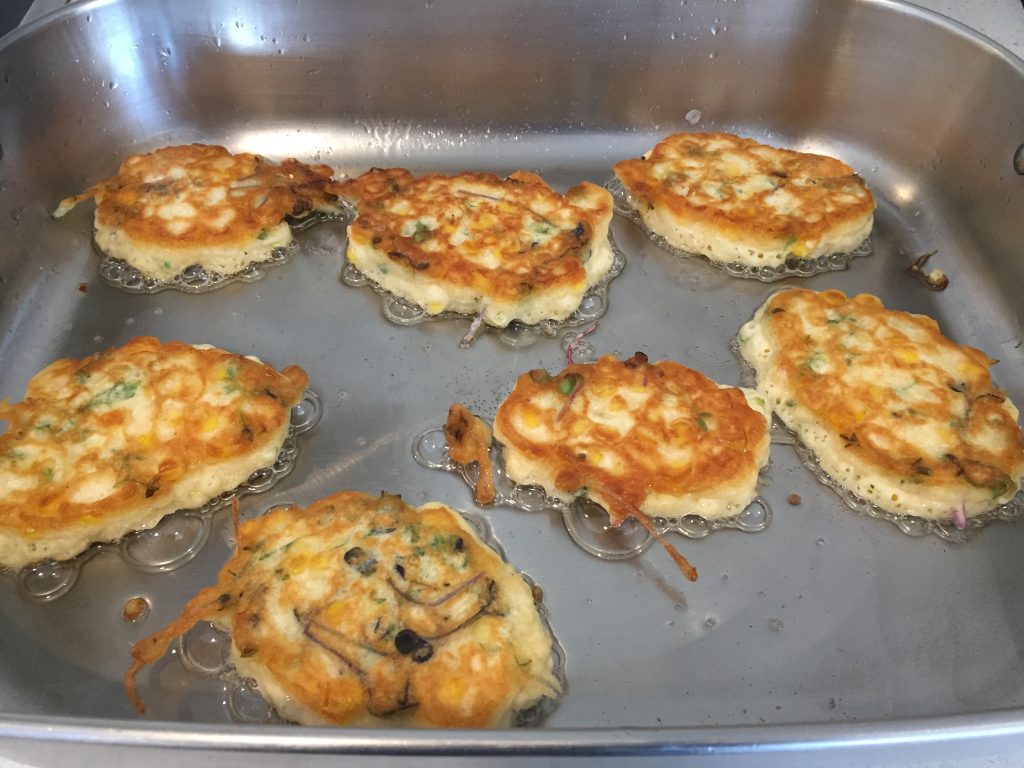
We use an electric frypan and add in 2 tablespoons (a squirt of) sunflower oil to coat the base of the pan – bring the pan up to a medium-high temperature before you add in the first fritters. They should sizzle when they are added to the pan. Into this, we place 6 spoon fulls of fritter mixture and cook until golden brown and flip – keep warm in the oven until they are all ready for the family to enjoy together!
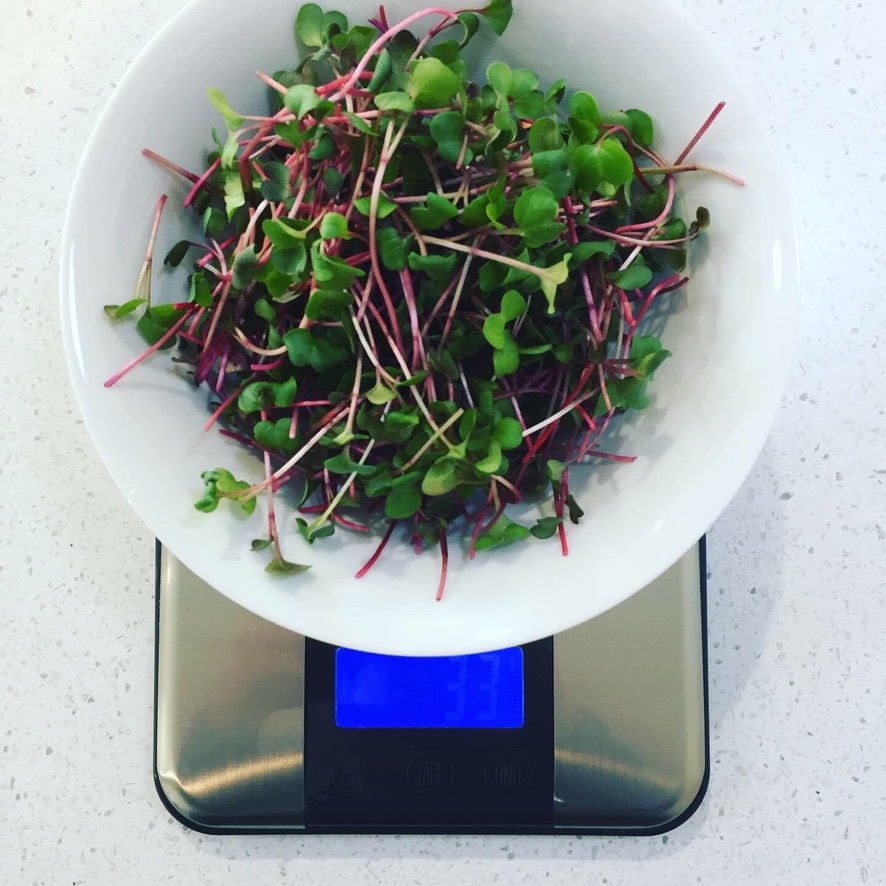
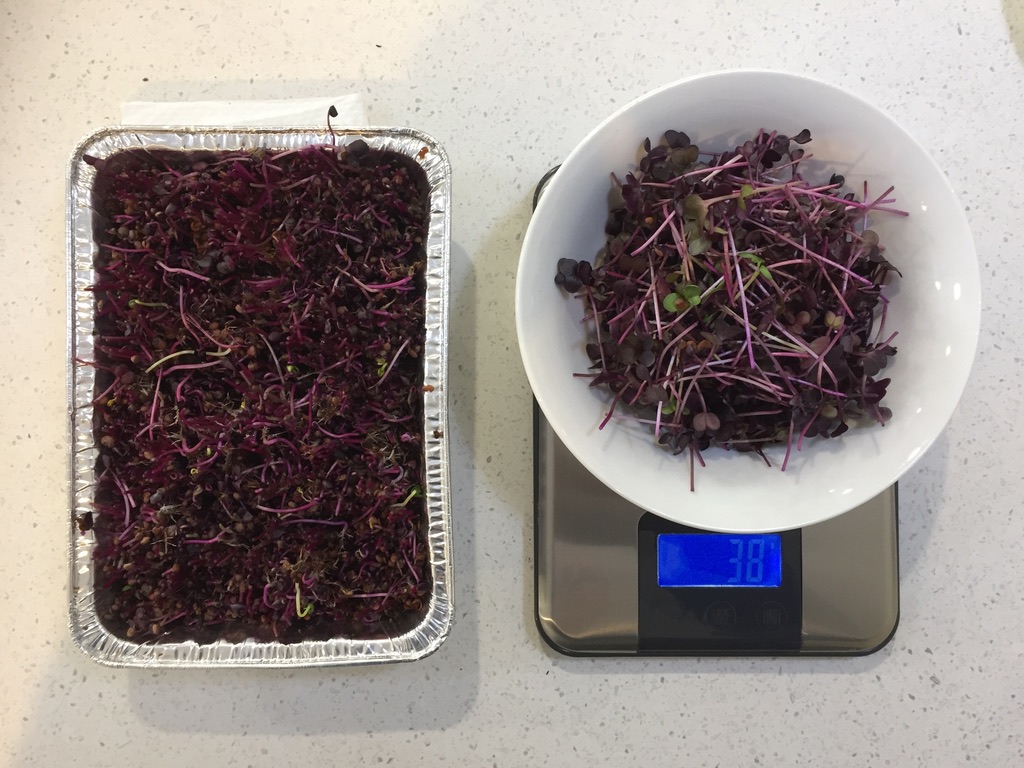
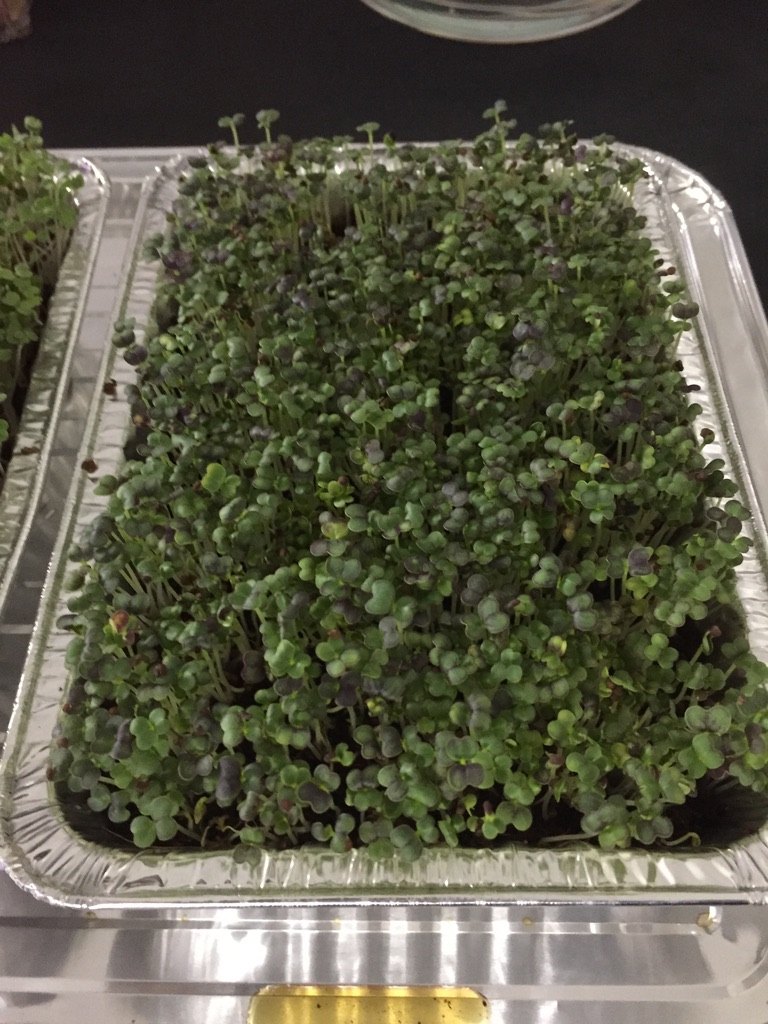
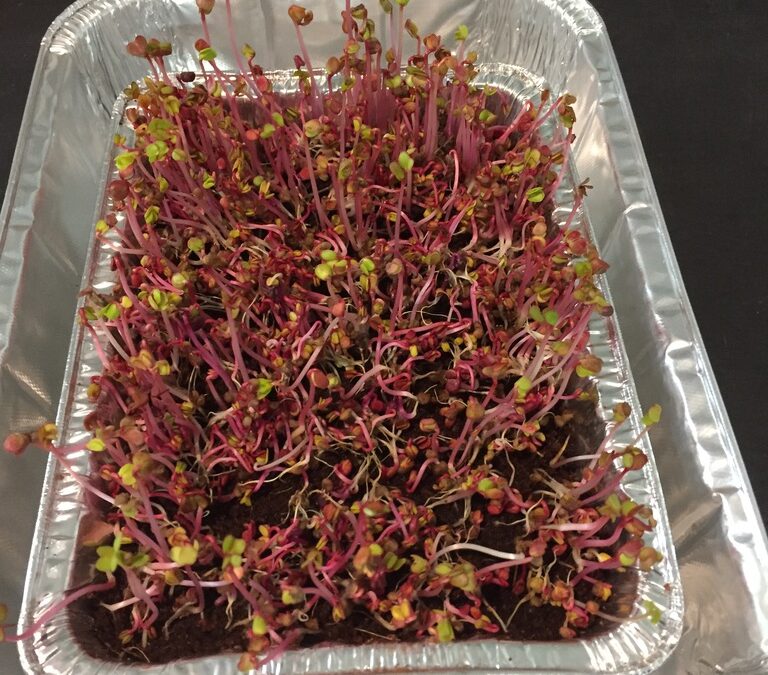
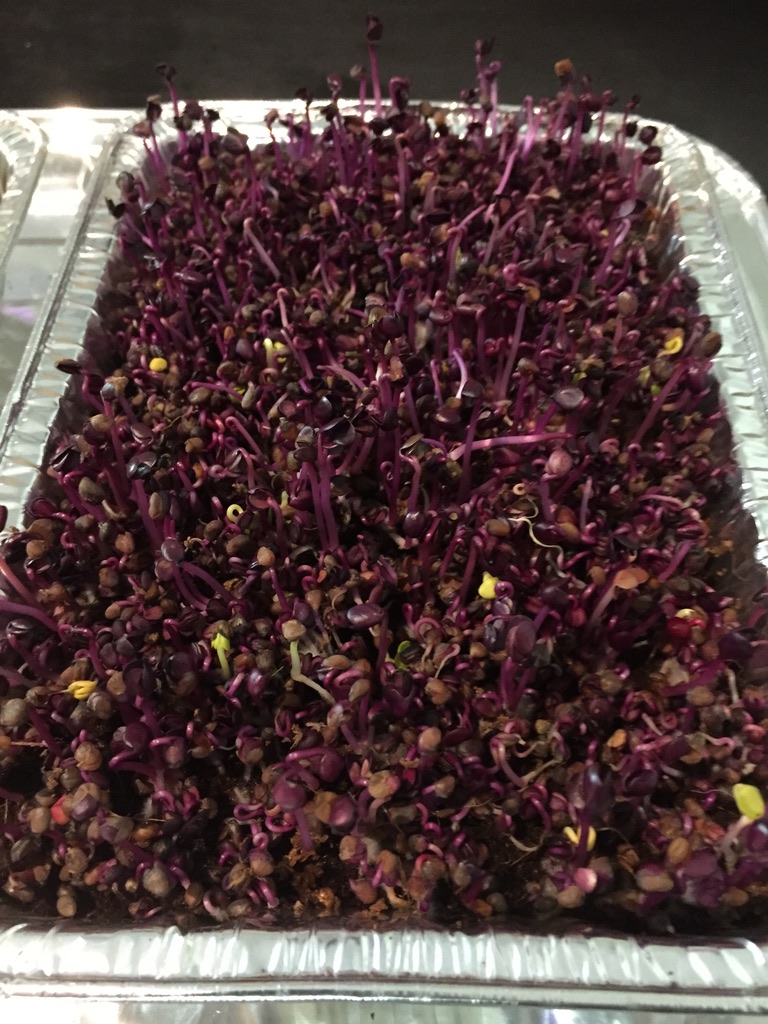
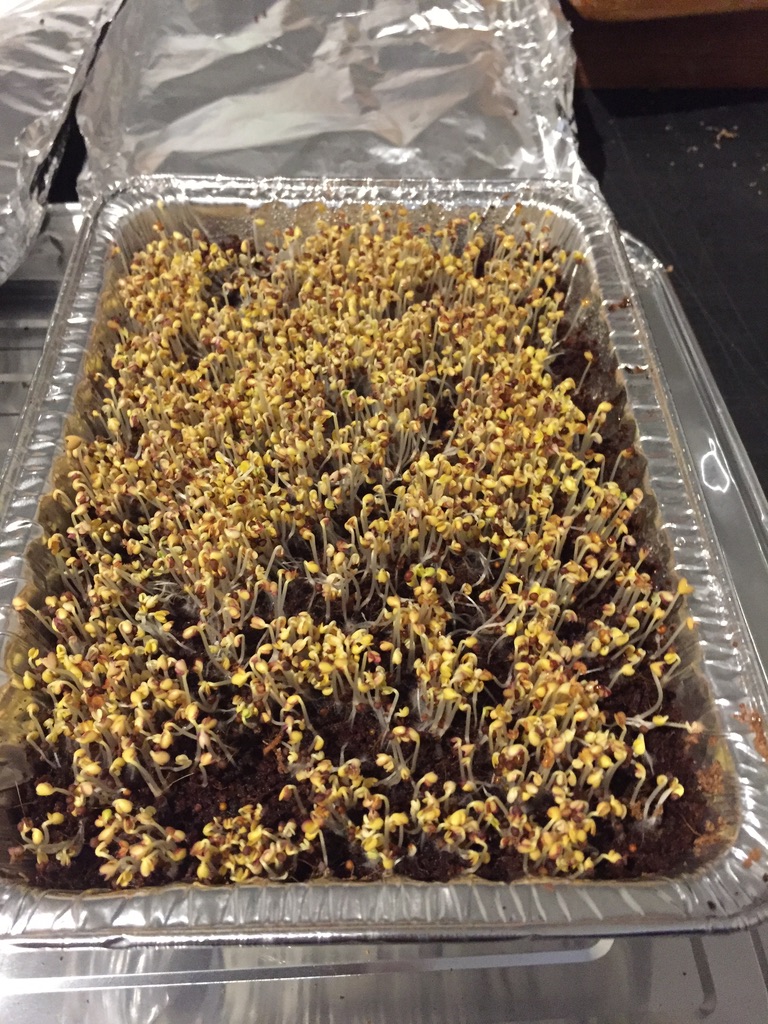
We’ve recently cut our first trial sample of Rambo and China Rose radish microgreens. These grow within 7 to 10 days and we cut ours on the 9th day, and from a tray of 12x18cm = 216cm squared growing area, we gained 33grams of China Rose radish and 38 grams of Rambo radish. If my maths is correct that is a ratio of 0.15 grams per square cm, therefore our second trial we have running at the moment 27x20cm= 540cm squared should technically deliver us approx 78 grams in total.
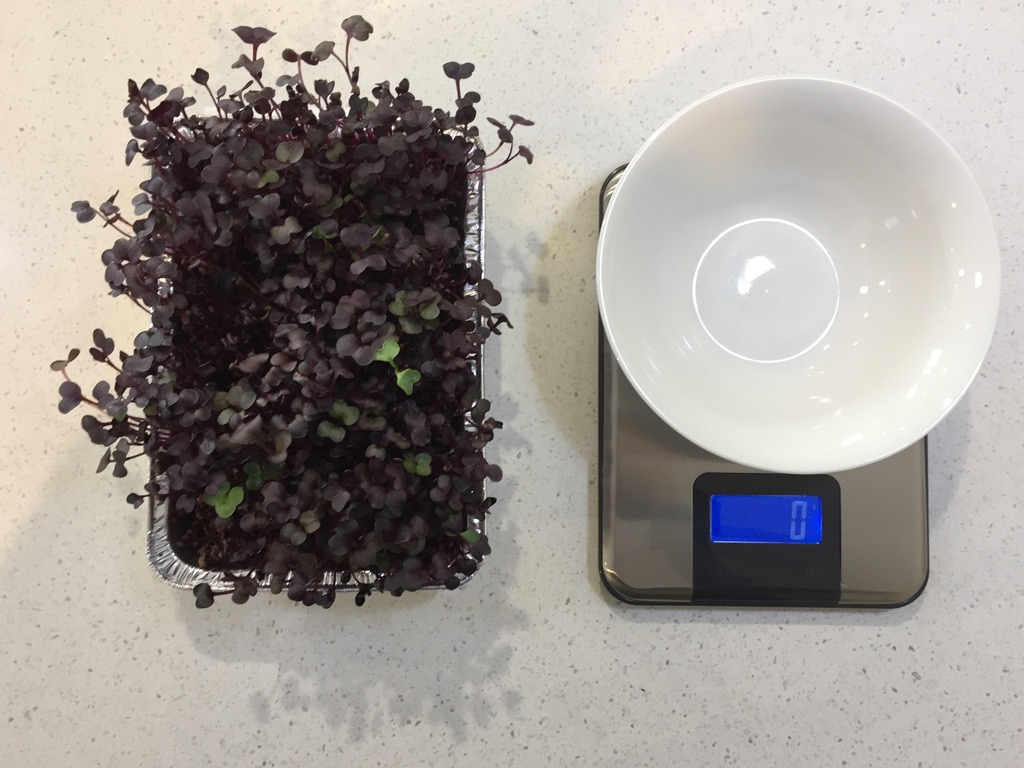
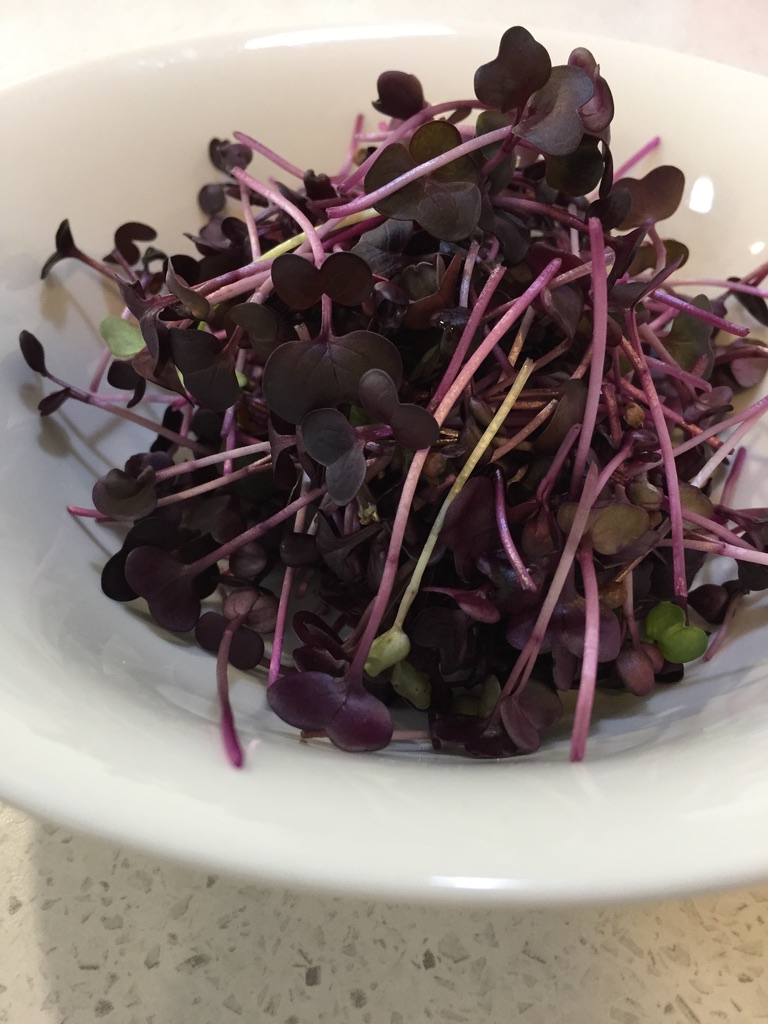
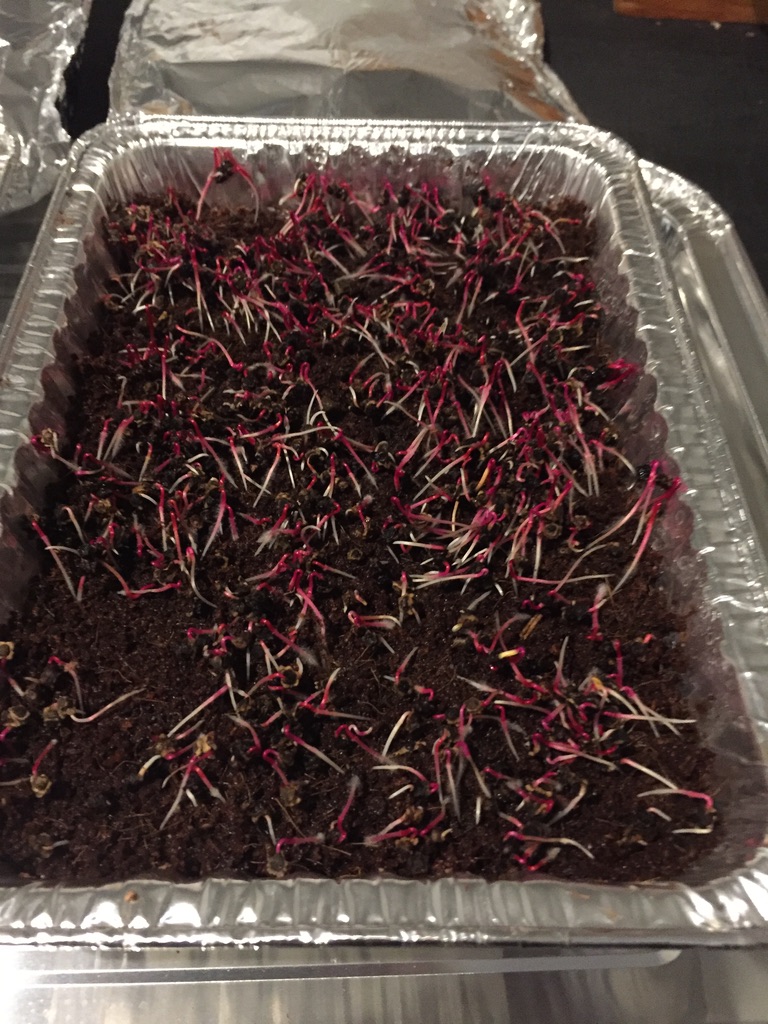
China Rose Radish – MicrogreensRambo Radish – MicrogreensLeft of the image is what we classify as compostable waste – spent plant roots and coco-peat Right of the image shows the 38 grams of Rambo Radish micro-greens
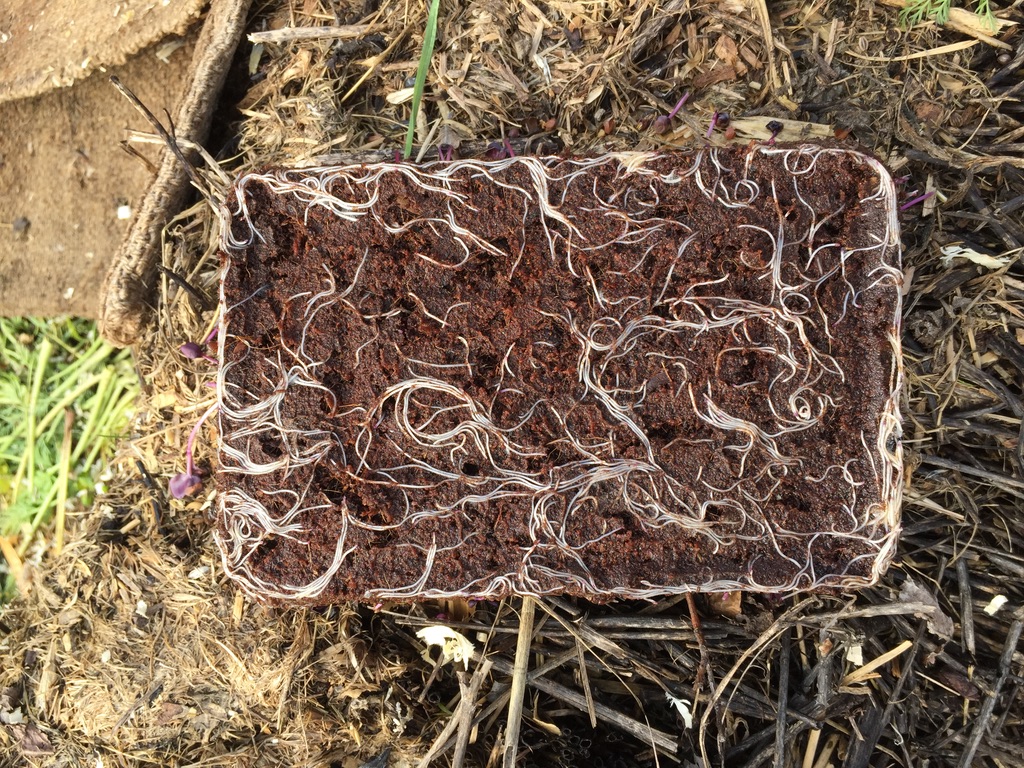
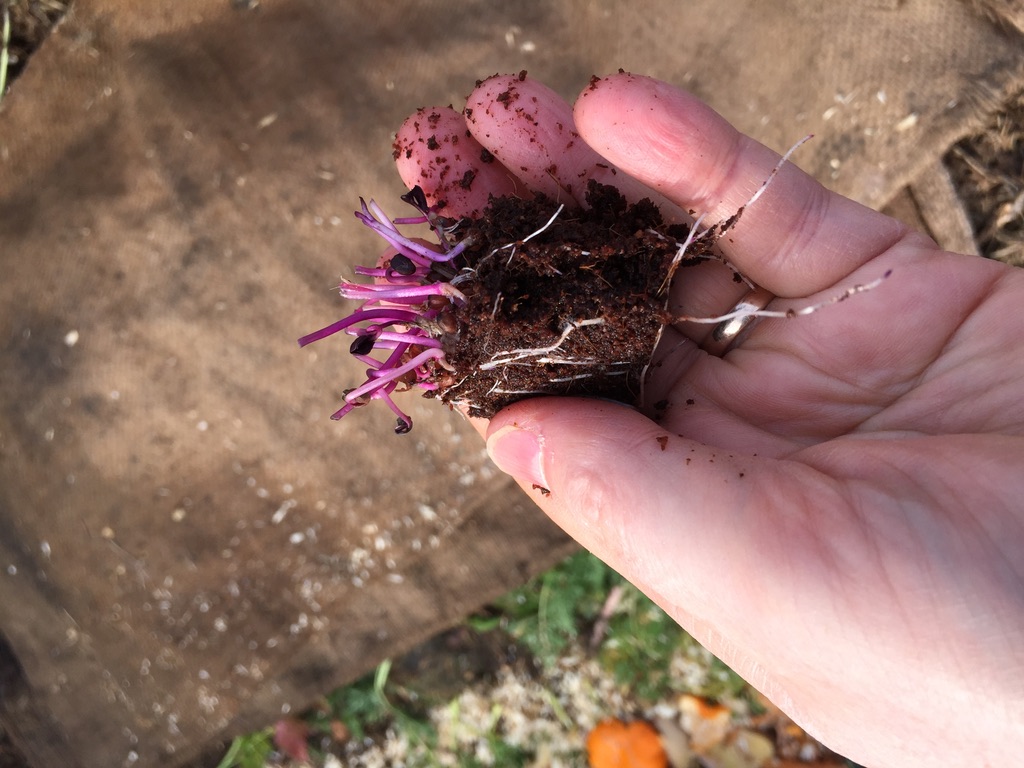
Above shows the base of the coco-peat with the radish roots growing through. This was a layer of approximately 2.5cm deep coco-peat, our concern is scaling the process and how much waste would this produce.
We want to create an environmentally sound process and therefore are considering what the options would be at a scale greater that we’re dealing with. Any advancements that we can make at a small scale will help us to increase the growing scale if we discover that there is a market for supplying microgreens locally.
One concern we have is how the coco-peat will benefit our composting process – we believe that a small amount of coco-peat added to the compost will be suitable but what is the option if the project were to scale?
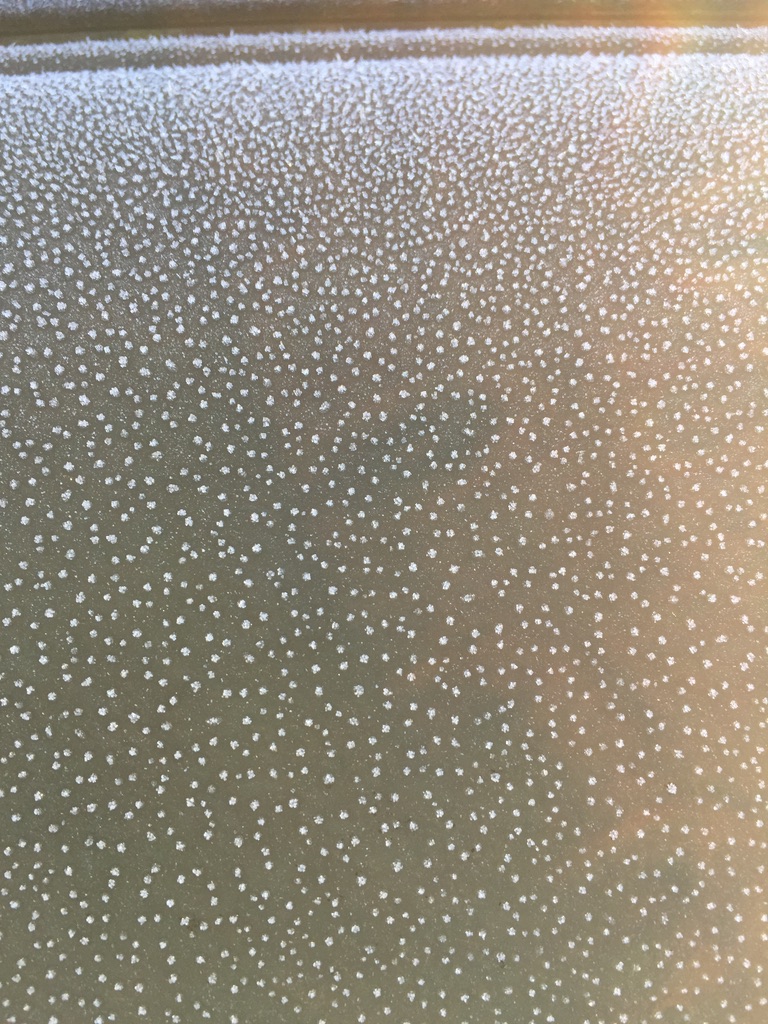
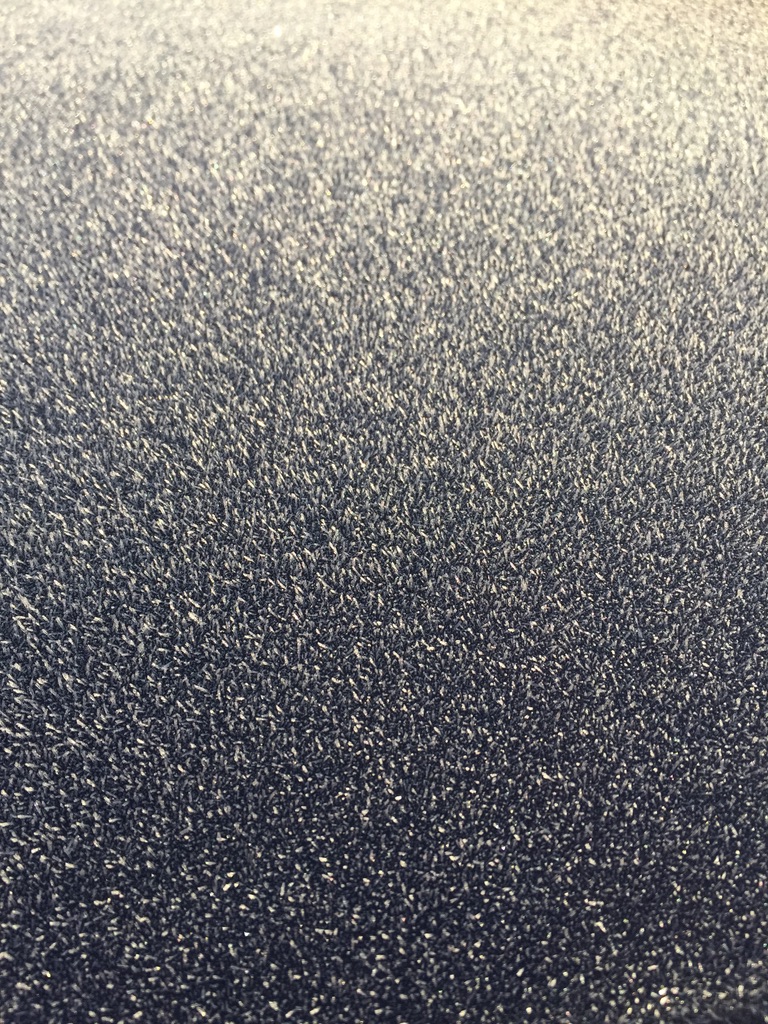
Frosty morning outside today but our indoor environment is working well, the temperature remained above 16ºC overnight at an RH of 53%. Some pictures of ice crystals that formed on our car overnight.
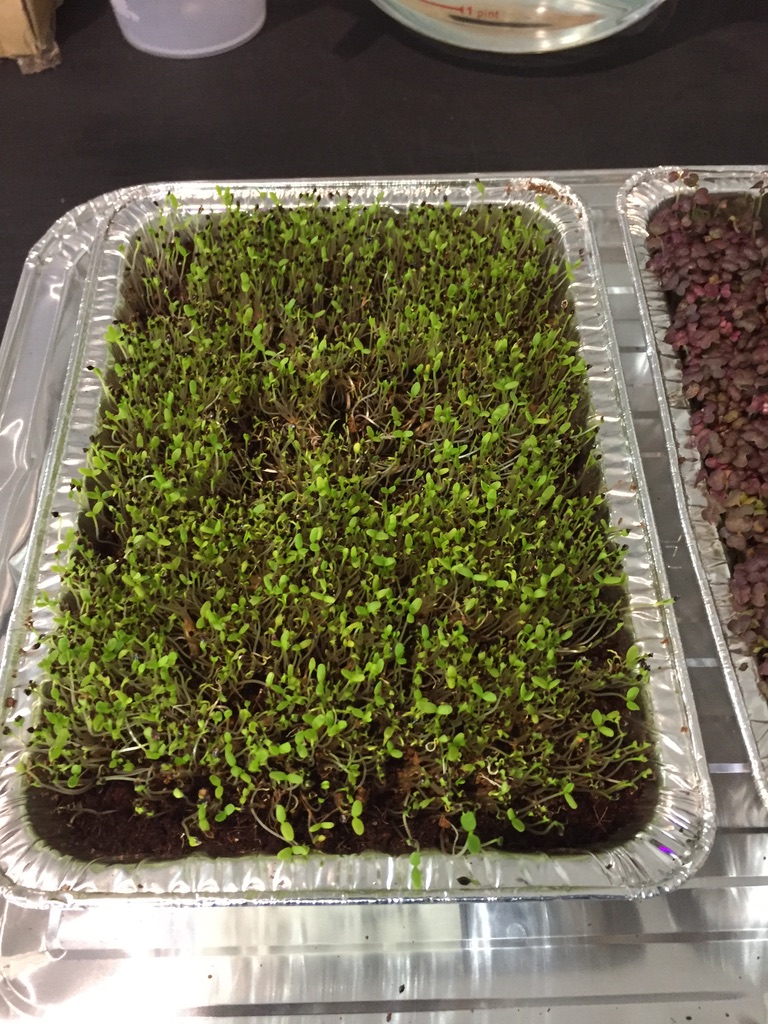
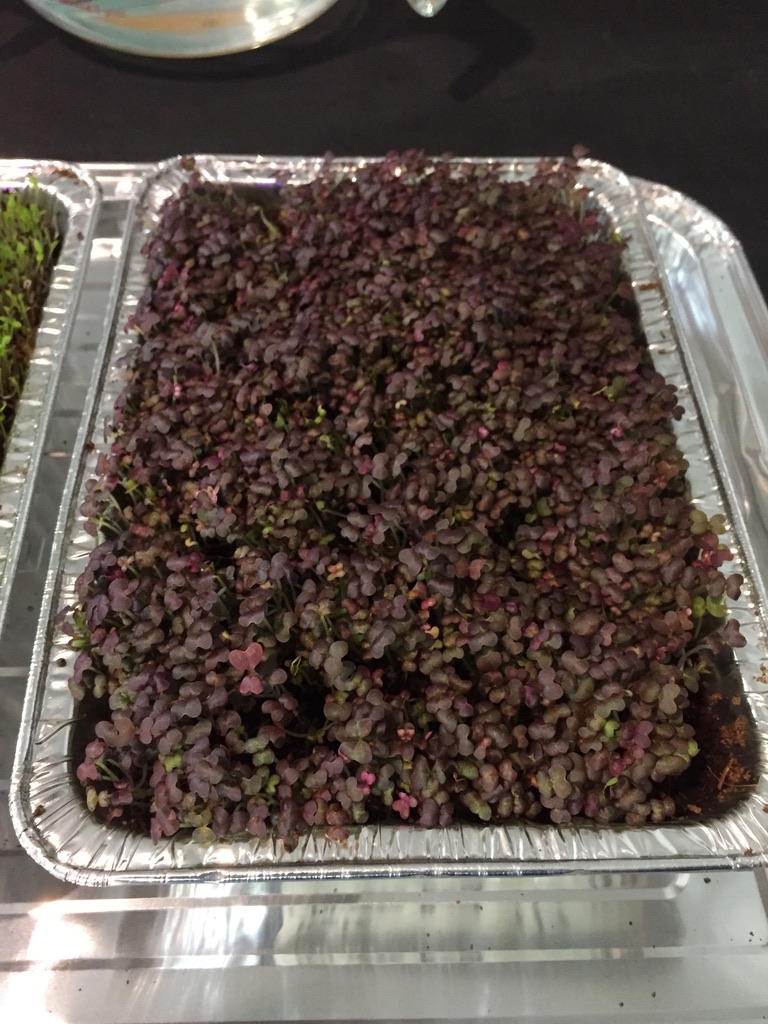
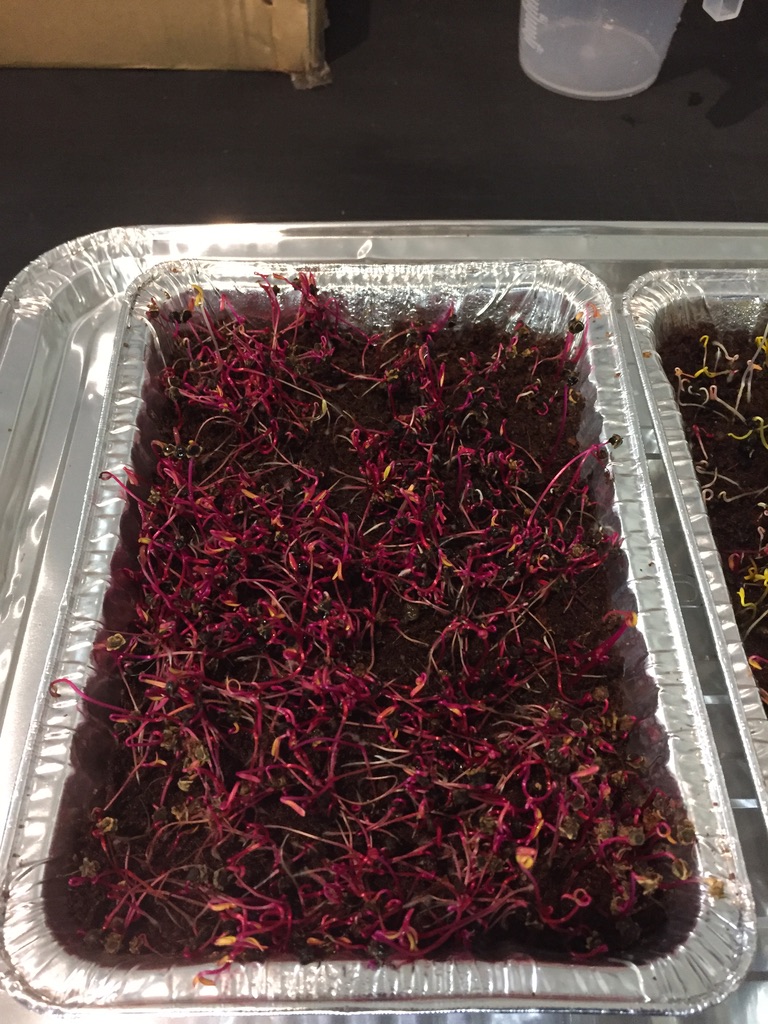
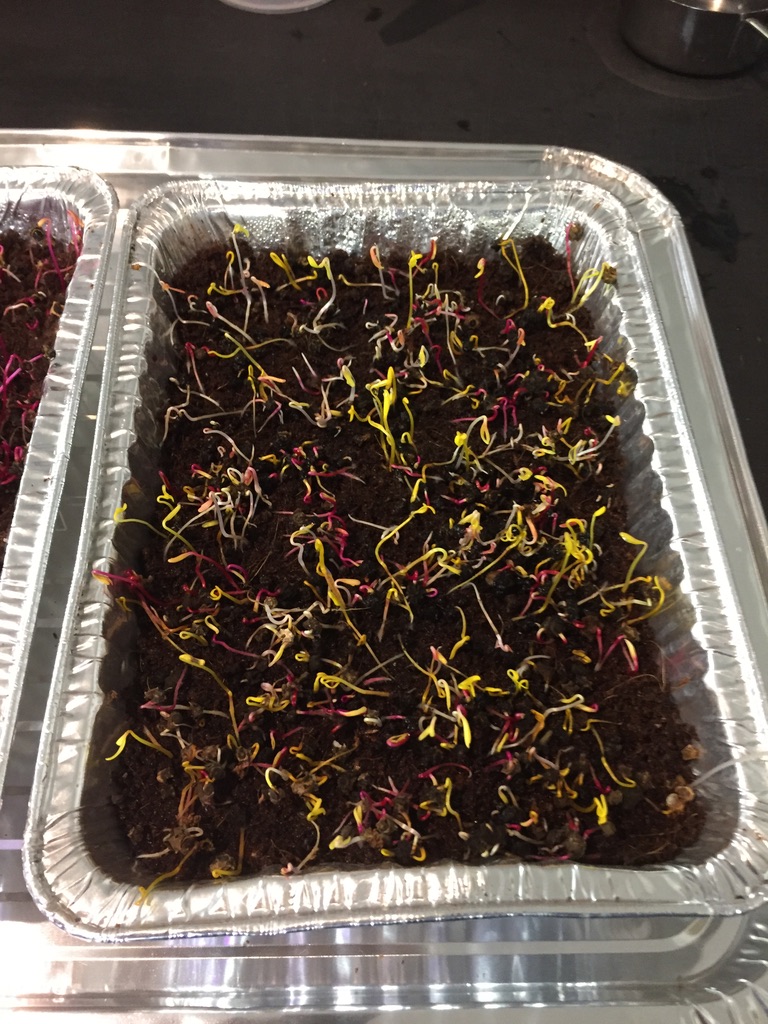
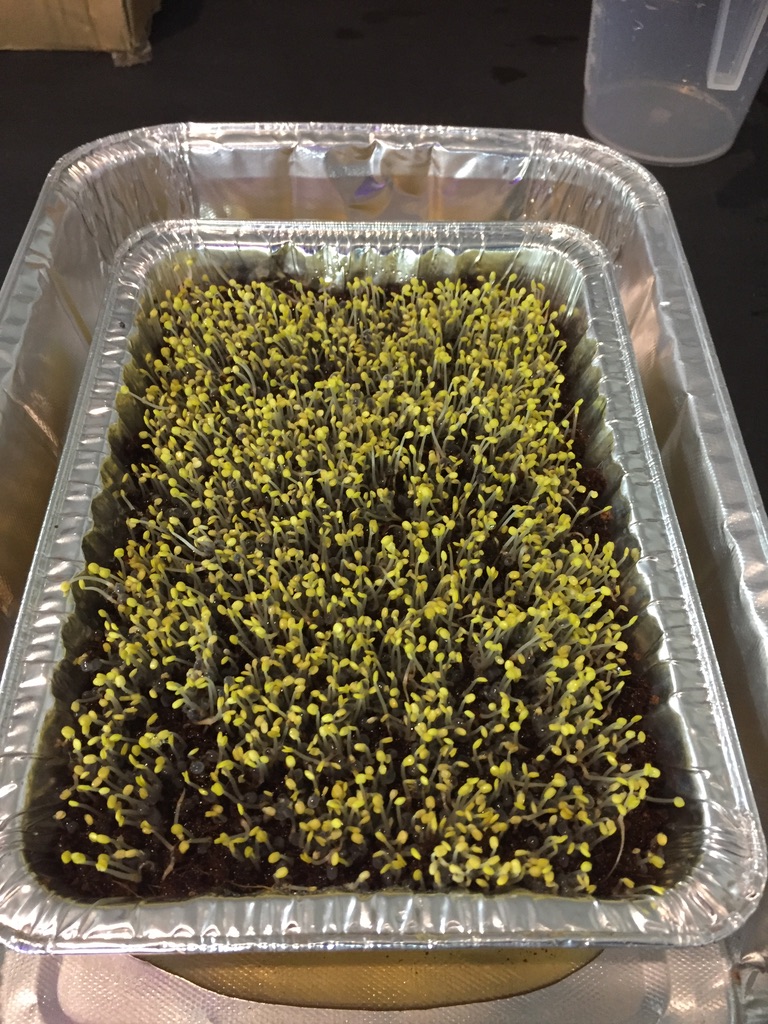
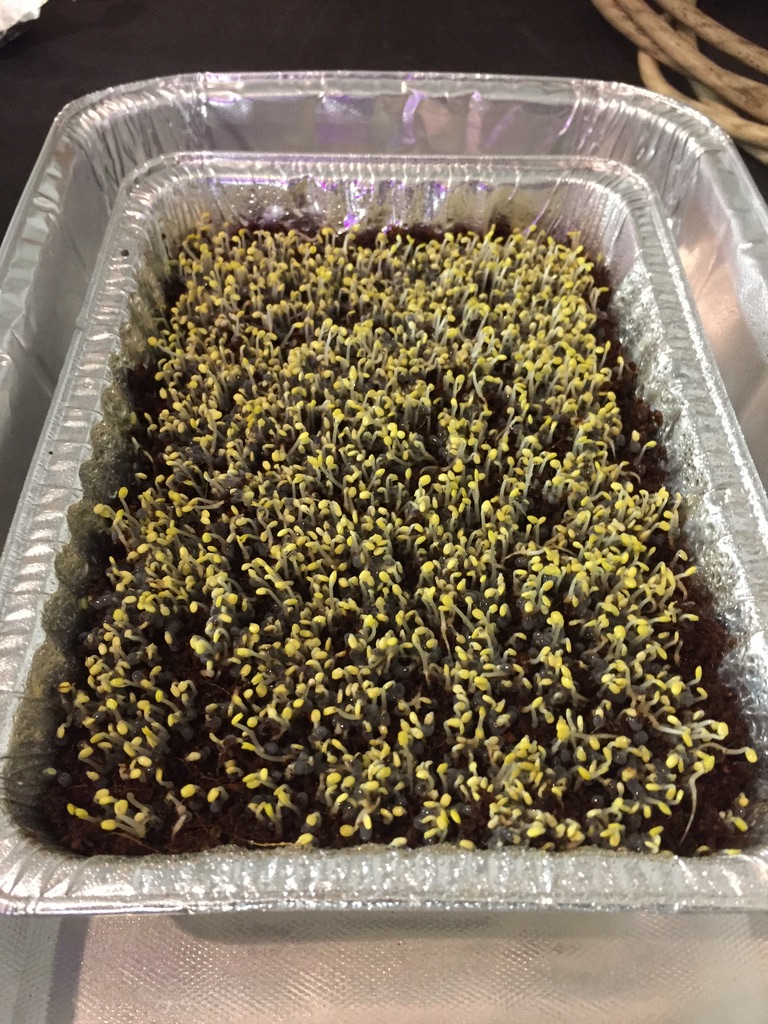
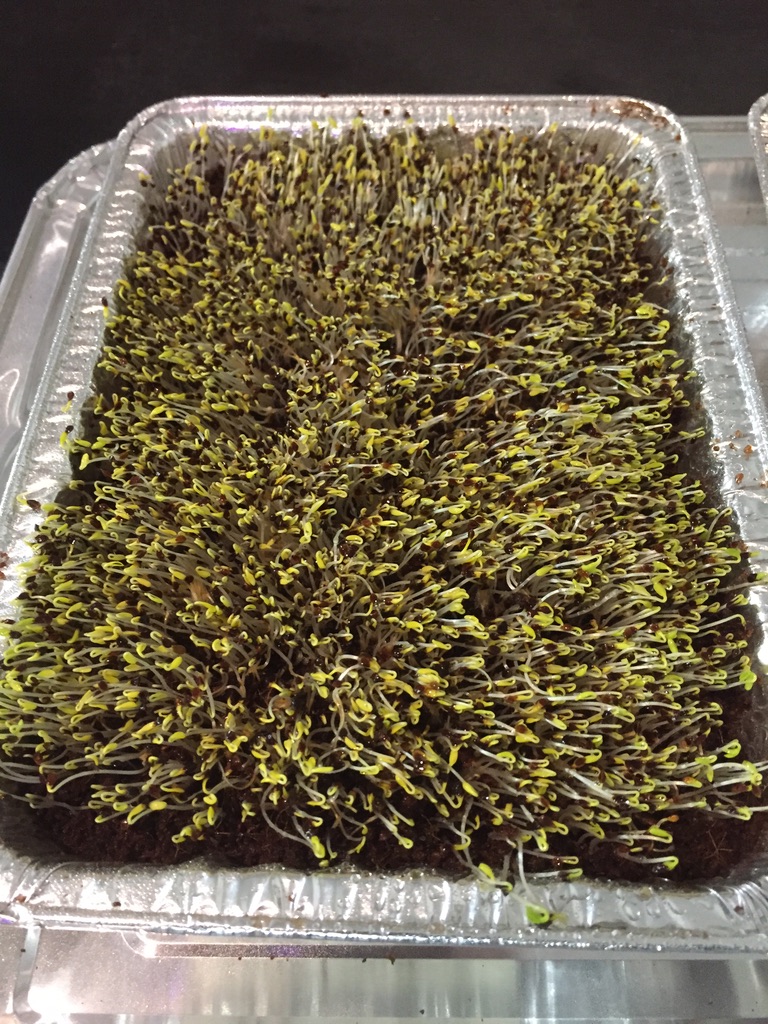
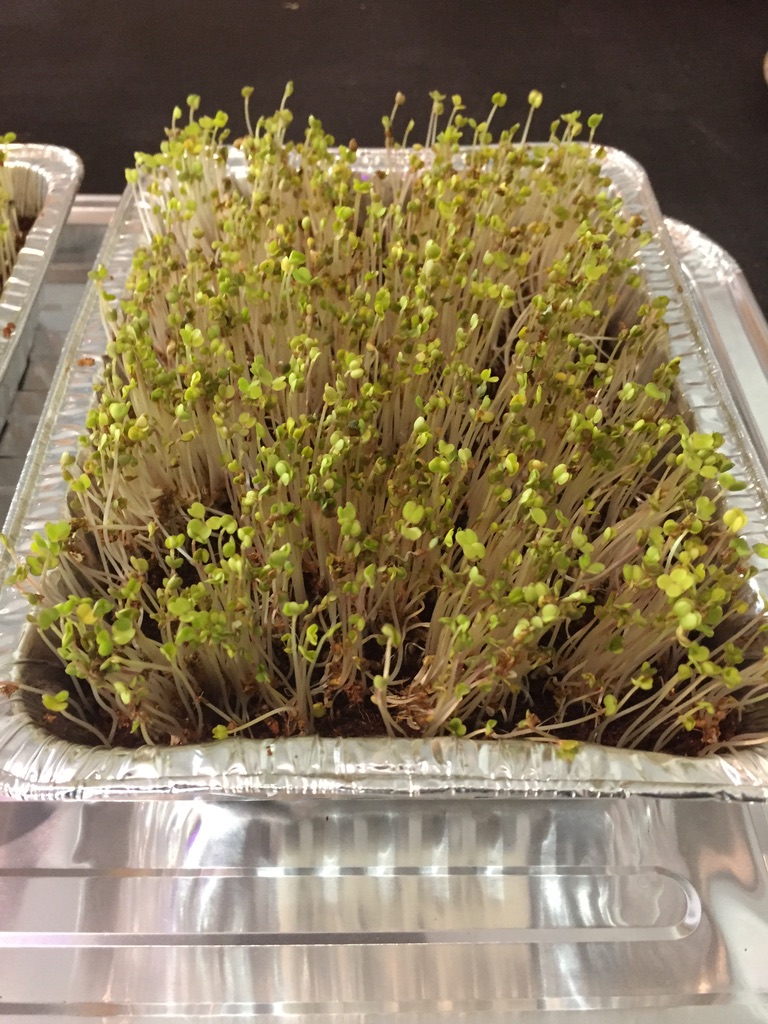
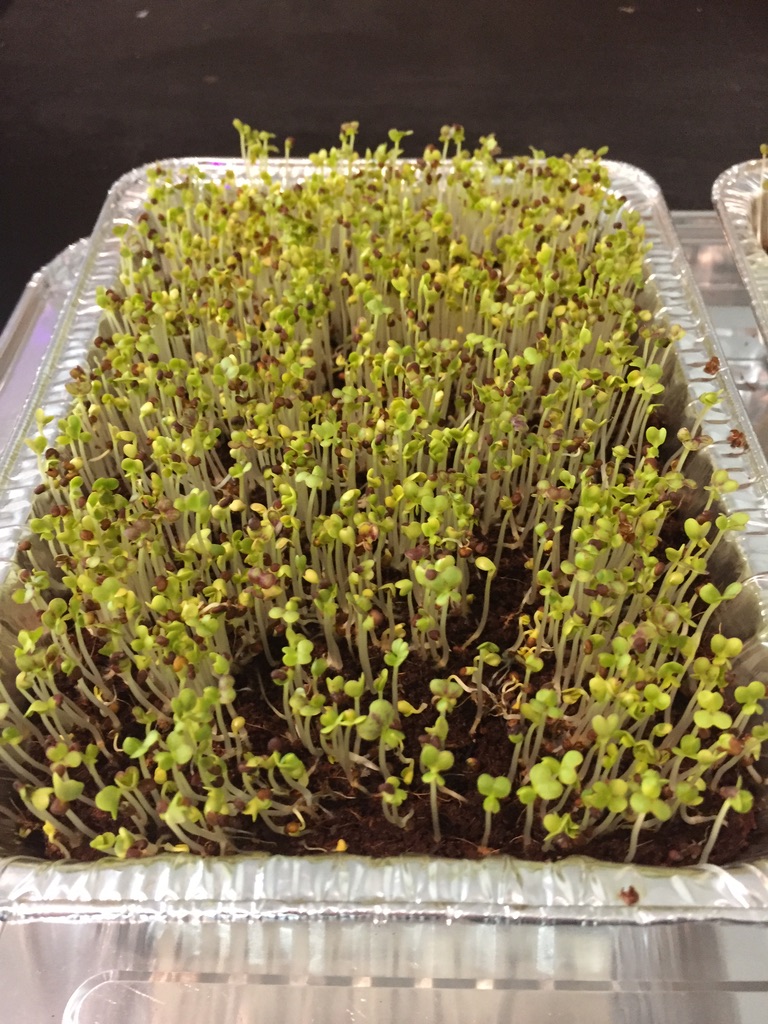
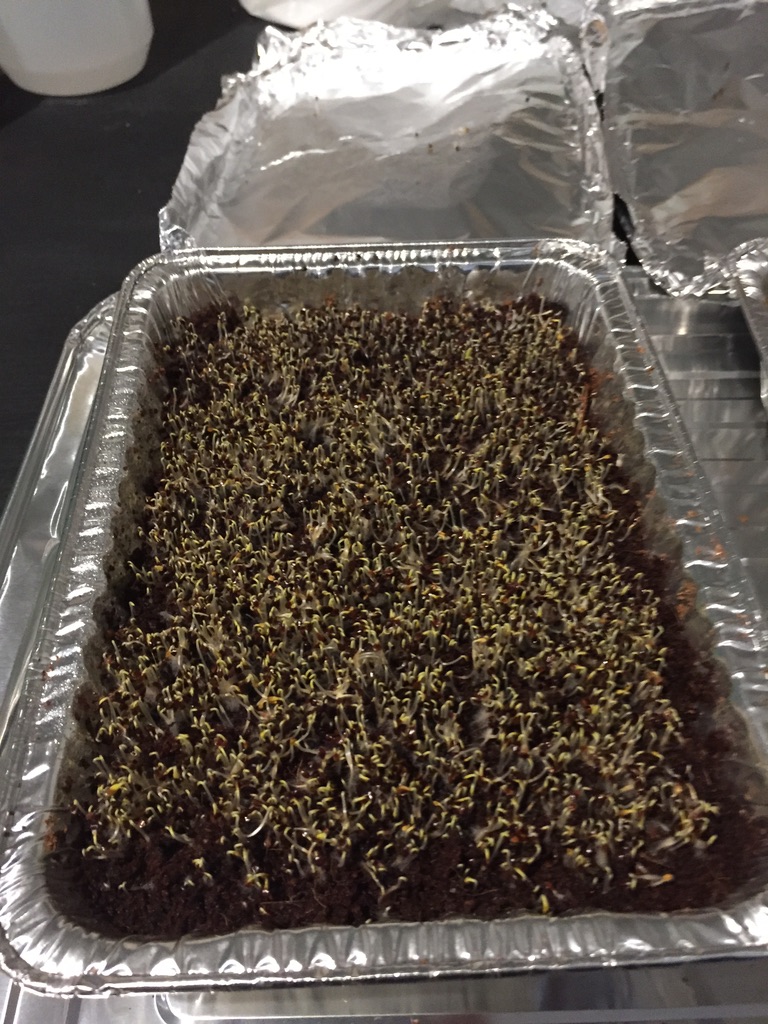
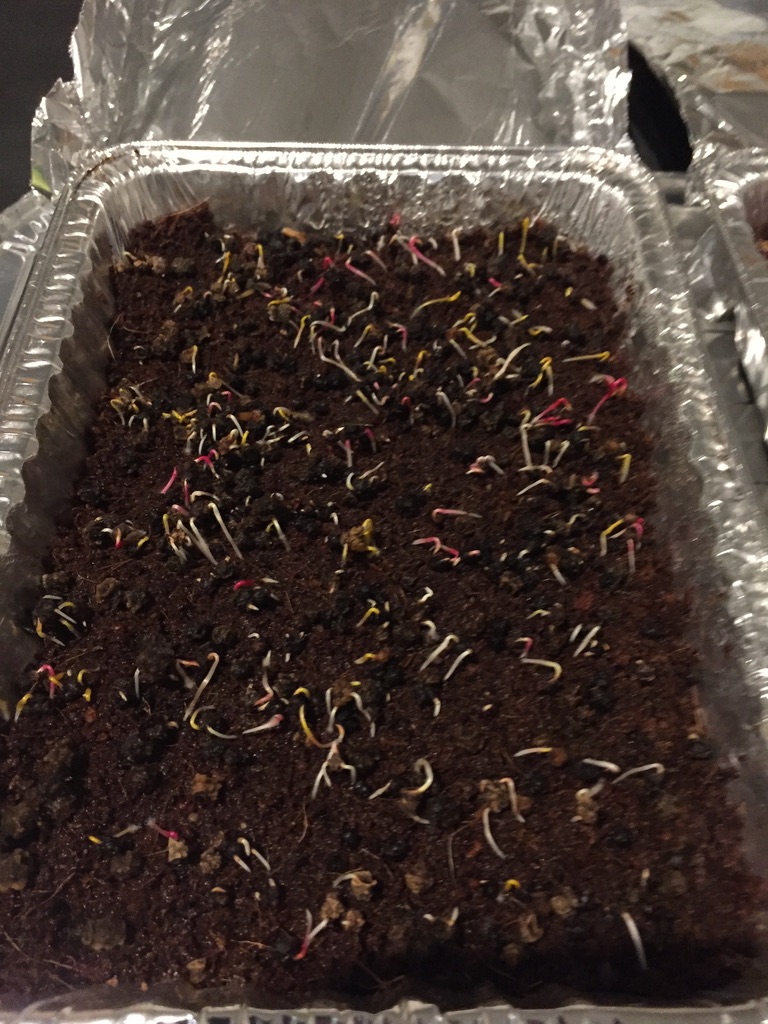
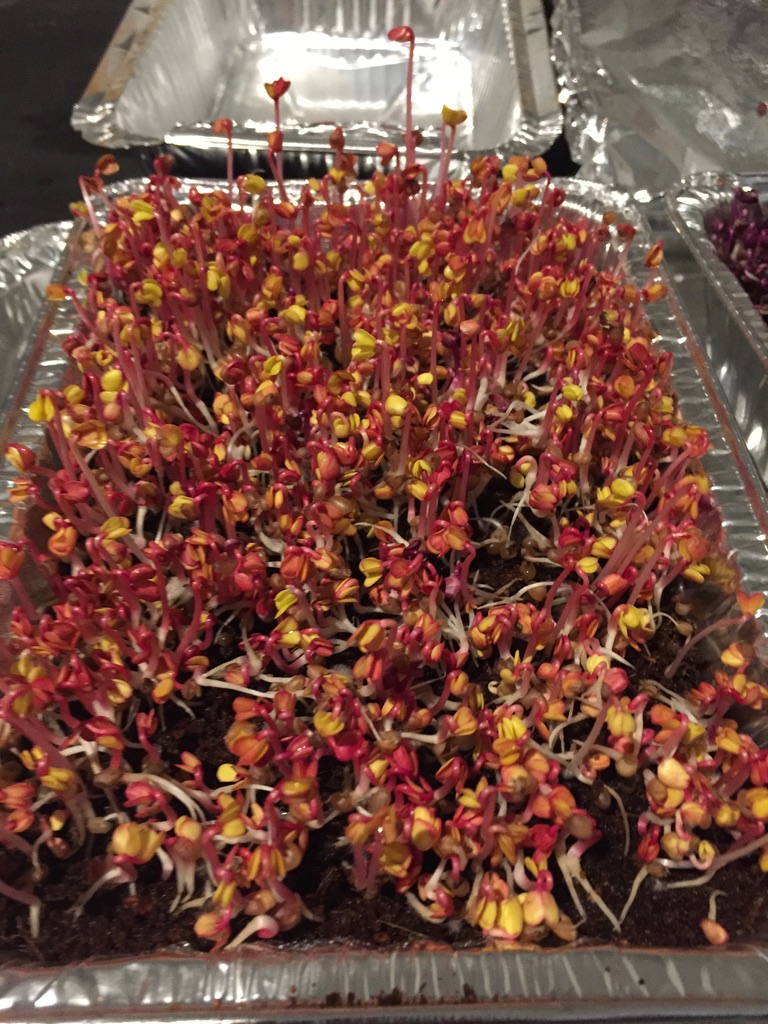
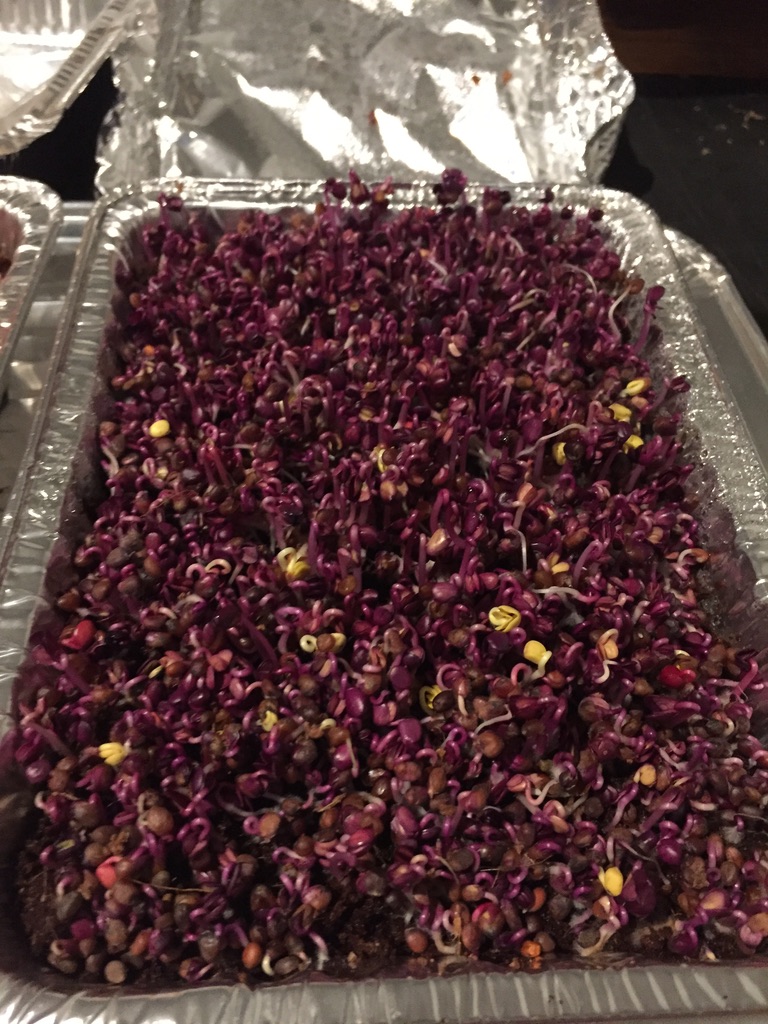
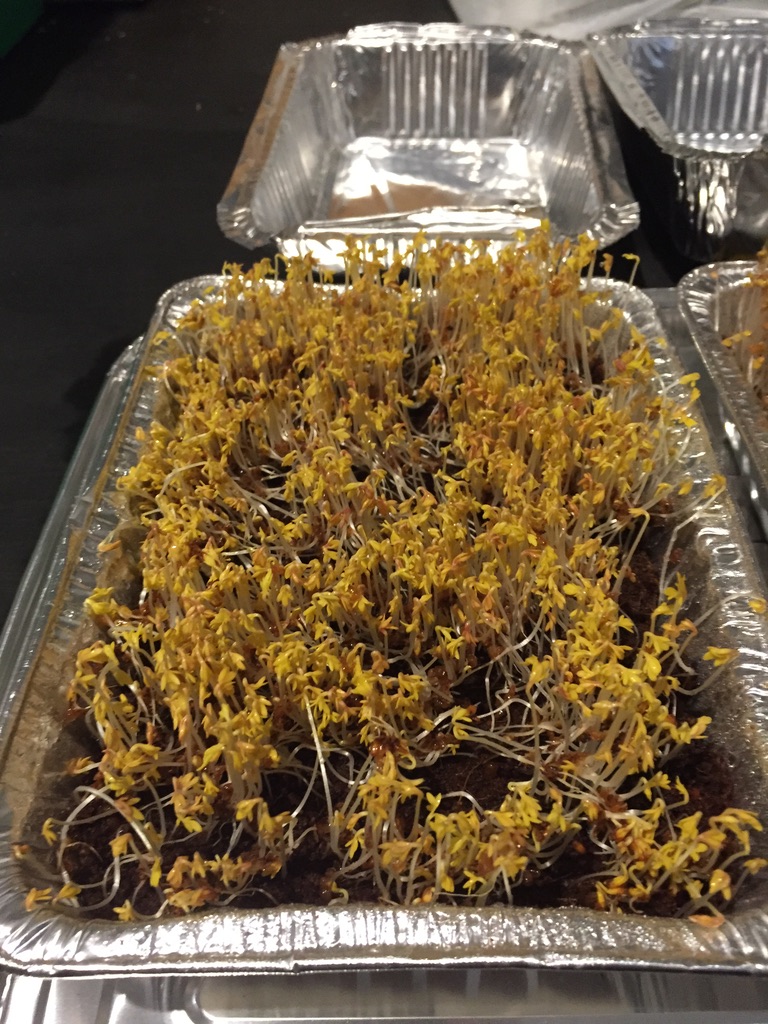
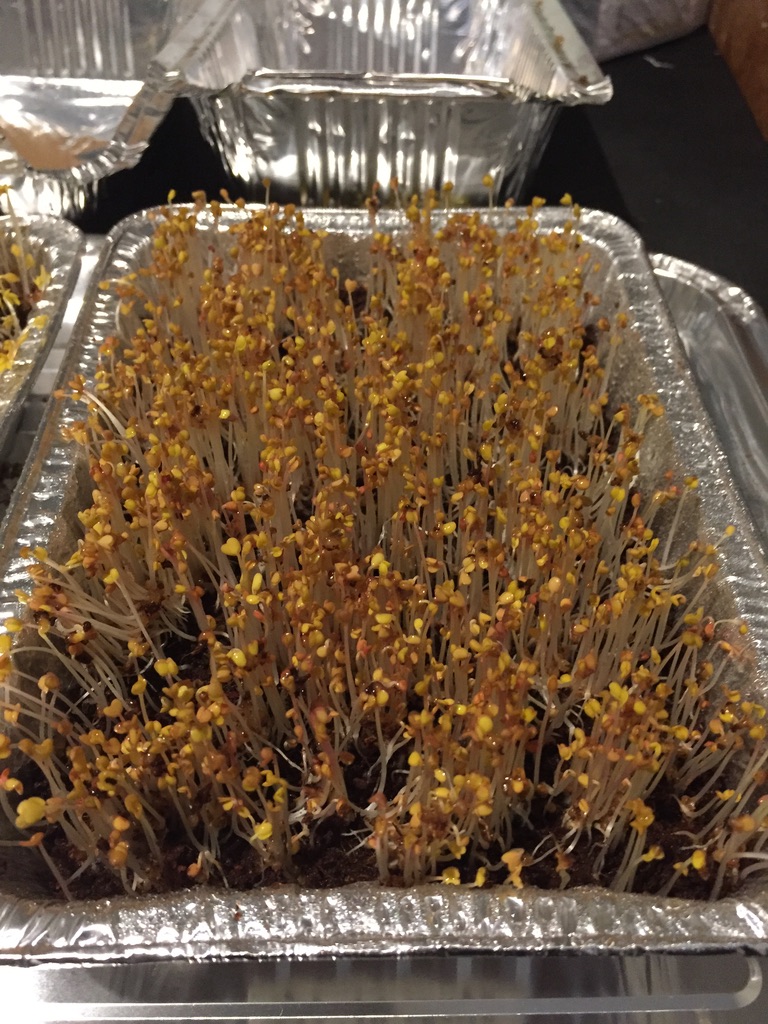
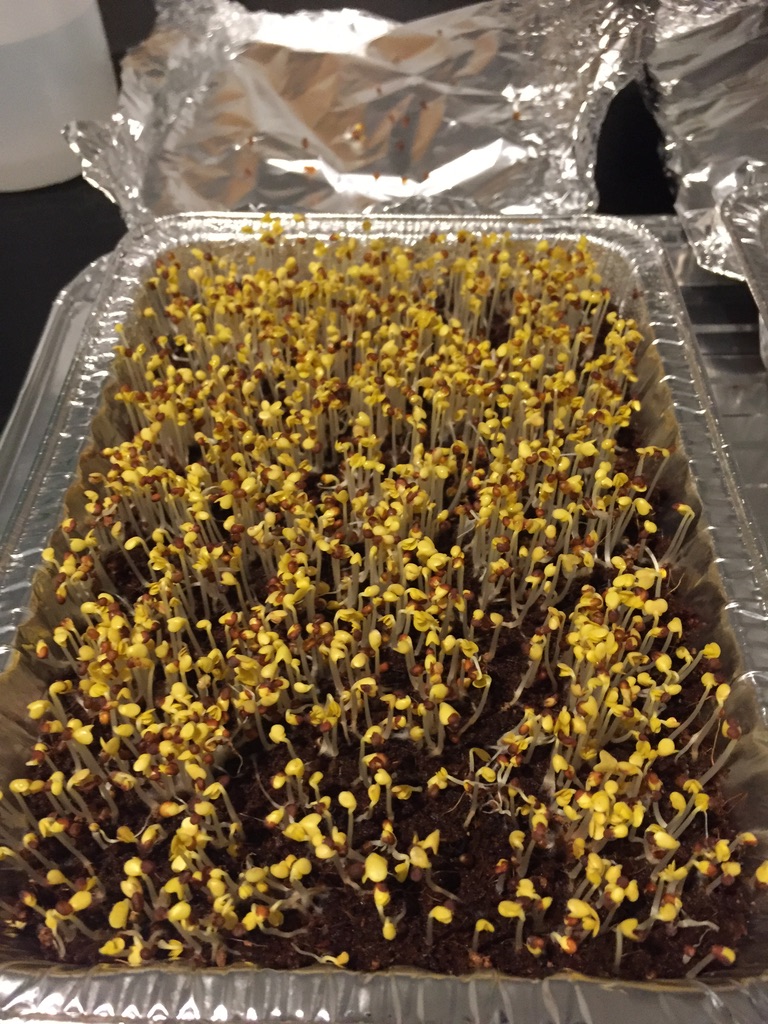
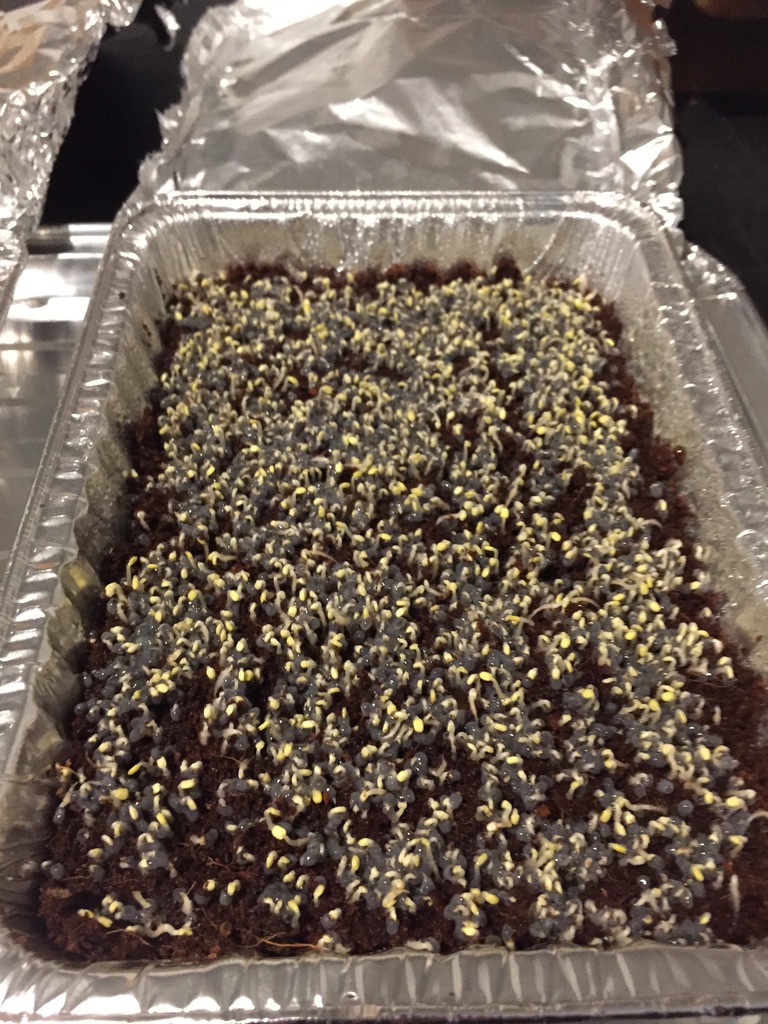
All of the greens except the Basil are now uncovered and all are growing good (at least for our first trial). We are happy that there is no mould and that the root growth is increasing out the base of the trays now. We can see that some of the varieties have performed better than others and in our 2nd trial that has started we’re experimenting with a different start where the seeds while germinating are under pressure – this is meant to keep the seeds in their non-clumping forms and to ensure that the roots go deep rather than lifting their neighbours away from the coco-peat mix.
Last night we decided to take the covers off some of the more rapidly growing micro-green seed varieties, and we also started our second trial.
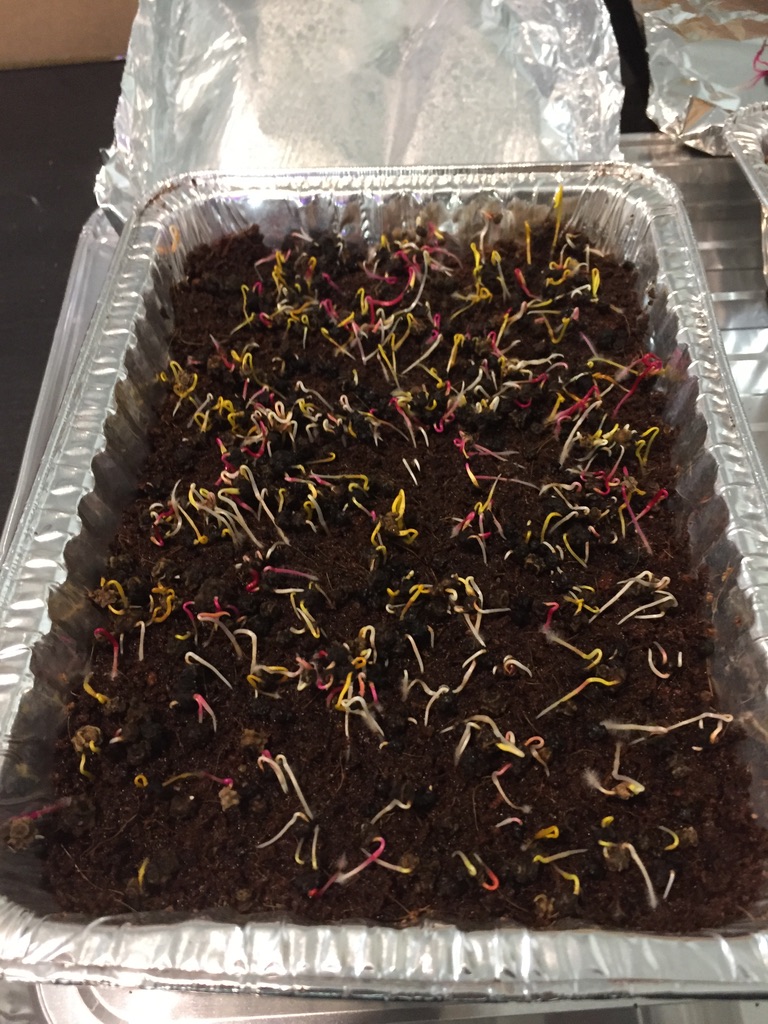
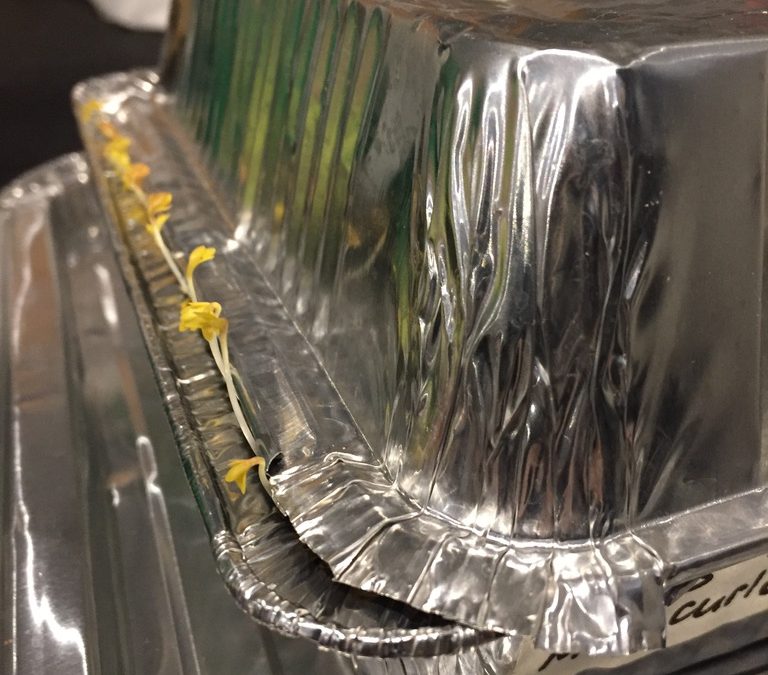
What we noticed was that some of the germinating seedlings had started to dry off, and some had started to move towards the edges of the trays hunting for light.