This simple recipe is a great addition to any lunchtime meals. Uses our standard 111 emergency recipe. That is 1 egg, 1 cup of liquid, 1 cup of flour, adapted for corn fritters.
2 x cans of corn kernels
2 x cups of self-raising flour
2 x fresh eggs
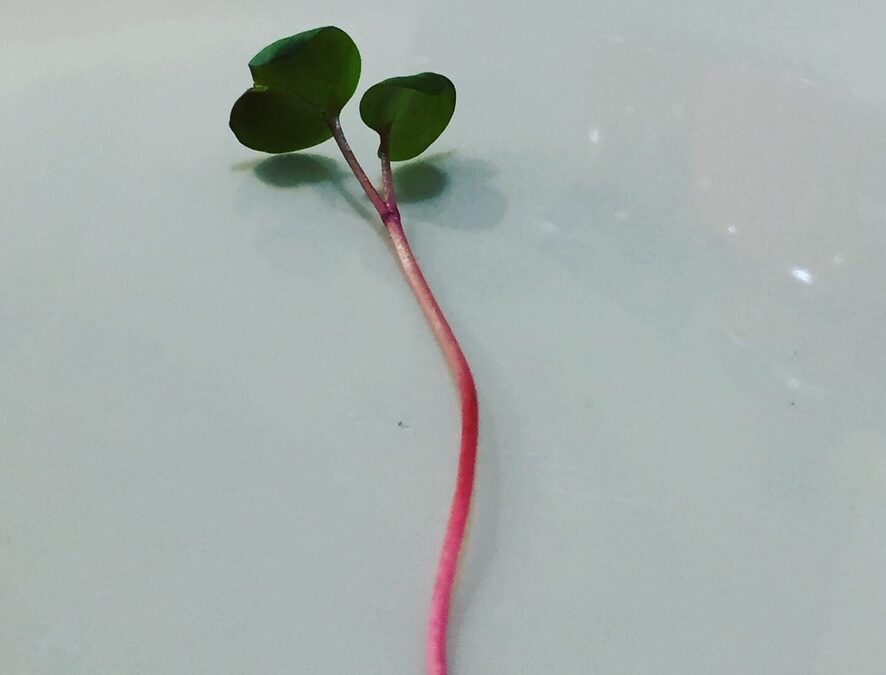
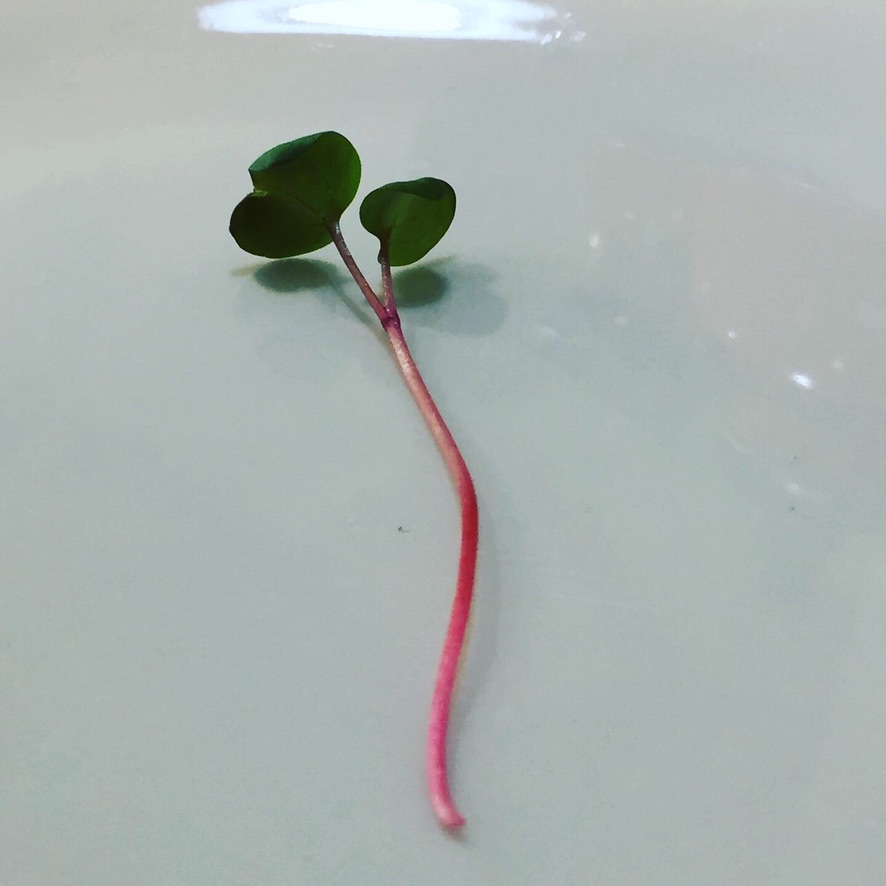
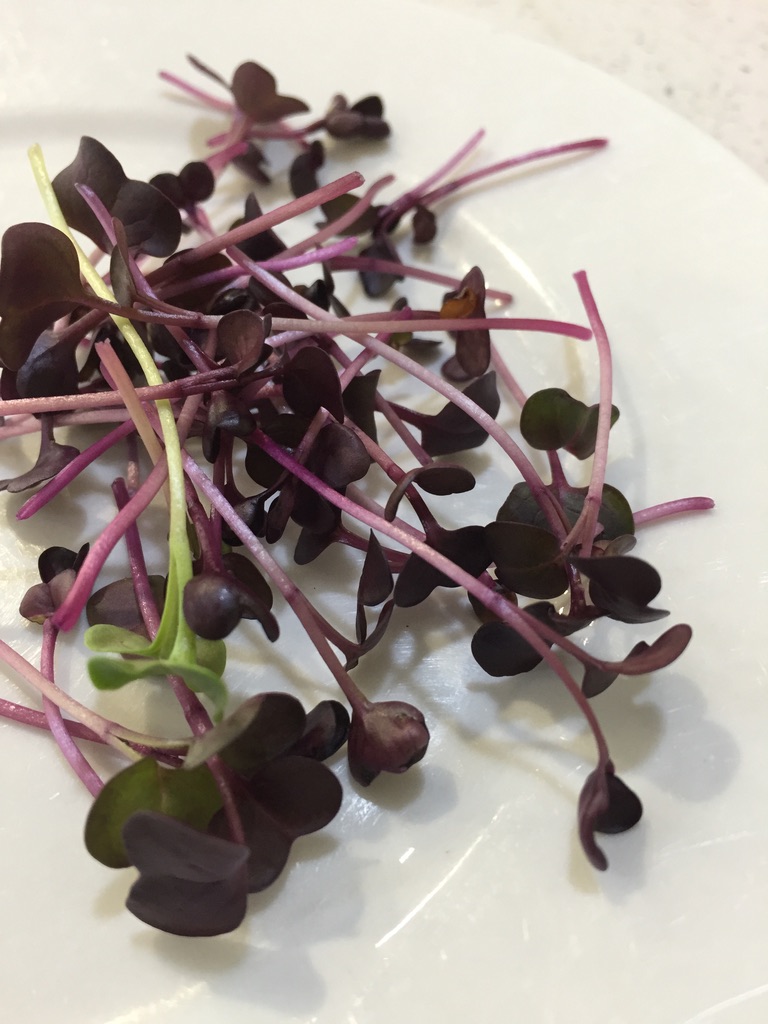
40 grams of fresh microgreens (in this case a mixture of kale, cress and Rambo radish)
Feeds family of 4 with some left overs for afternoon snacks.
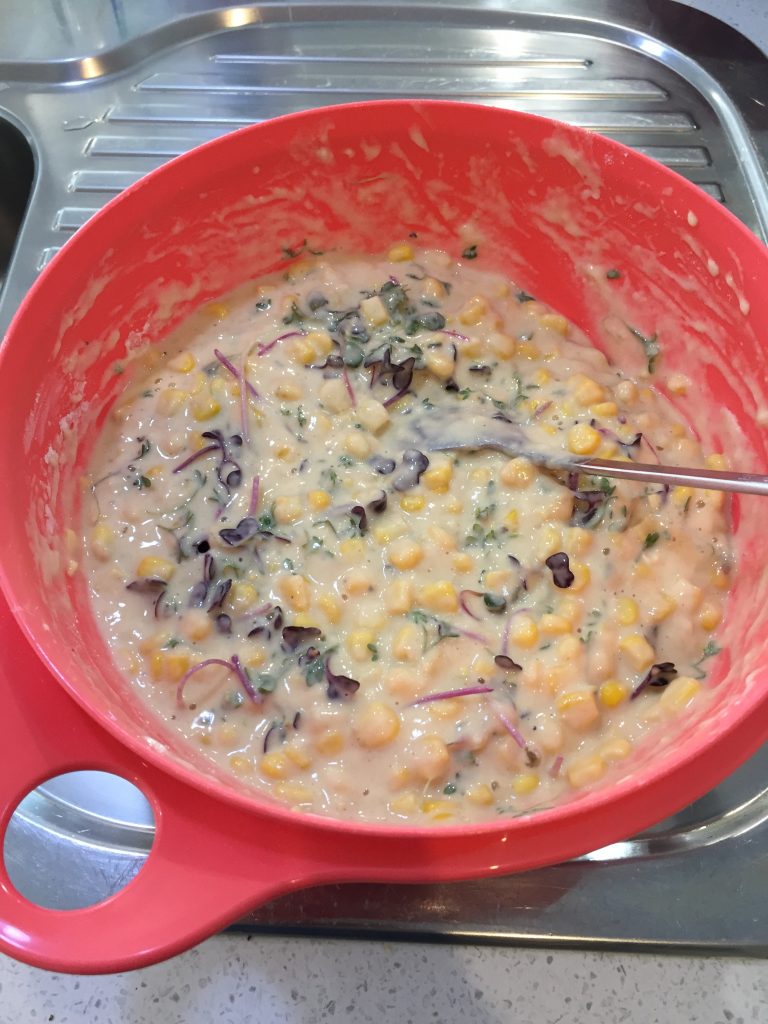
Stir together the flour, corn and eggs (add in a little milk or water to thin if needed) and fold in microgreens.
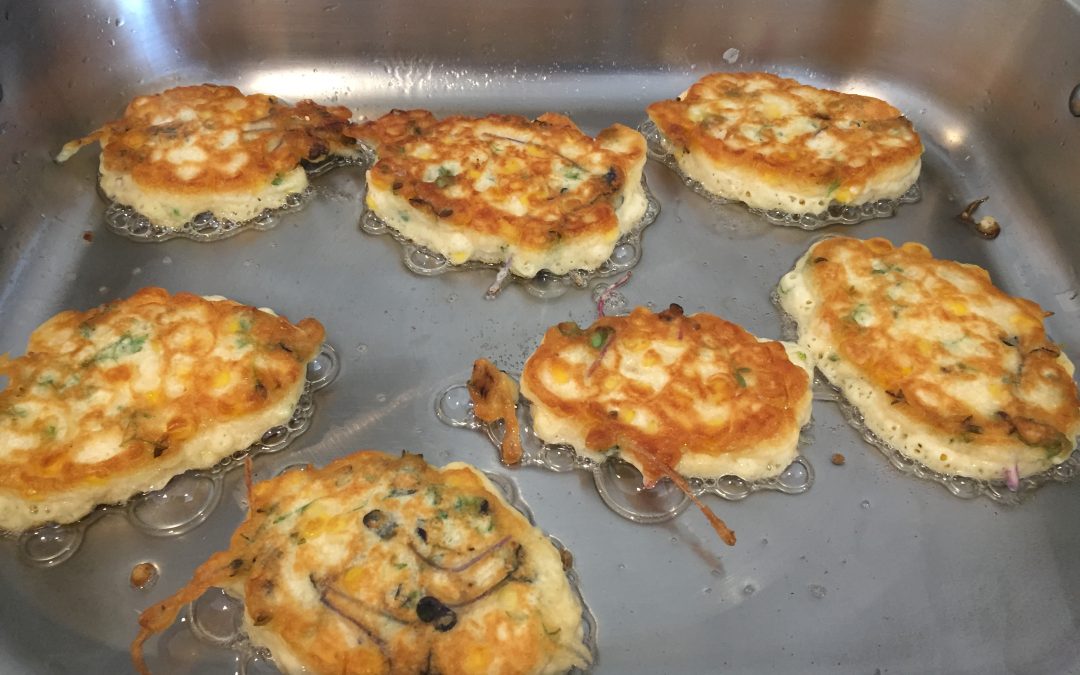
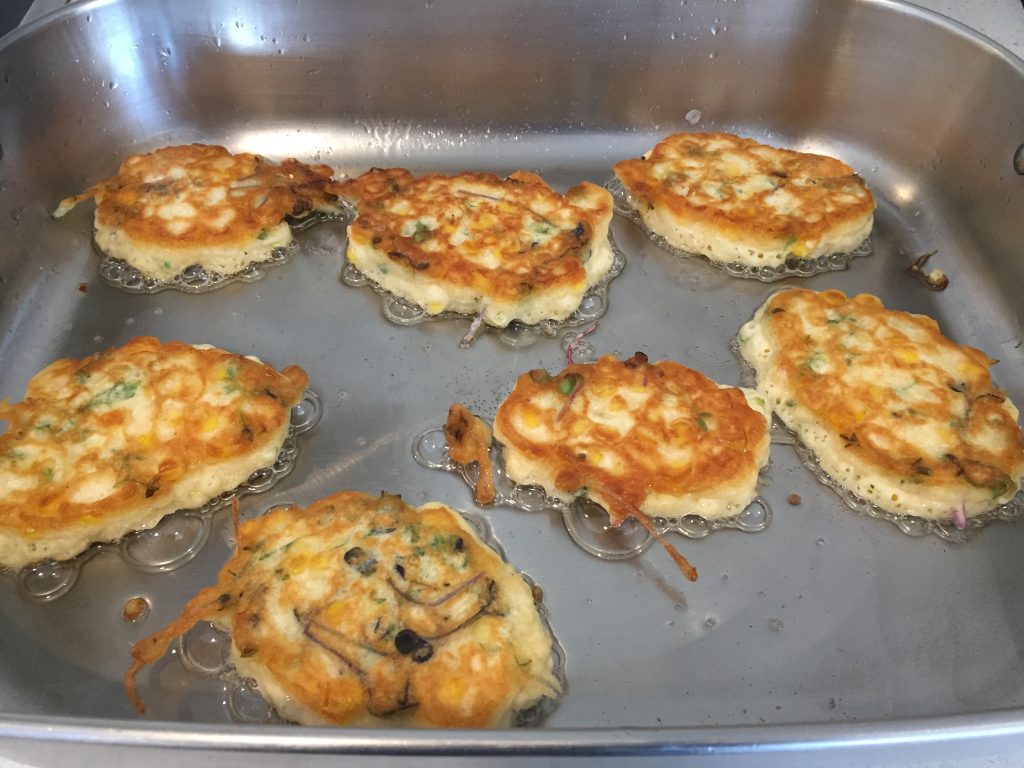
We use an electric frypan and add in 2 tablespoons (a squirt of) sunflower oil to coat the base of the pan – bring the pan up to a medium-high temperature before you add in the first fritters. They should sizzle when they are added to the pan. Into this, we place 6 spoon fulls of fritter mixture and cook until golden brown and flip – keep warm in the oven until they are all ready for the family to enjoy together!
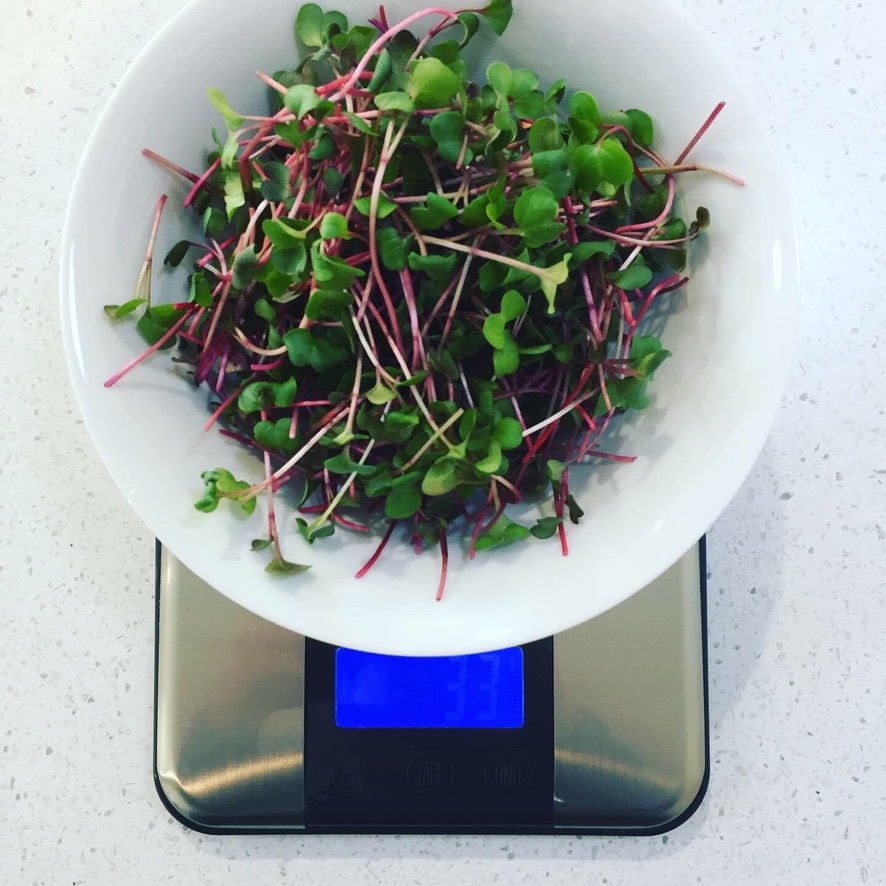
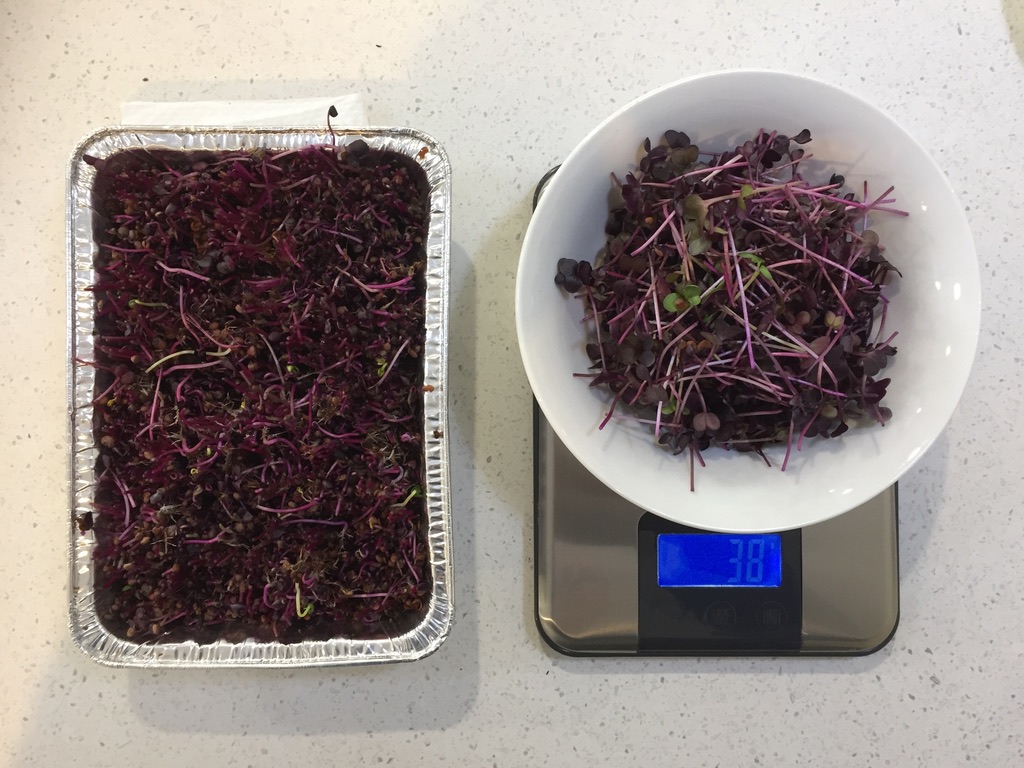
We’ve recently cut our first trial sample of Rambo and China Rose radish microgreens. These grow within 7 to 10 days and we cut ours on the 9th day, and from a tray of 12x18cm = 216cm squared growing area, we gained 33grams of China Rose radish and 38 grams of Rambo radish. If my maths is correct that is a ratio of 0.15 grams per square cm, therefore our second trial we have running at the moment 27x20cm= 540cm squared should technically deliver us approx 78 grams in total.
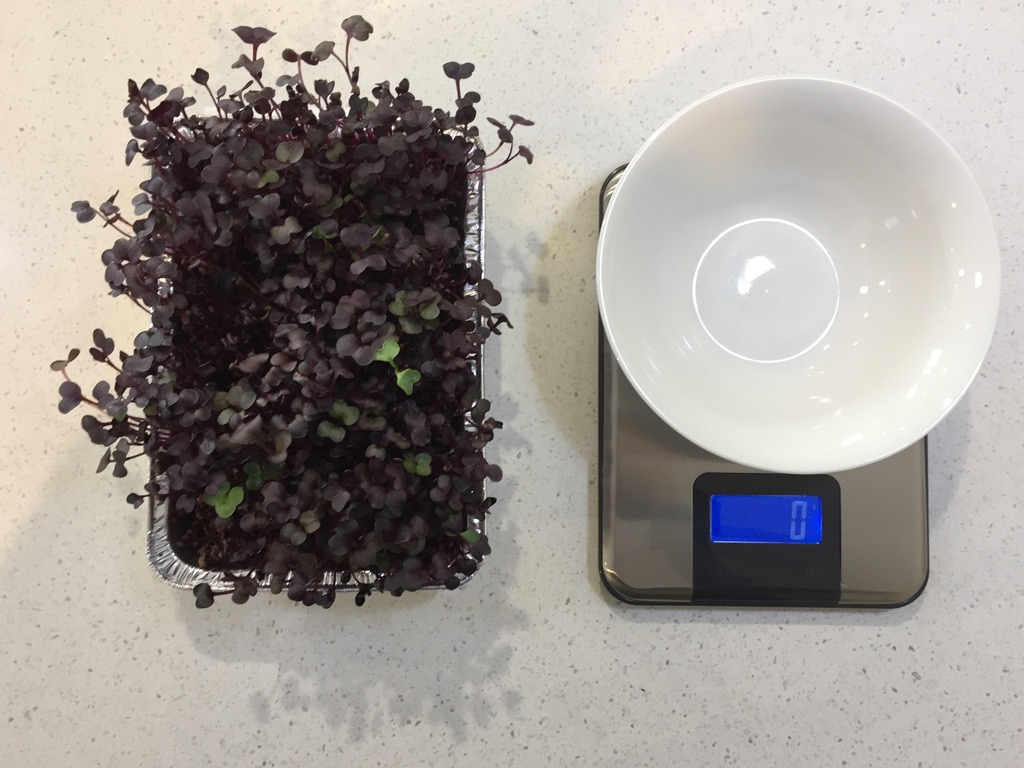
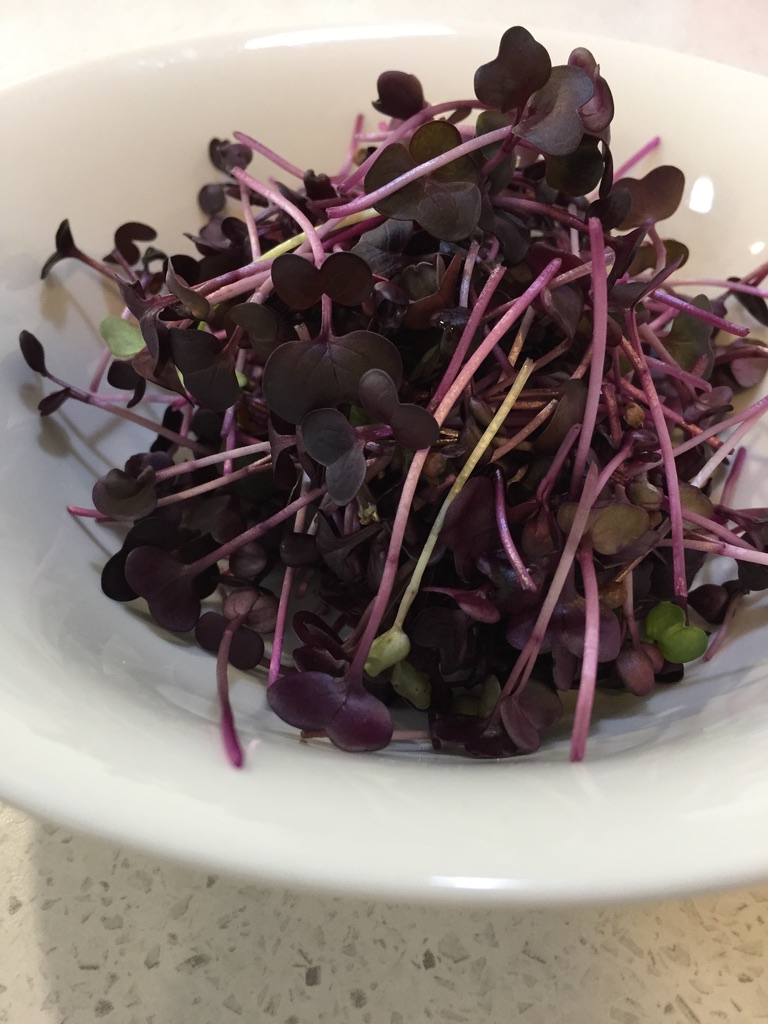
China Rose Radish – MicrogreensRambo Radish – MicrogreensLeft of the image is what we classify as compostable waste – spent plant roots and coco-peat Right of the image shows the 38 grams of Rambo Radish micro-greens
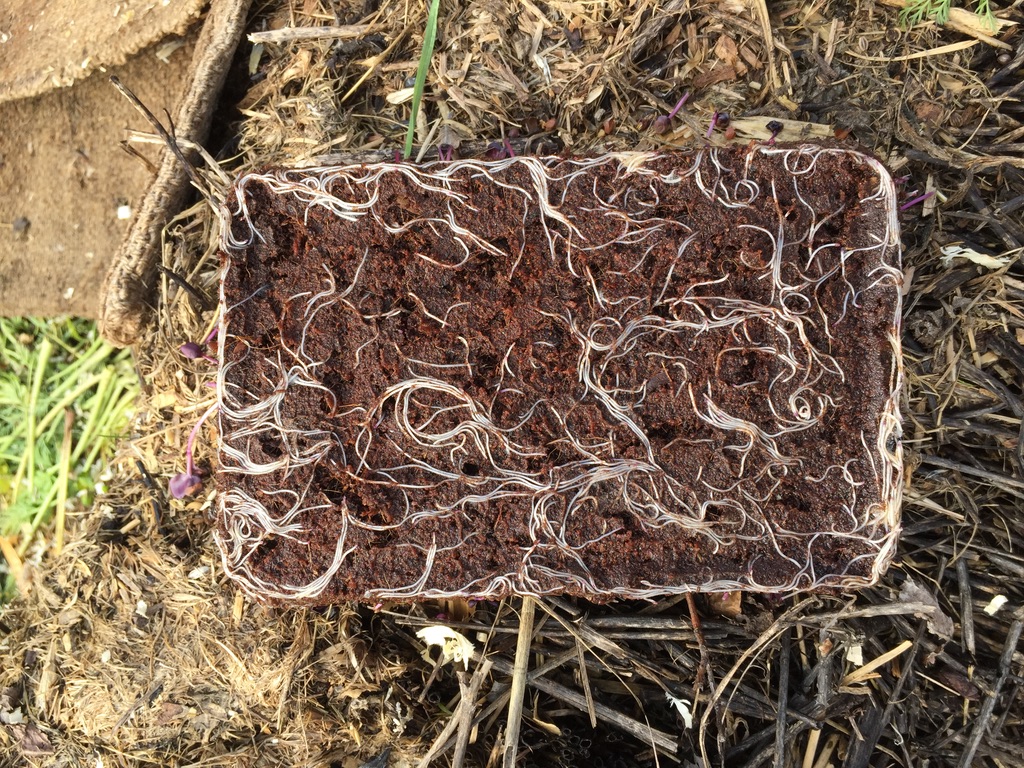
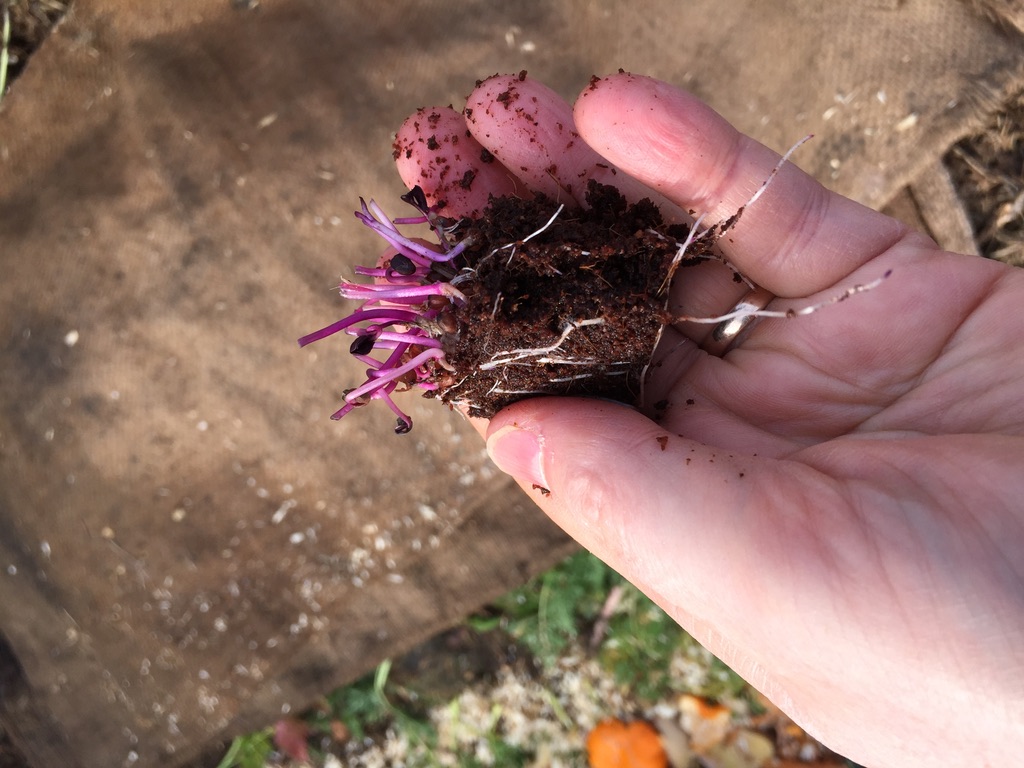
Above shows the base of the coco-peat with the radish roots growing through. This was a layer of approximately 2.5cm deep coco-peat, our concern is scaling the process and how much waste would this produce.
We want to create an environmentally sound process and therefore are considering what the options would be at a scale greater that we’re dealing with. Any advancements that we can make at a small scale will help us to increase the growing scale if we discover that there is a market for supplying microgreens locally.
One concern we have is how the coco-peat will benefit our composting process – we believe that a small amount of coco-peat added to the compost will be suitable but what is the option if the project were to scale?
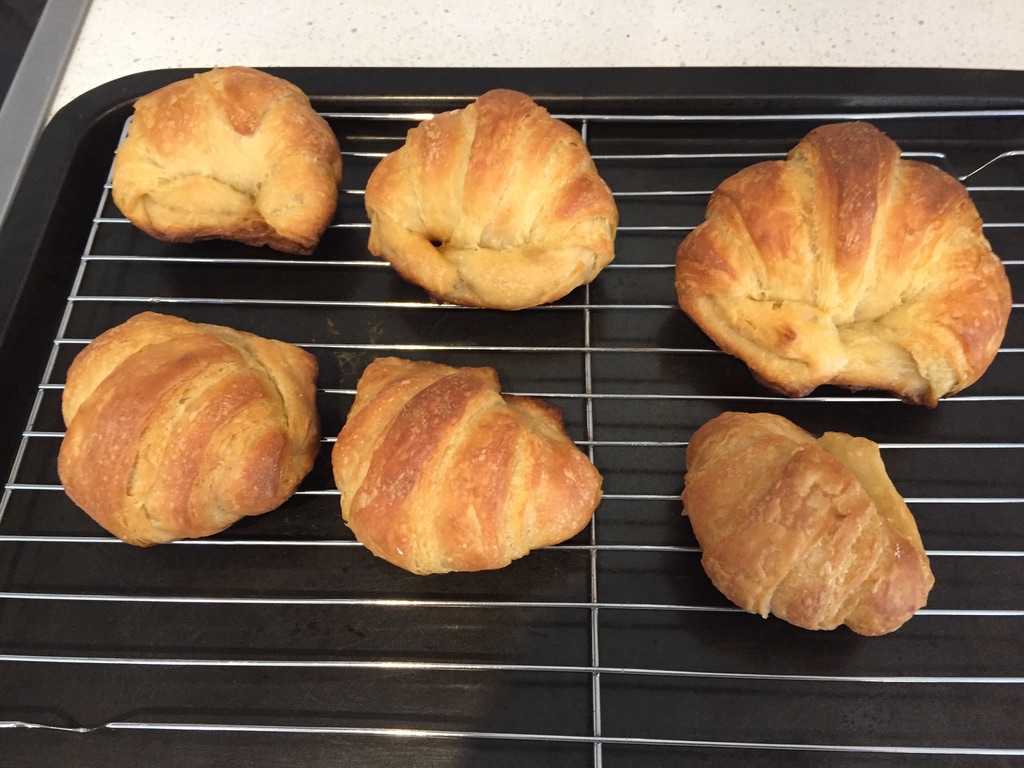
Weʼve adapted a few recipes and practised making our very own delicious Homemade Croissants. The recipe here makes 15 to 20 croissants depending on the size.
Ingredients 4 cups of plain flour 1/3 cup sugar 4 teaspoons active dry yeast (Bakels) 2 1/4 teaspoons salt 280 grams cold butter 1 1/3 cup milk 1 large egg and 1 teaspoon water (for egg wash)
Note: Recipe uses the Australian 15ml teaspoons.
Put all dry ingredients into a bowl and manually whisk together.
Slice the butter into thin strips (5-8cm x 1cm x 5mm) as you cut toss the butter into the flour to coat.
Add the milk and gently stir together. Donʼt beat. The butter needs to be in strips still.
When combined wrap the dough tightly in cling wrap and chill it in the fridge for 60mins.
On a floured surface, roll the dough into a long rectangle approximately 1cm thick.
Fold it into 3rds, turn it 90 degrees and flip it face down and roll flat. Repeat 5-6 times. (If the butter feels soft at any time wrap in cling and place in the fridge to cool until firm).
Wrap it tightly in the same cling wrap, pop in the fridge for 90mins.
Divide in half, roll each half into a flat rectangle-ish shape.
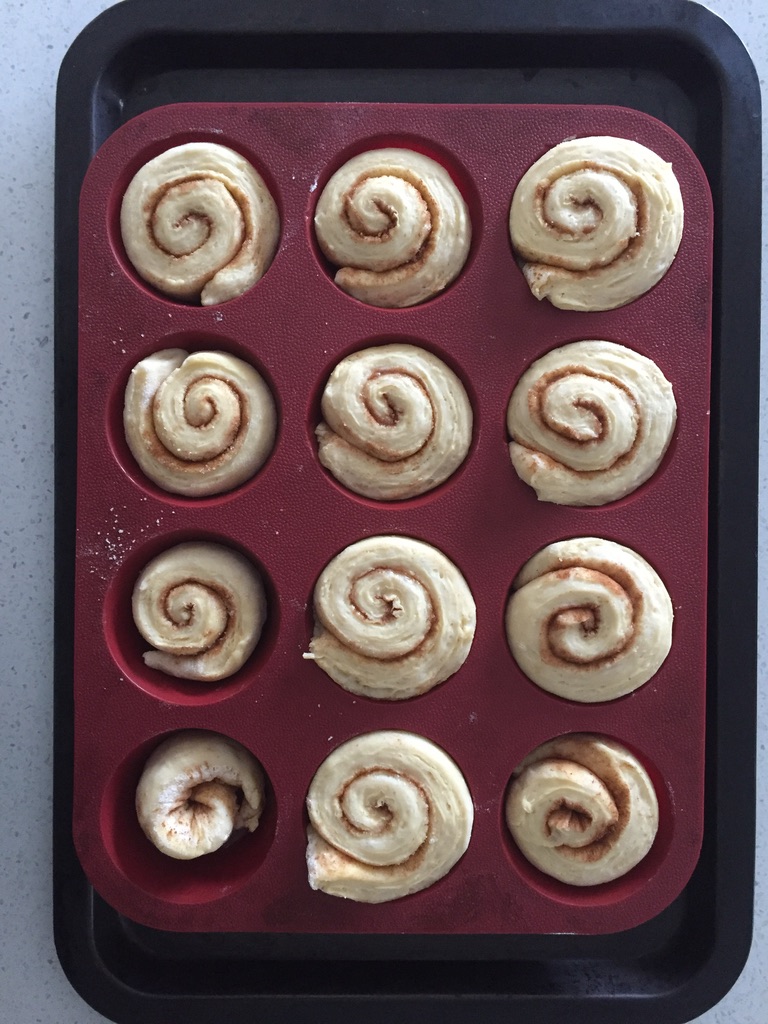
Hack into pizza wedge triangles, slit 2cm into the non-pointy pizza edge making ears. Roll up, pulling the ears out to form the shape of your classic croissant.
Pressing the ears together. Place on oven trays. Cover with the same cling wrap.
Magic happens when left to rise for 120mins in a warm place.
Preheat oven to 190C, beat egg wash and brush on.
Bake for 15 or so minutes until puffy, golden brown and crispy.
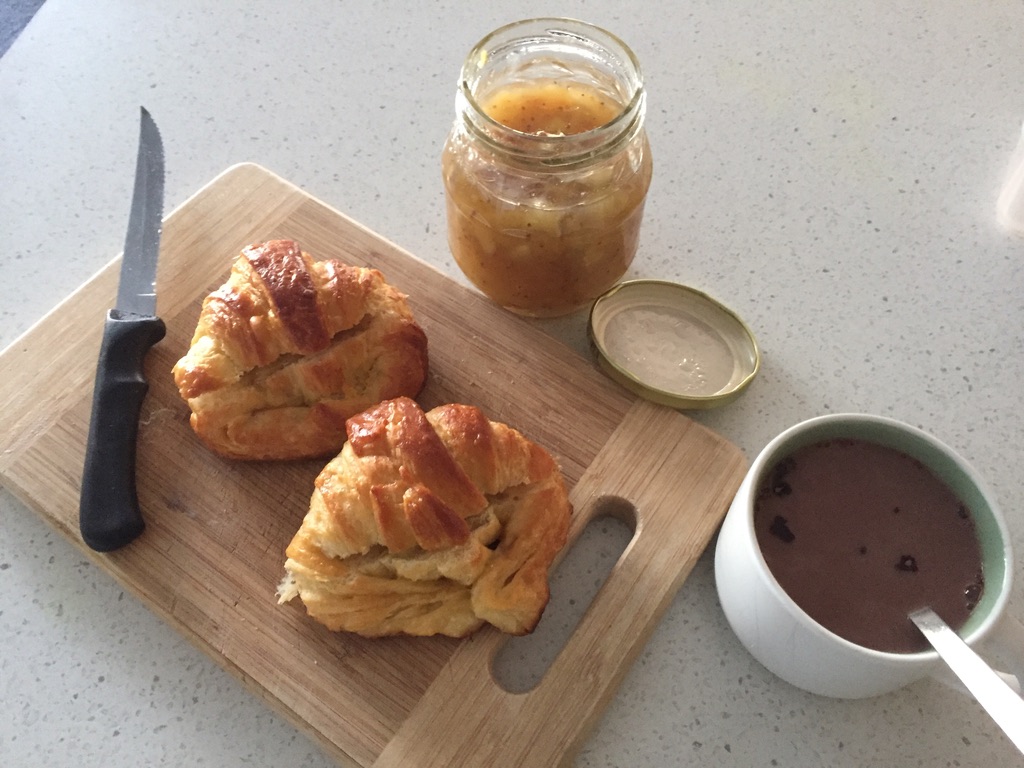
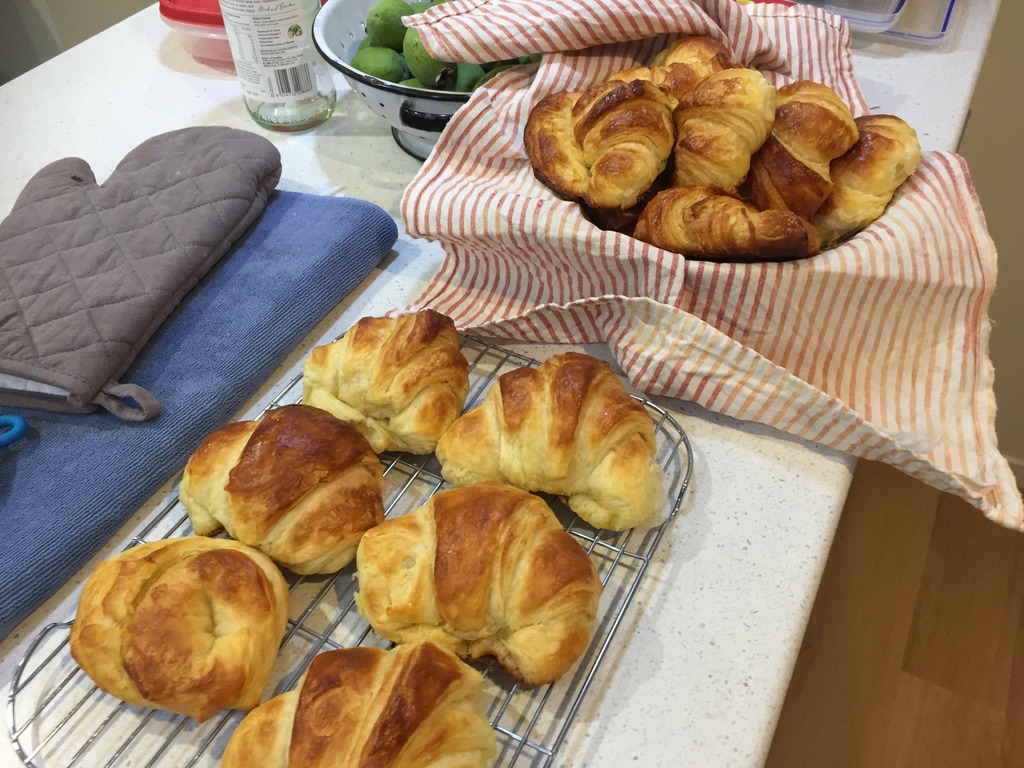
Pop on a cookie rack to cool for few mins and the awesomeness is complete. Enjoy warm.
Makes about 15 to 20.
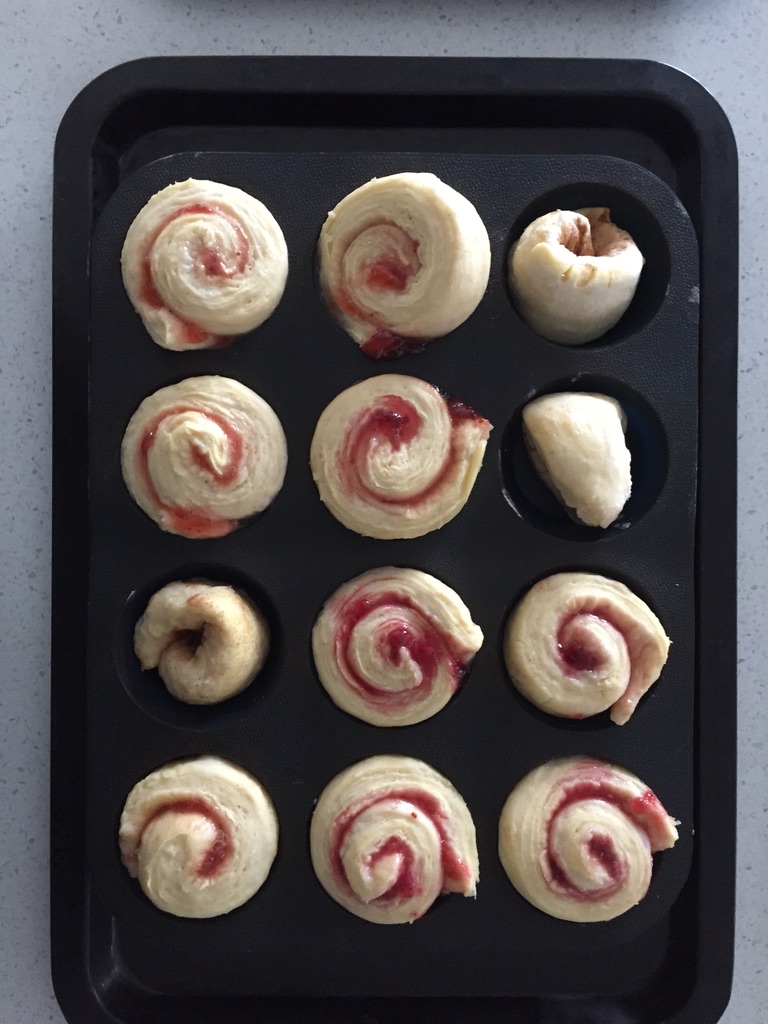
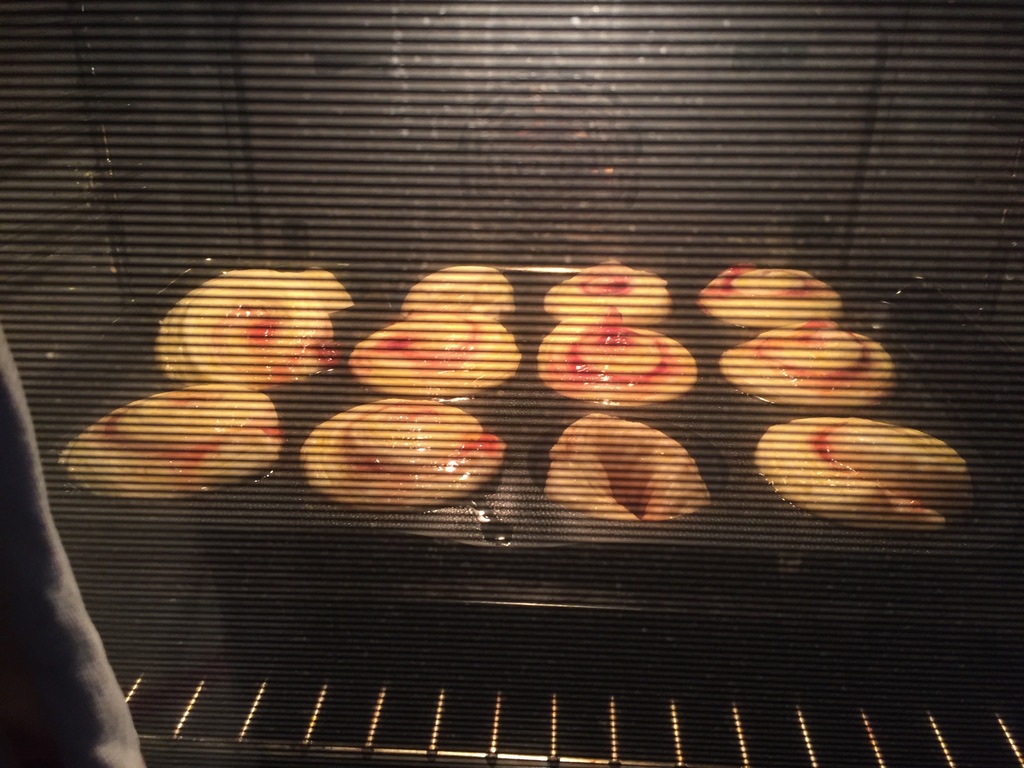
The same recipe has also been used for making the most amazing cinnamon and jam pinwheels. Ideal for desserts or treats!
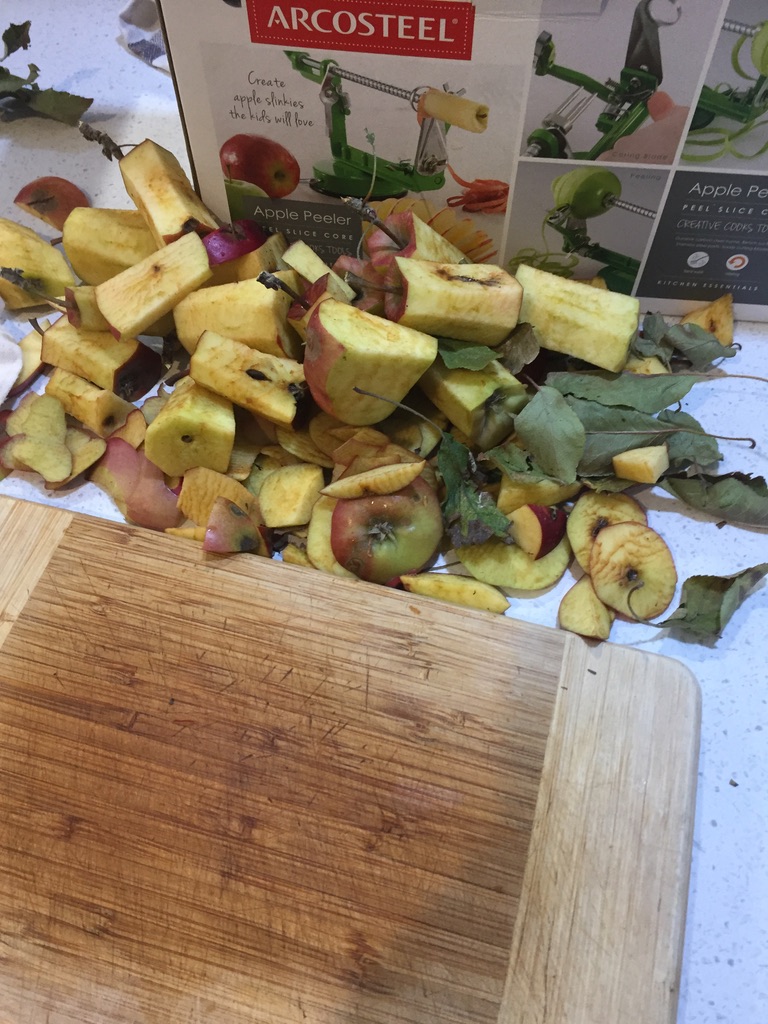
We were lucky enough to come across an old-style apple tree on a locals property. The tree had 100’s of healthy-looking apples, plus there were many more all over the ground, and birds were eating most of them from the upper branches. The property owner just so happened to be near their letterbox, so we asked if we could have a few apples? Yes, please help yourself – so we did.
Not only have we made a new friend, but we also collected a few bags of naturally organic apples. In return for the apples collected, we delivered back a container of spiced apple muffins.
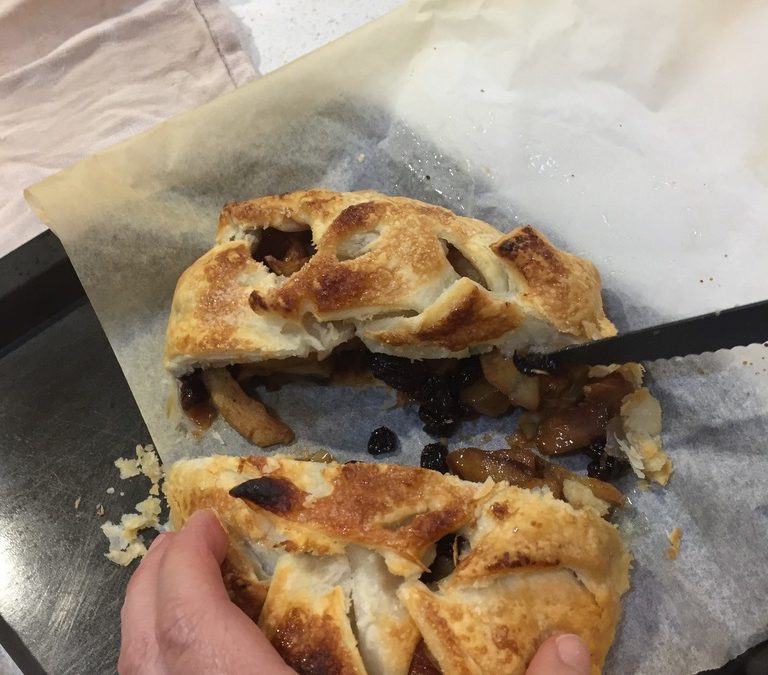
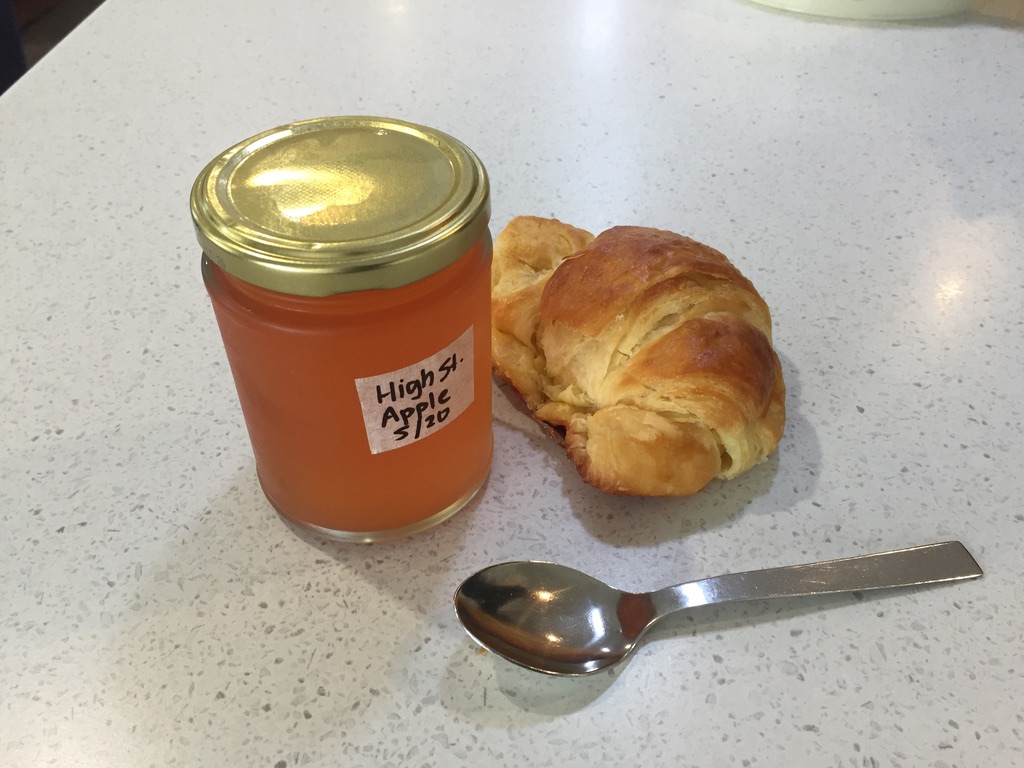
With the remaining apples we made two apple pies and a few jars of apple jelly – which we’ve named High Street Jelly.
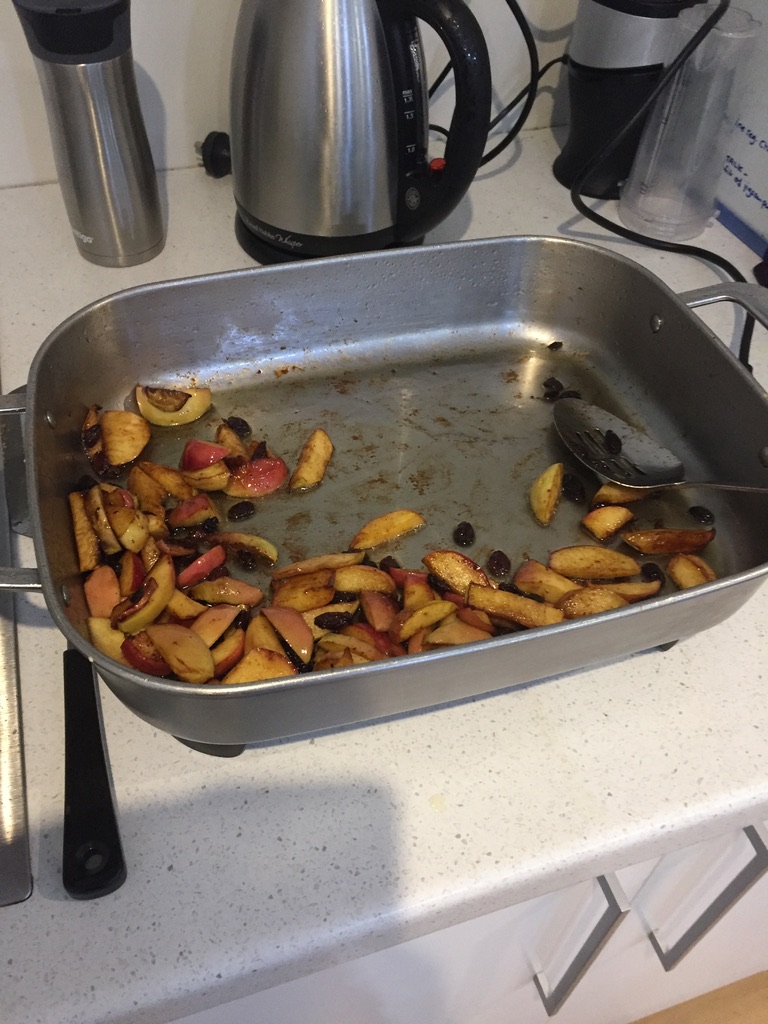
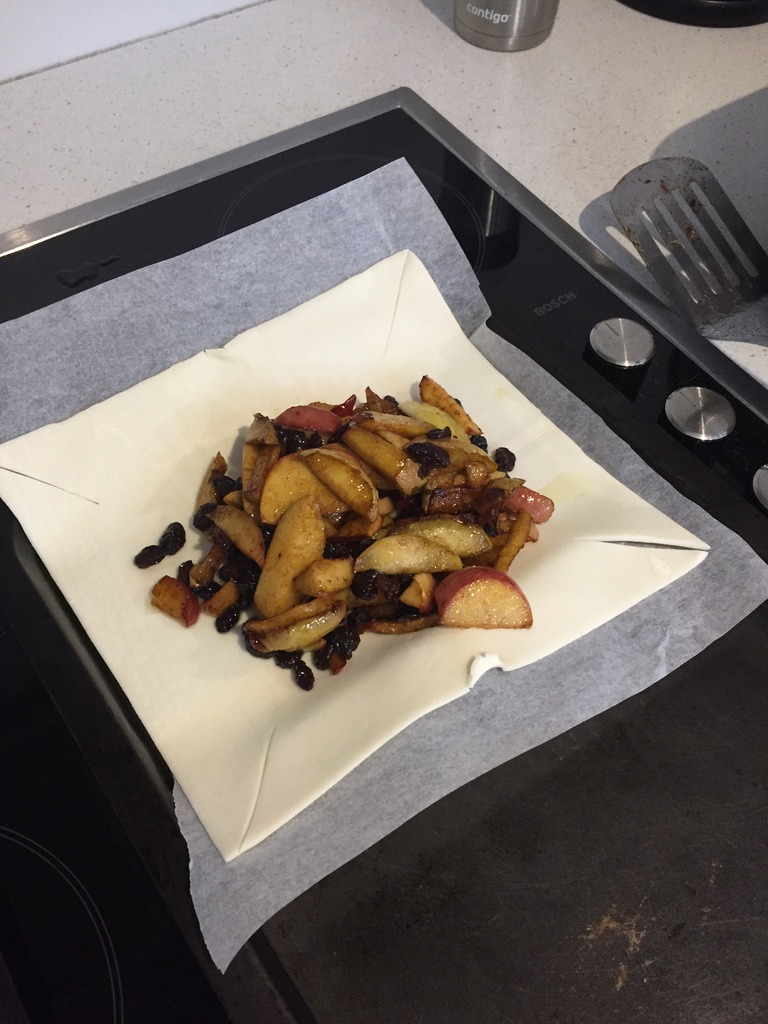
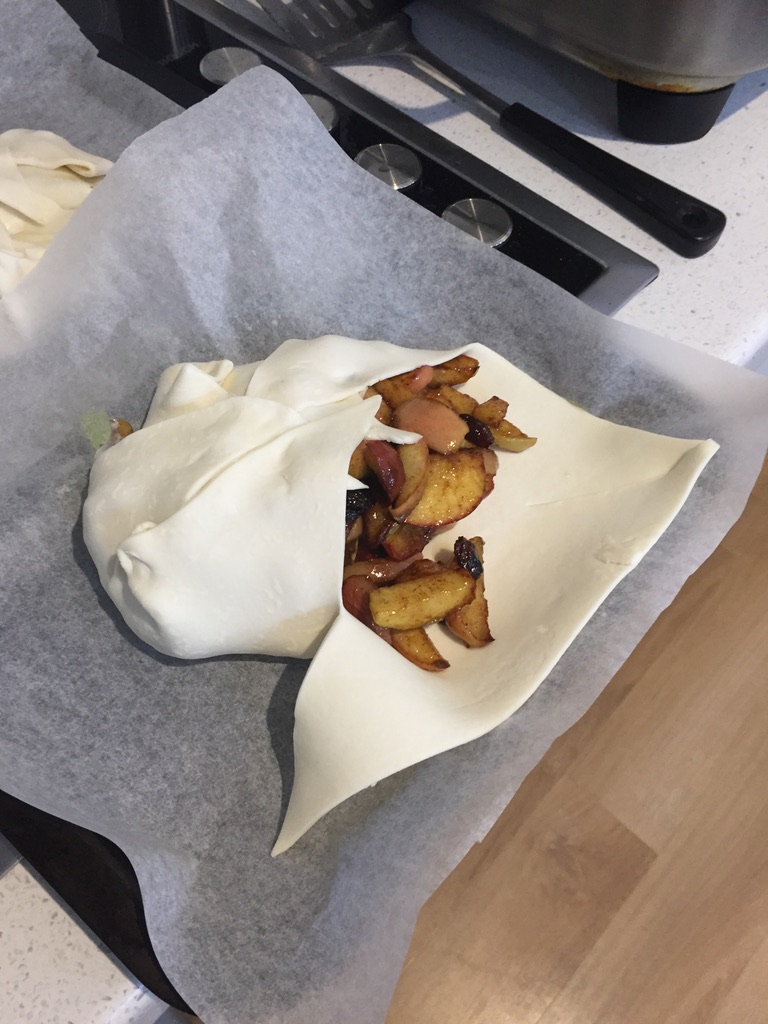
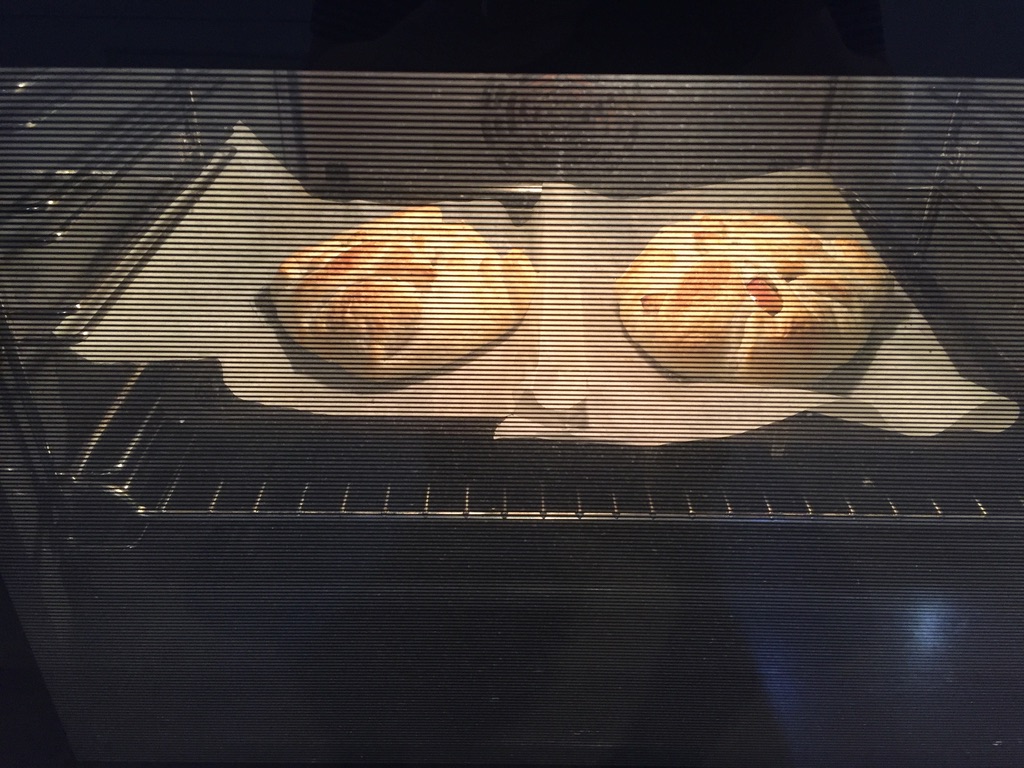
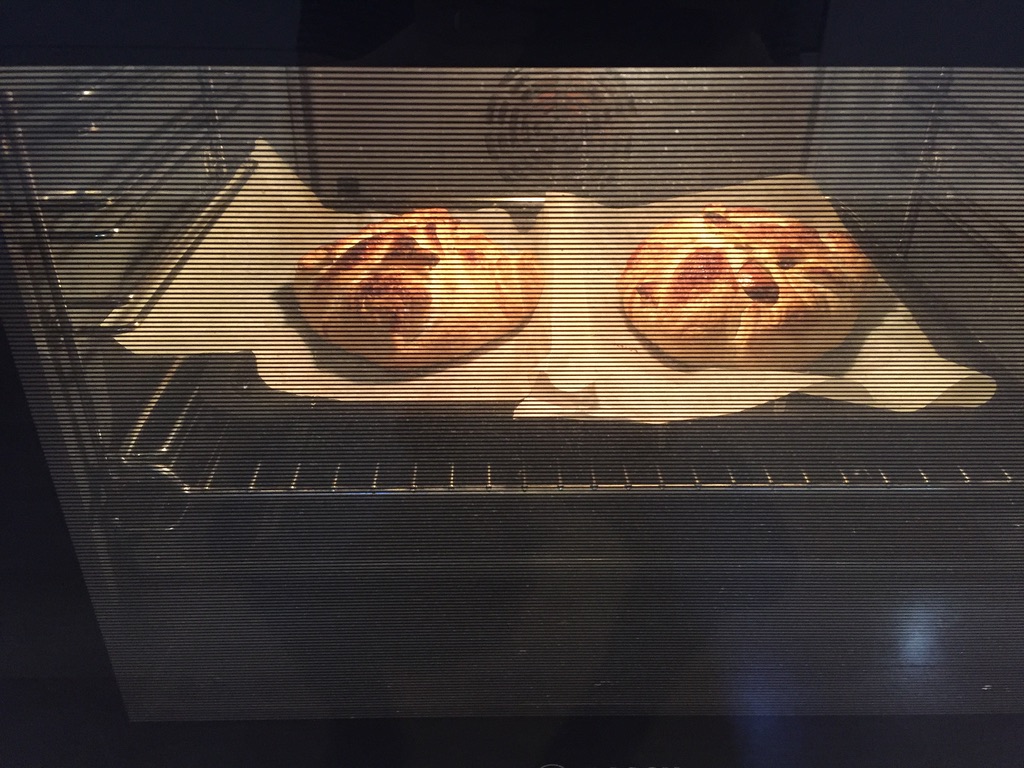
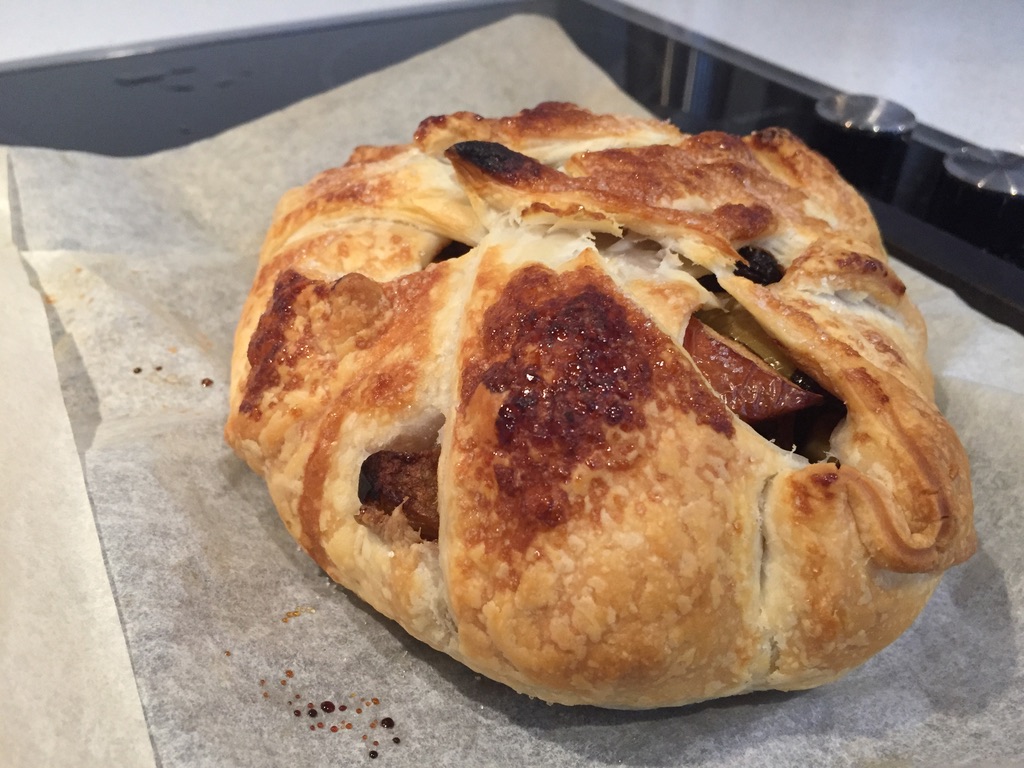
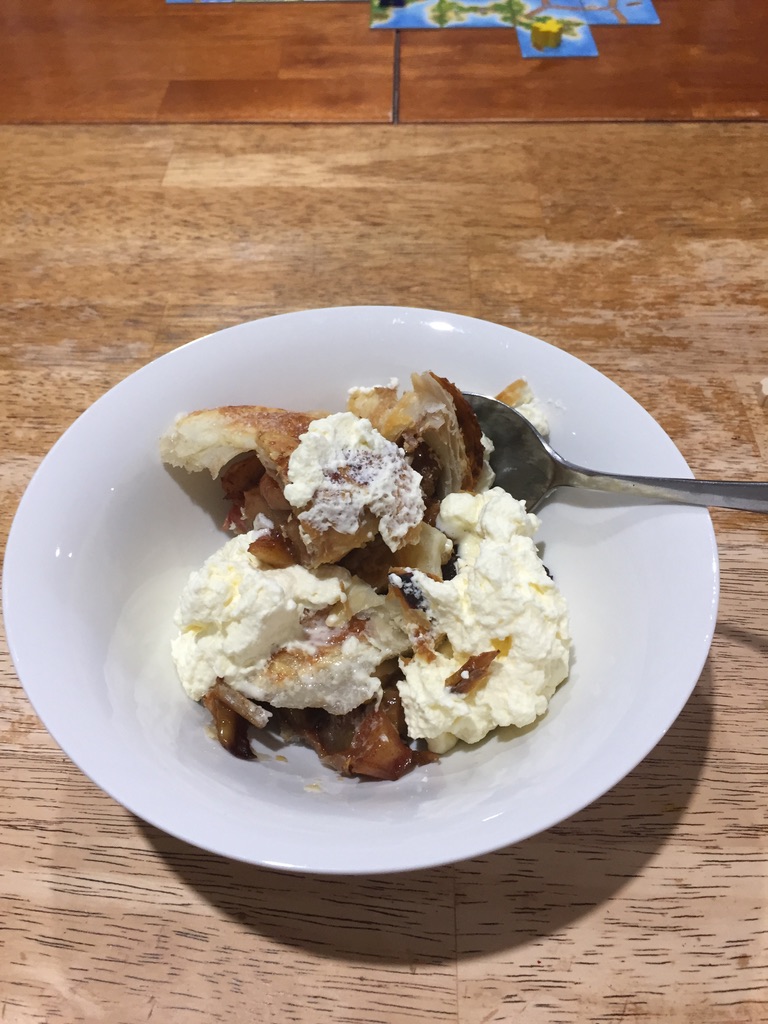
The apples were too odd-shaped to use the wind-able peeler, so we loosely chopped the apples, skins on, fried them in olive oil, with cinnamon, Sultana and lightly drizzled with honey. Once caramelised, we let them steam in their juices, while we prepared the pastry pockets. We placed the apple mixture in the centre of the pastry square, and the corners pulled in to make a parcel. Oven-baked for 20mins on 200ºC – served hot with whipped cream – absolutely delicious!
Our quince tree has been prolific right from the start. Initially, we had about 15 large fruits from which we turned into poached quince pieces and added them to desserts.
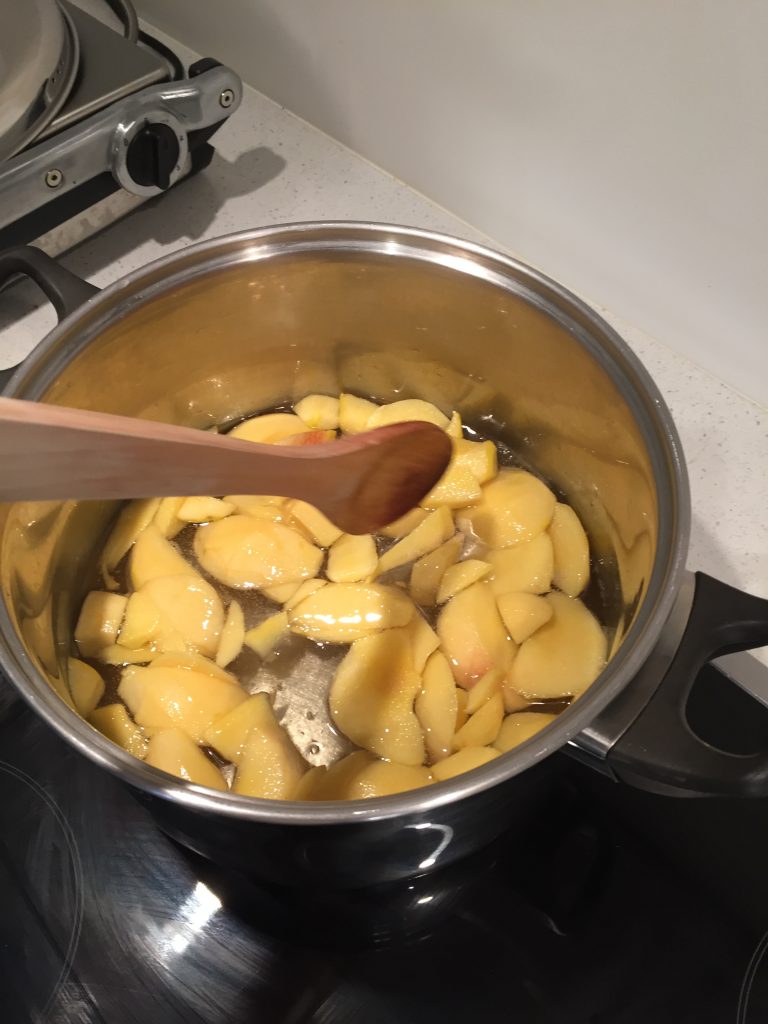
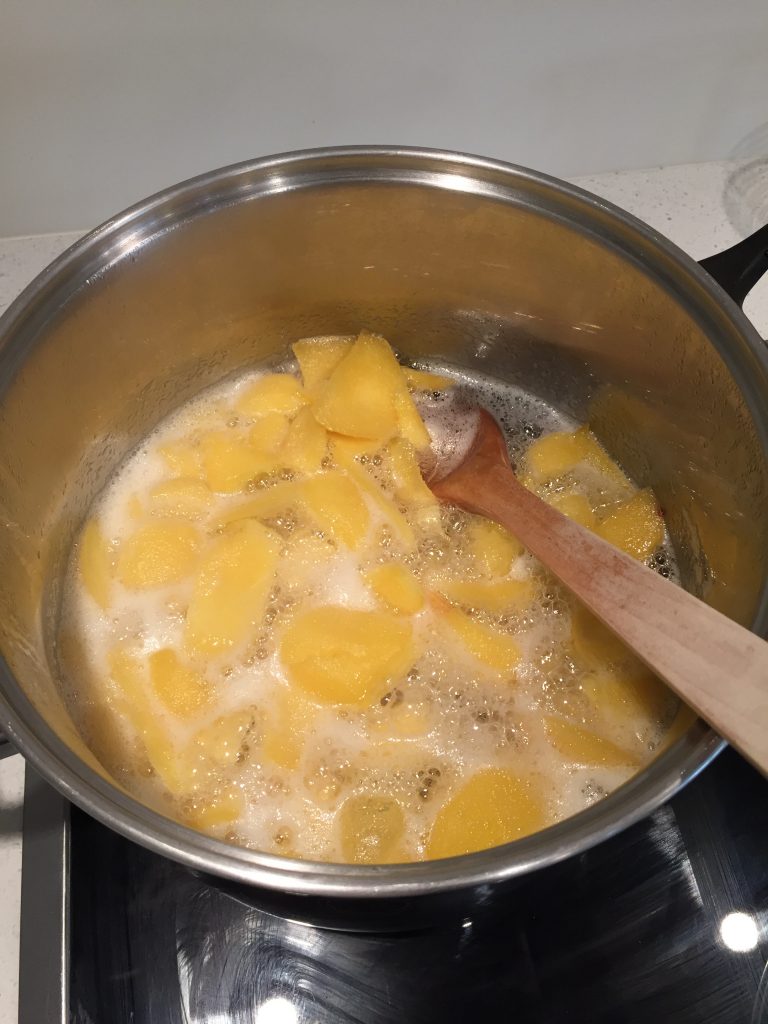
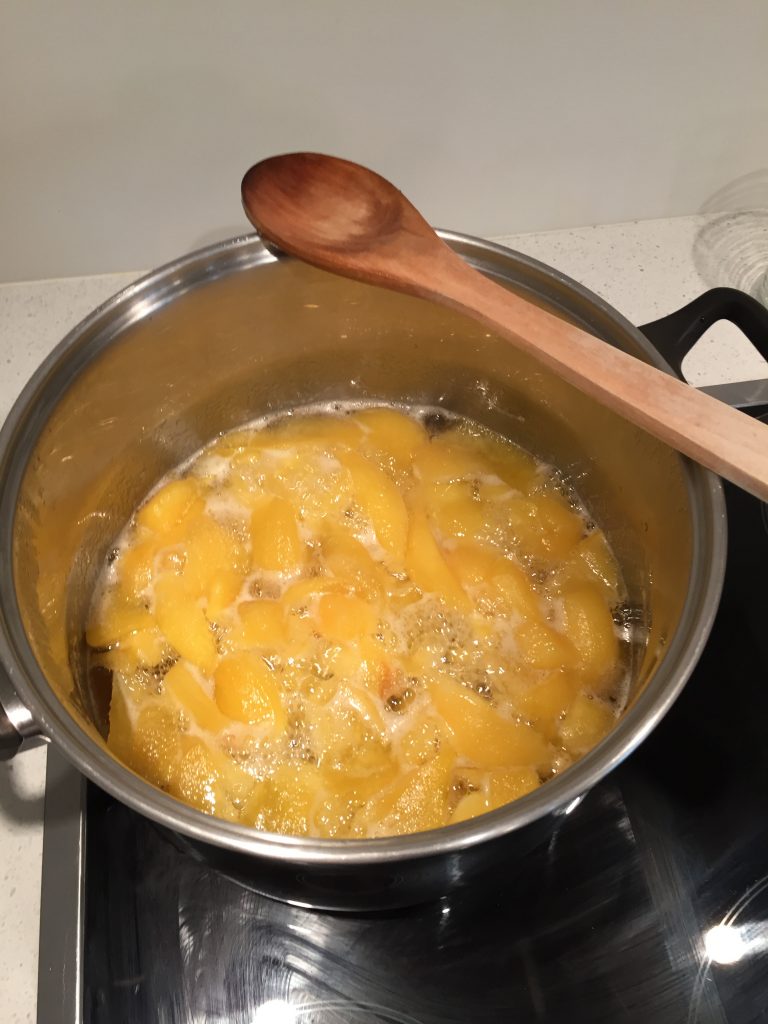
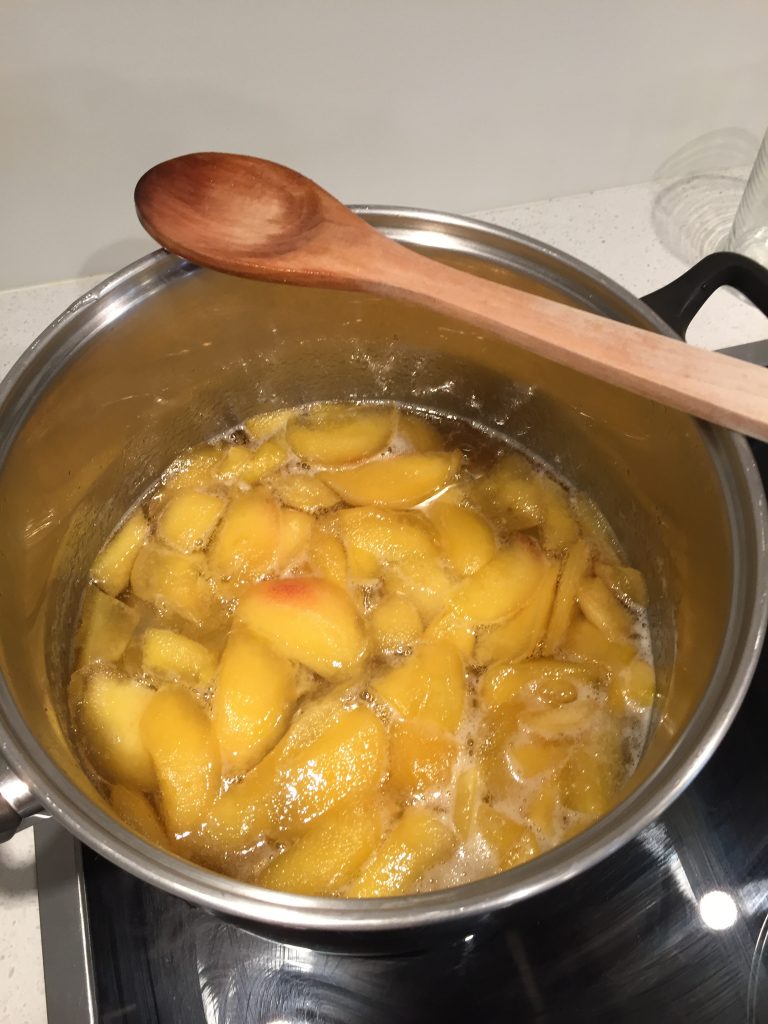
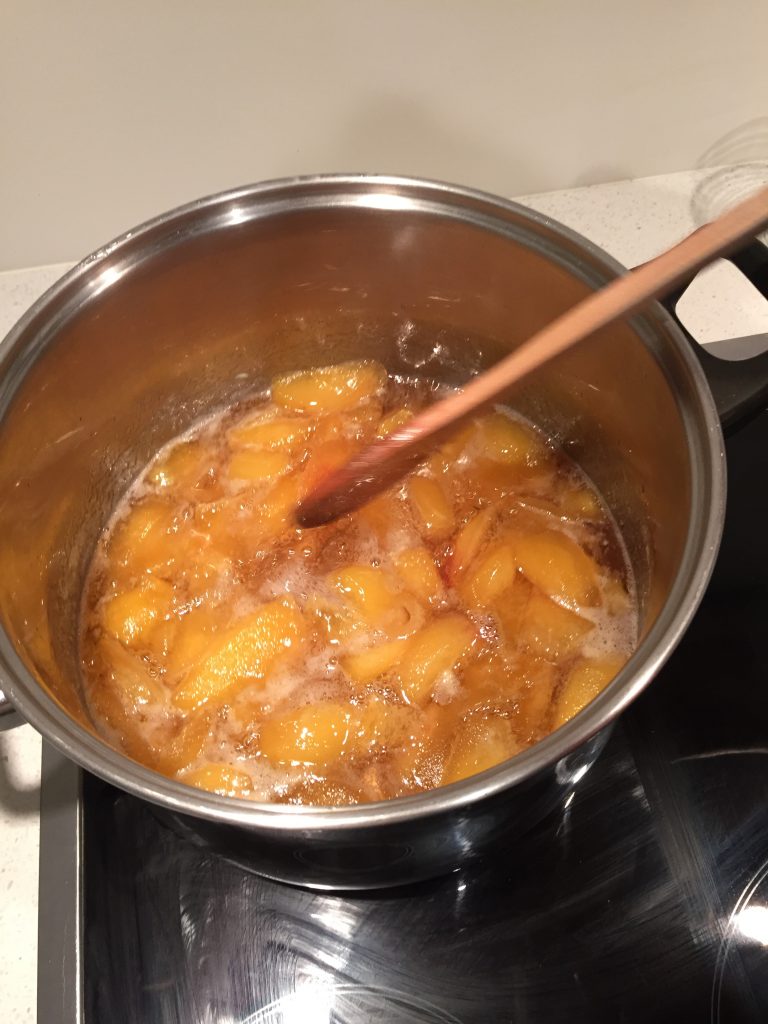
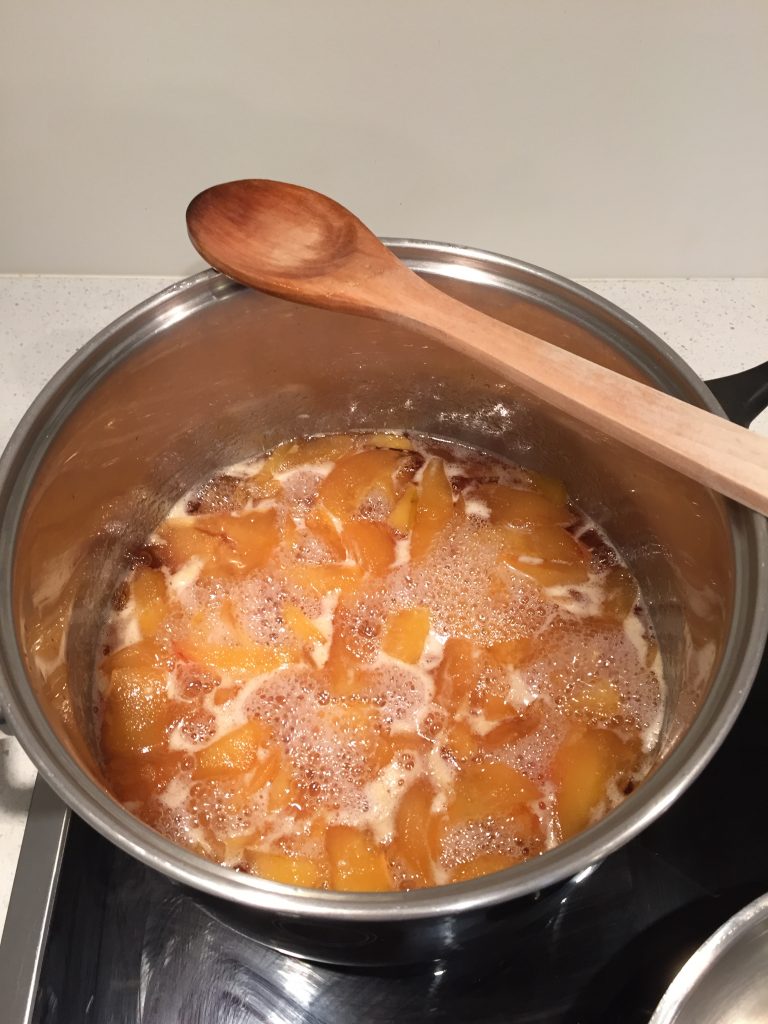
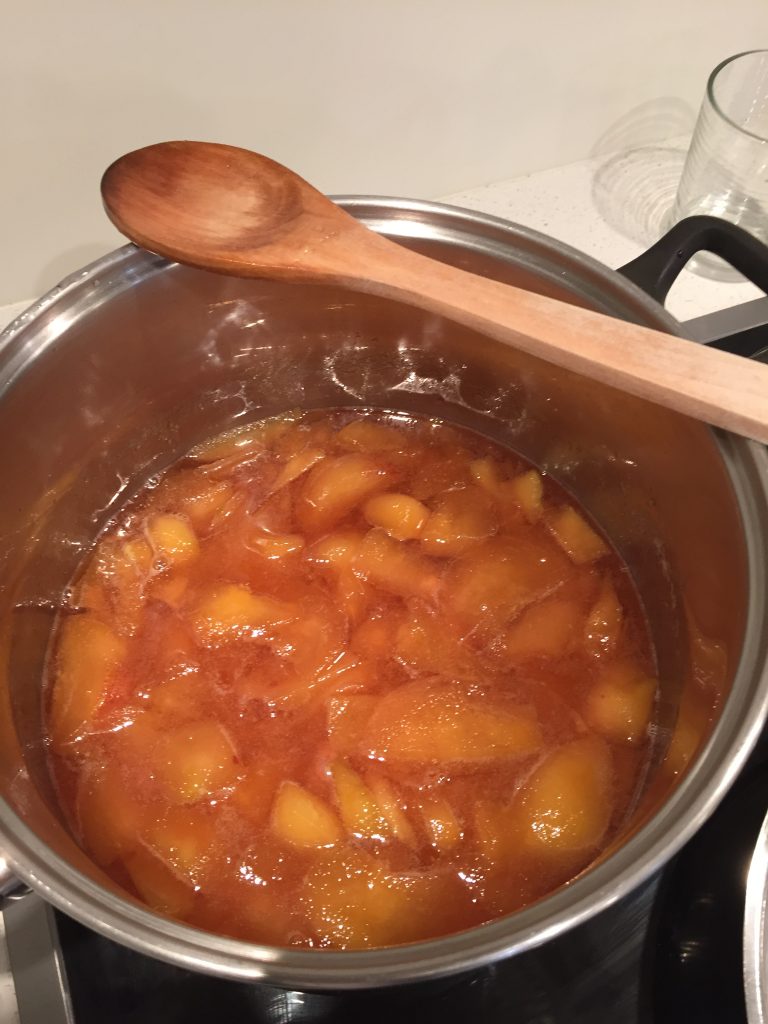
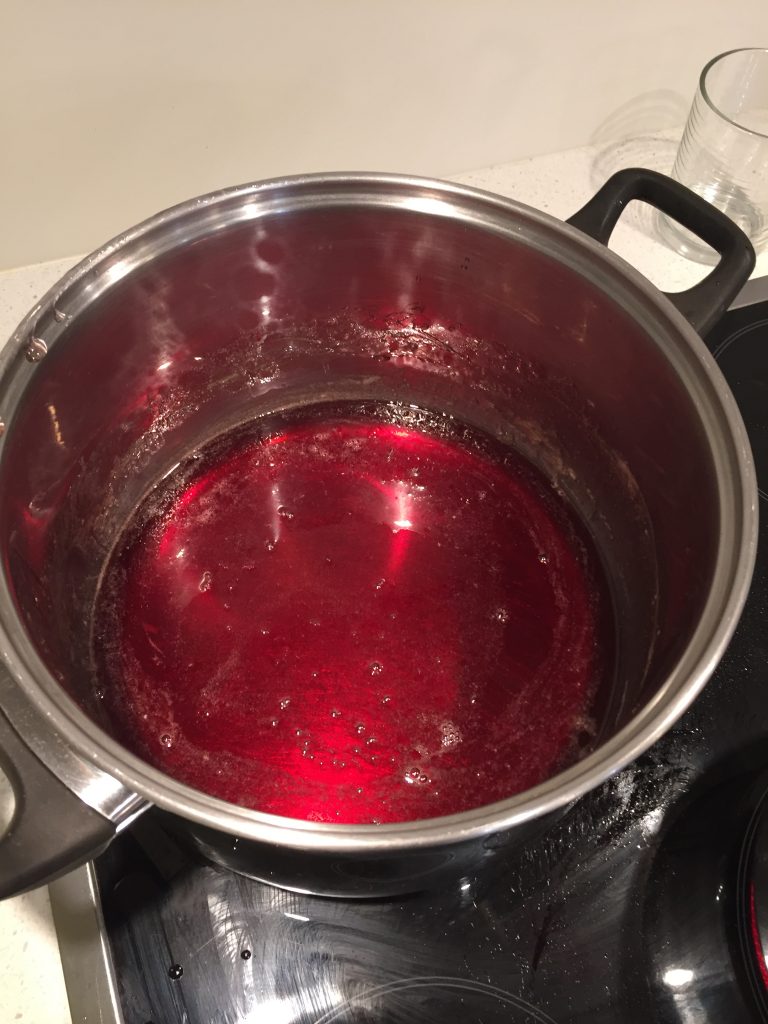
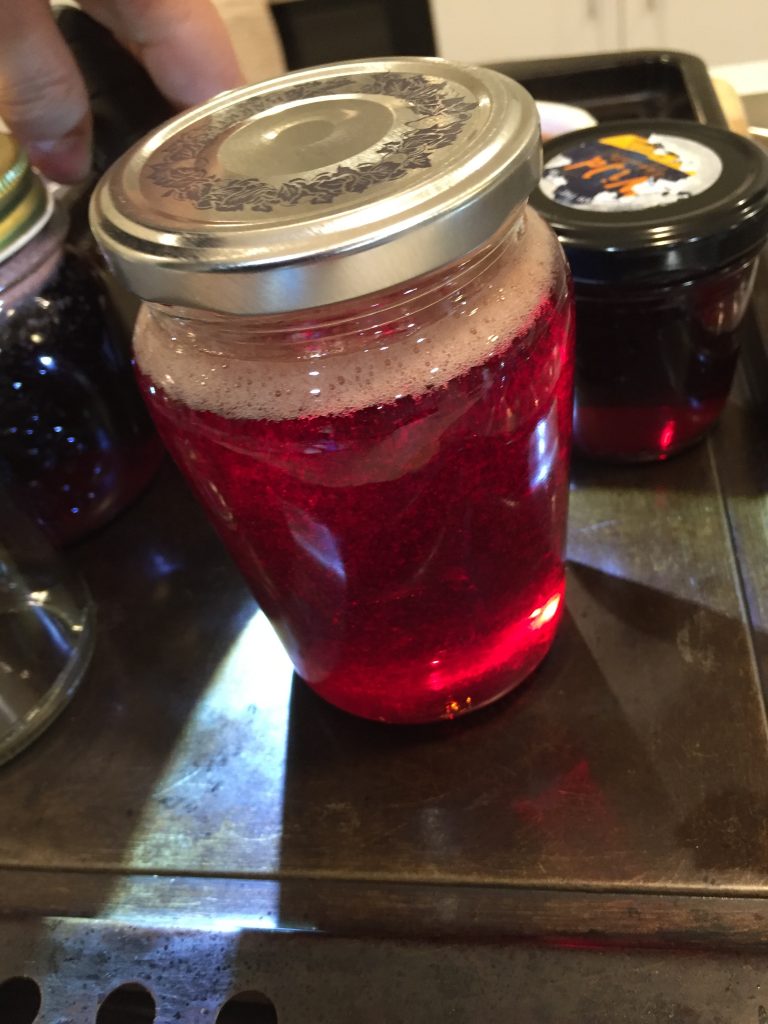
The fruit is too hard to peel we just chop them with a knife and leave the skins on and work on removing the skin in later steps. In the case below we have boiled on a stovetop for what seemed like hours until the fruit transforms in colour from yellow to a lovely glowing ruby red. We typically strain the pulp and use that for quince paste or fruit leather, and use the juice for jelly jam.
We have found their there are two methods for sweetening the quince which is quite astringent otherwise – firstly, to add a cup of sugar for each cup of chopped quince in the pot with a cup of water, or secondly (our preference) is to boil and separate the juice from the pulp and sweeten as required. The reason we do it this way is that the pulp as a paste is great for adding to stews while the juice makes a great jam.